It's time for us to finally go and face the Dweller Of Woe and put an end to all this misery!
After we obtained the Soulstone from the Necromancer, we can now get Garl back to full health, ready for the next mission.

When you leave the Necromancer's Lair you'll be teleported back to the Town Of Lucent at Garl's bedside. Serai takes her leave and allows the Soulstone to do it's work.
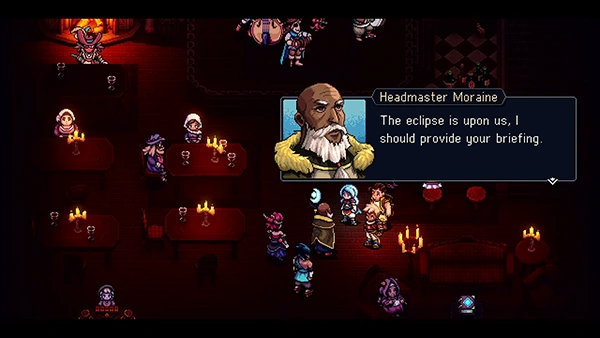
Garl awakens out of his trance and then Headmaster Moraine arrives, along with Erlina and Brugaves.
The eclipse is upon us, so when you're ready, speak to the Headmaster to travel to the Dweller's Lair...
In this part of the walkthrough, you can find:
- Rainbow Conch
- Combo Skill: X-Strike
- [Armor] Spectral Cape
- Question Pack #3
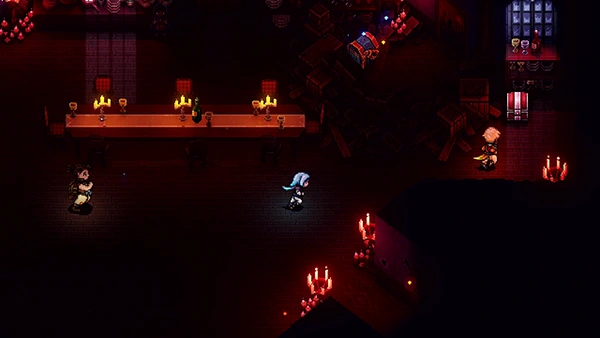
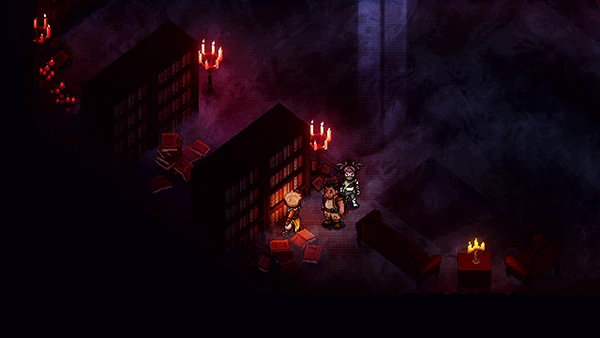
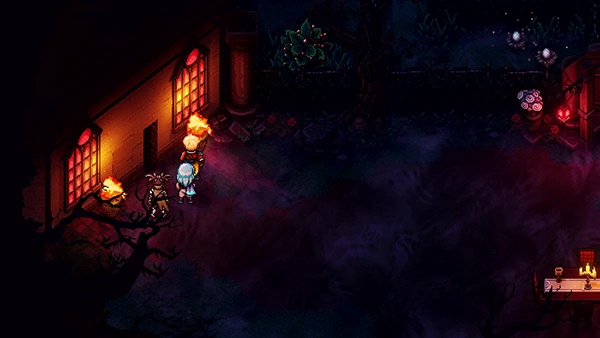
Haunted Mansion
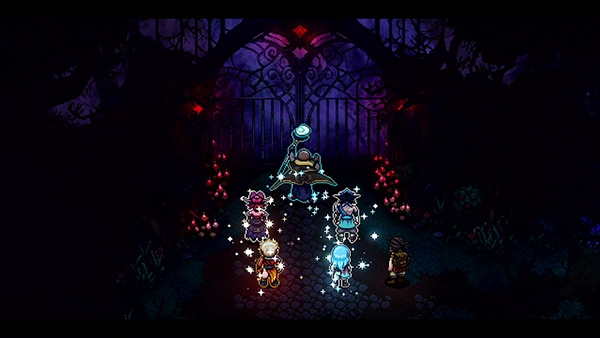
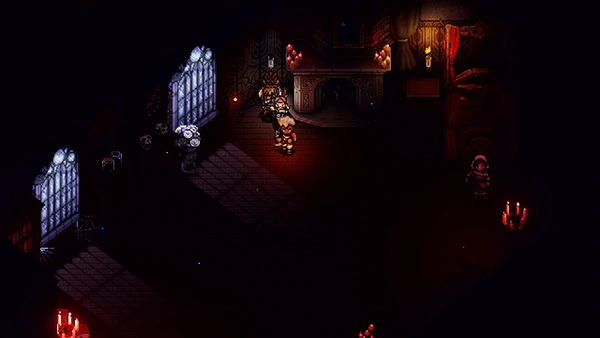
You arrive at the gates of the Haunted Mansion. Headmaster Moraine and the rest of the Solstice Warriors use their powers to unlock the gate.
Inside, you decide to split up; whilst Erlina and Brugaves handle the basement, your job is to handle the garden where The Botanical Horror awaits you.
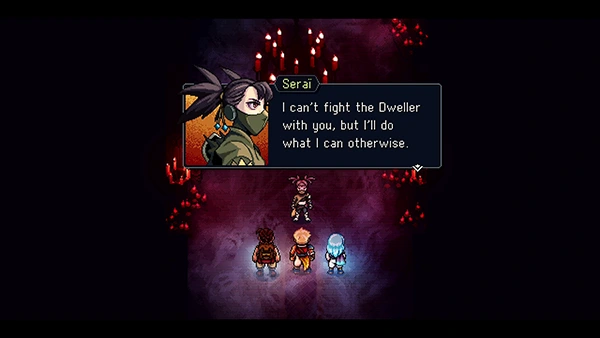
The left side of the mansion is locked, so you need to head to the right side. There you'll be reunited with Serai.
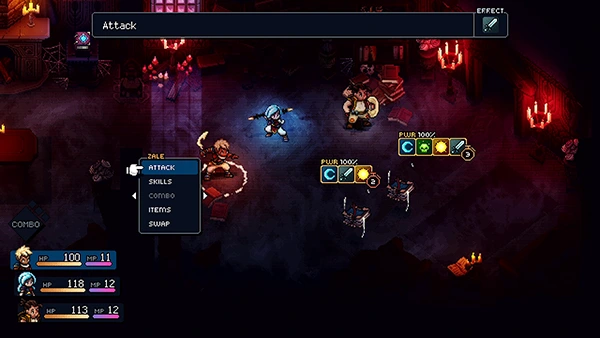
You'll now have the option to switch party members in battle using the Swap command.
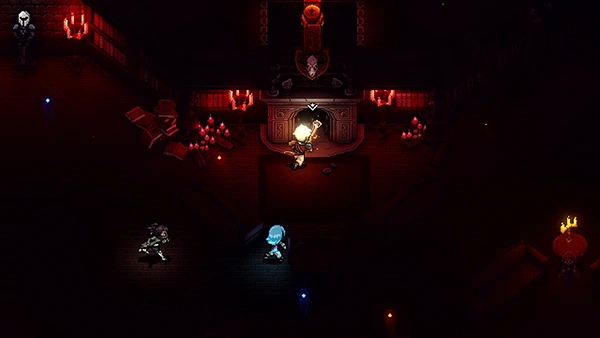
Head forward down the corridor and you'll come to another room where two monsters called Spellbook await. Once you defeat them, a ghost will appear in the middle of the room; talk to him and the Campfire becomes available.
Now head right and leave the room.
You'll come to a room with two Waltzer mobs. Take them out and speak to the ghost that appears. Push the switch next to the Fireplace and then head through the gap that appears.
This will take you back to the entrance room of the Haunted Mansion; pull the Lever to open the doorway below you and then use the ladder to climb down and enter it.
Pass through this empty room and you'll come to another with three Spellbook monsters.
On the right side of the room is a Treasure Chest containing Recipe: Mooncradle Fish Pie!
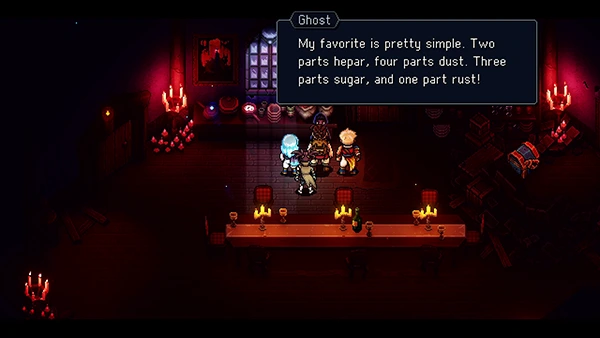
You can take some ingredients off the table; speak to the Ghost just above it.
The ghost wants you to make her a sandwich.
Head to the room your left and find the following ingredients:
- 2 Hepar
- 4 Dust
- 3 Sugar
- 1 Rust
- 2 slices of dread
You can find all the ingredients scattered around the room. If you take the wrong amount, you can speak to Garl to start over.
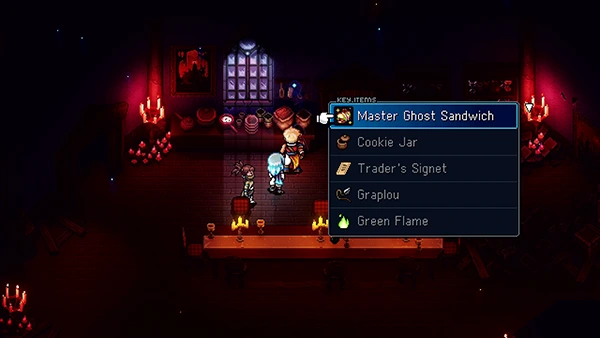
Once you've created the Master Ghost Sandwich, go and give it to the ghost in the other room. You'll get 100 G for your efforts and she will also open up the doorway ahead.
Head up the corridor and you'll come to a room with more Waltzer and Spellbook mobs.
Once you've defeated them, you can find Question Pack #3 by interacting with one of the bookshelves.
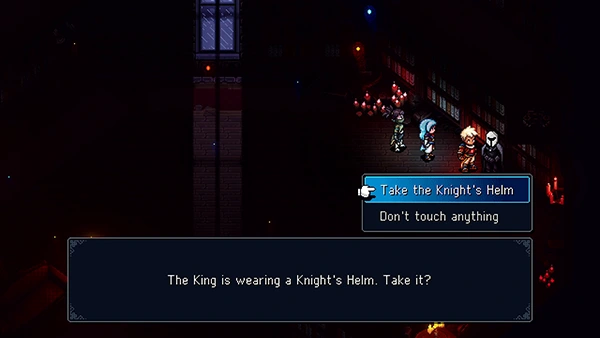
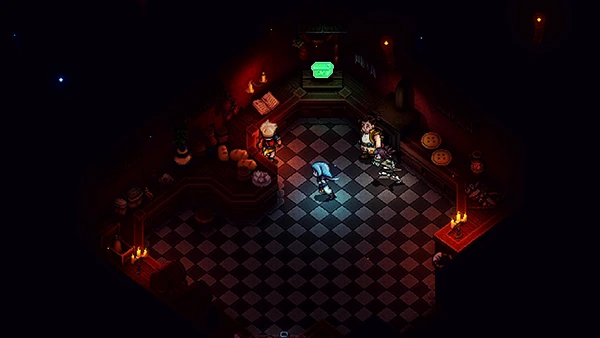
On the right side of the room, you can find a Knight Statue. Take it's helmet and place it on the Knight Statue on the left side of the room.
Climb up the ladder and retrieve the crown; place this on the Knight Statue on the right.
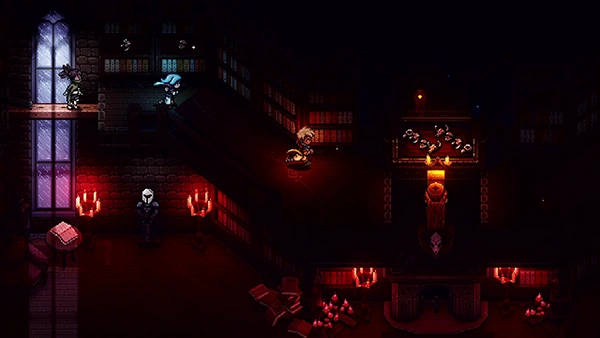
This will reveal a painting in the middle of the room and four objects either side of it.
You will need to align the objects up in the order of the painting on both sides of the room.
When you successfully do this, a new Combo Skill will reveal itself in the center of the room called X-Strike. A doorway on the right side of the room will also become available. Head through it.
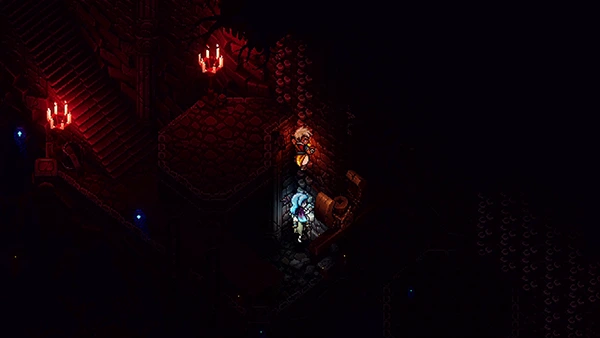
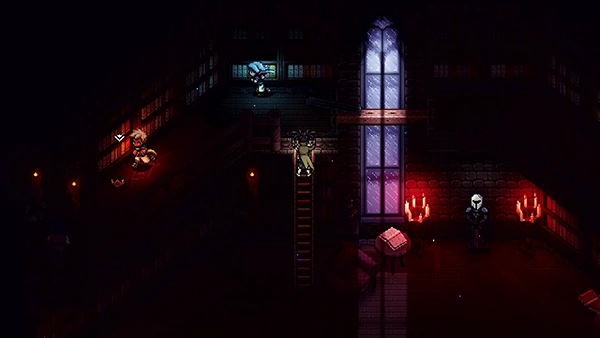
In the next room, climb down the stairs until you come to a stone wall. Climb up it, and then use your Grapple to get to the next platform.

Open the Treasure Chest under the stairs to find a Spectral Cape.
Now climb up the bone wall and shimmy right until you exit the room and come a corridor.
If you go south, you can move some bricks out of the way to make a return to the Campfire and heal up.
Once ready, take the corridor's path on the left.
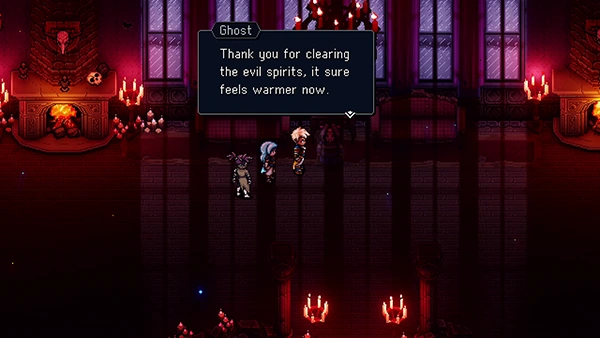
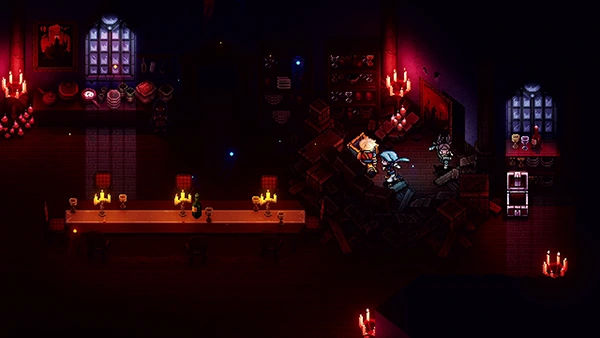
You'll come to another ballroom; defeat the Waltzers. Once you've done so, a Ghost appears in the middle of the room and opens a doorway on the left of the room.
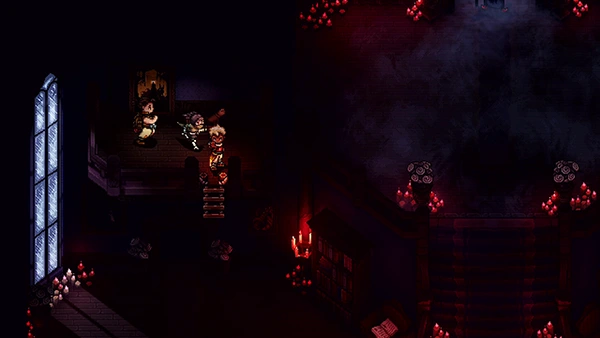
Pass through the room with the ghost girl and you'll come to the gardens.
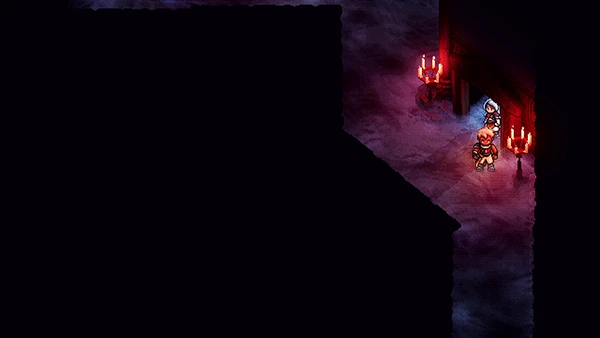
Pass the table and on your left is wall; you can light the second chalice and it will open a door for you.
Head inside and you can open a Treasure Chest containing a Rainbow Conch!
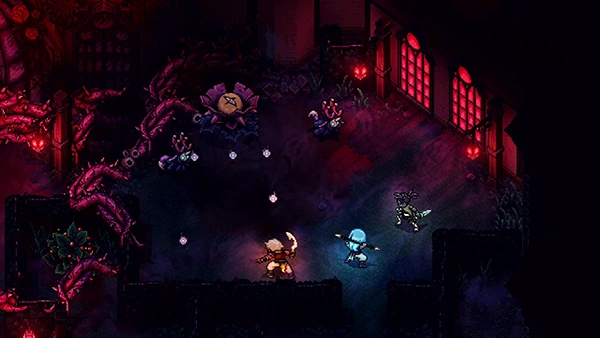
Now head into the maze of the garden; first take the right hand side and defeat the Boulbe to remove some Brambles. Then head to the left hand side and do the same.
Heal up at the Campfire and prepare...
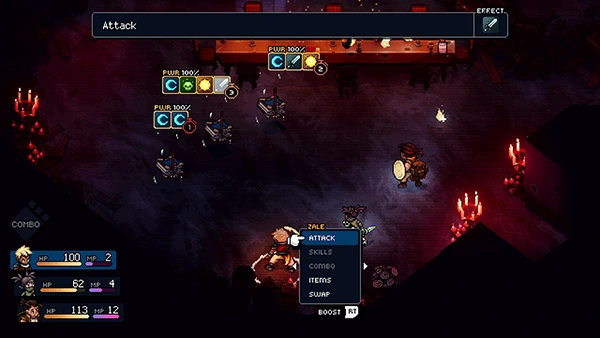
Botanical Horror - Boss Fight
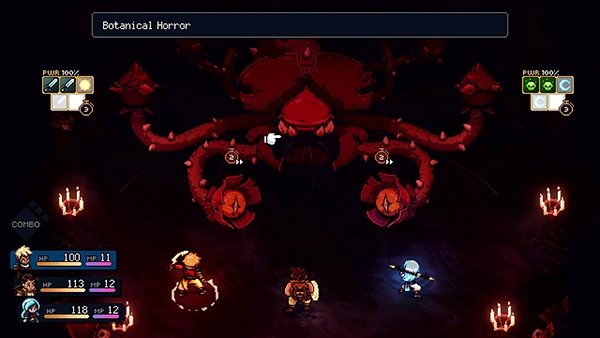
The Botanical Horrow has four tentacles that you need to take care of in order to damage the main boss. If you try to attack the main body with any tentacles up, you'll do zero damage!
The two Tentacles at the far back will deal Quillshot attacks, which deal two attacks that can hit up to two members at once.
You should aim to take these Tentacles out first; the ones at the front deal small amount of damage compared to them.
Once you take all four Tentacles out, attack the main body. You get about 4 moves to use; you should try to use as much Magic as possible to get the most damage here.
With so many targets, using Valere's Moonerang attack will help you deal lots of damage.
You'll want to keep your Combo for Mending Light to heal up; swap out Garl for heals also.
Check out the video below for more tips:
Reward: 2,240 EXP
After the fight, regroup with the others at the main entrance, where the Headmaster Moraine will finally break the seal to fight the Dweller.
Dweller Of Woe - Boss Fight
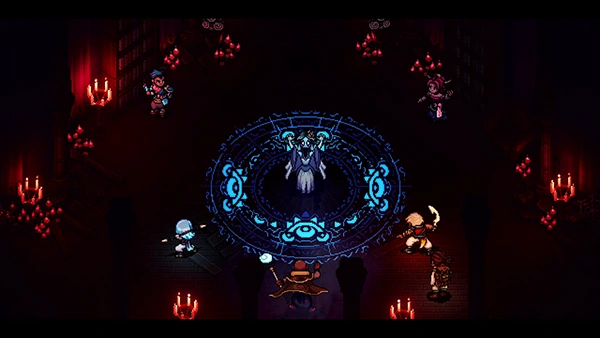
There are two phases to this boss fight, but it's not as tricky as you'd expect. You have the help of Headmaster Moraine, Erlina and Bugraves in your party.
The first attack the Dweller Of Woe performs is Mirror Image, where it will clone itself. You'll want to take this out quickly, it only has 525 HP!
The Dweller is very susceptible to magic attacks, and you'll deal lots of vulnerable damage when you use them.
When you get the option to control Headmaster Moraine, you can either heal the party for a small amount or hold the rune, which will increase the damage everyone does to the Dweller.
You can use your Combo move Solstice Strike to break one of the Dweller's powerful moves.
The battle switches for a moment with Garl having to break a hole in the roof. Look for the glittering prompts to find the right bricks to break.
In the second phase of the fight, the Dweller can possess a party member and have them attack each other.
The move you really need to watch out for is called Pain. You can block this move using Valere's Lunar Shield (which costs 11 MP, so make sure you have enough to cast it!).
The Dweller can also cast Spectral Scythes, which is a weaker Pain attack.
Erlina will occasionally full-heal the party also, making this fight quite easy!
Check out the video for more tips:
Reward: N/A
And that wraps up the end of Part 8 for Sea Of Stars Walkthrough! How did you find the Dweller Of Woe fight?

Discussion