Our final part of the Sea Of Stars Walkthrough will see us head to The Fleshmancer's Lair, where we face the final boss and hopefully save the world.
- Fleshmancer's Lair
- LeJugg - Boss Fight
- Hall Of Illusion
- Phase Reaper - Boss Battle
- Elysan'darelle - Boss Fight
With the Dweller Of Dread defeated, you now get access to Zale and Valere's flying ability. This allows you to fly around the World Map and access new areas that contain more secrets!
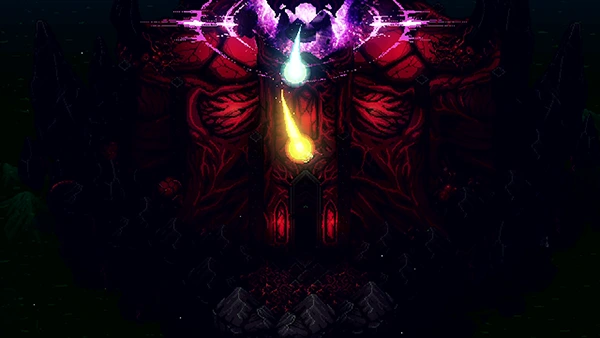
Our destination is The Fleshmancer's Lair. Fly towards the island just north of Serai's world.
In this part of the walkthrough, you'll find the following items:
- Data Strip
- [Weapon] Salix Cork
- [Weapon] Apogee Daggers
- [Weapon] Firmament's Edge
- Legendary Feast
- Question Pack #10
- [Weapon] Earthshine Staff
Fleshmancer's Lair
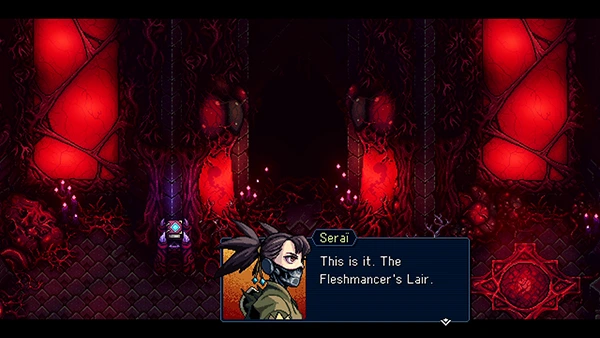
The entrance to The Fleshmancer's Lair contains a Campfire and Save Point.
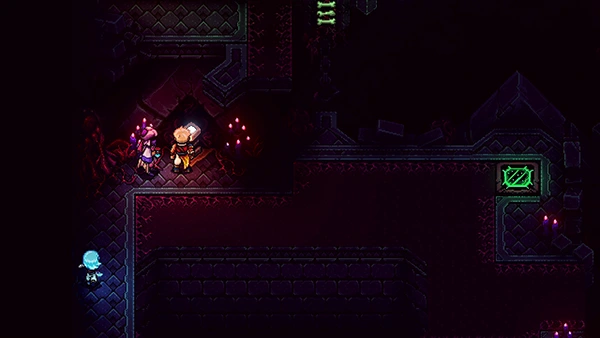
Head through the main entrance and you'll come to a crossroads. Take the path on your left and interact with the Podium.
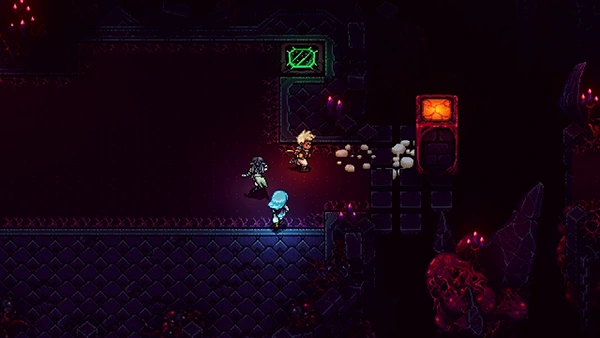
This will produce a red tower block that you can push to the right side of the room. Push it onto the red tile. Defeat the mobs that spawn.
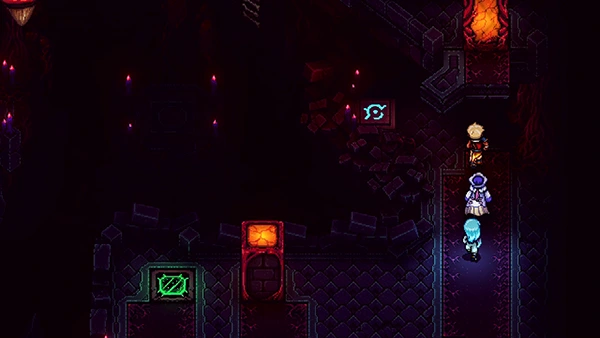
Next step on the Blue symbol tile, which will bring up a Grapple Post. Head back to the crossroads and take the north middle path and grapple across.
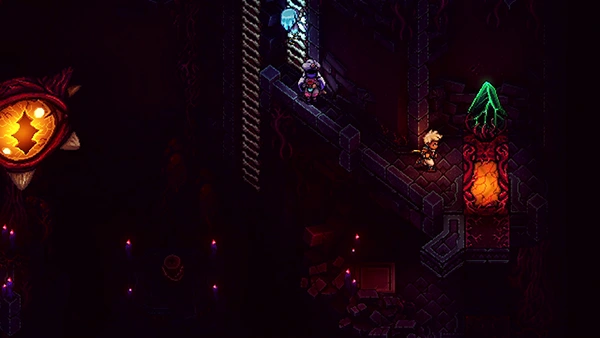
Climb up the wall, push the block with the green crystal off the edge and into the green tile slot. An eye will suddenly turn green.
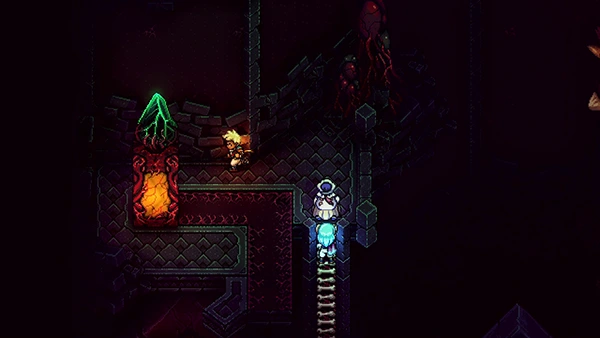
Now cross back over to the left side and climb up the ladder. Push the block with the Green Crystal on off the edge of the platform and then onto the green square.
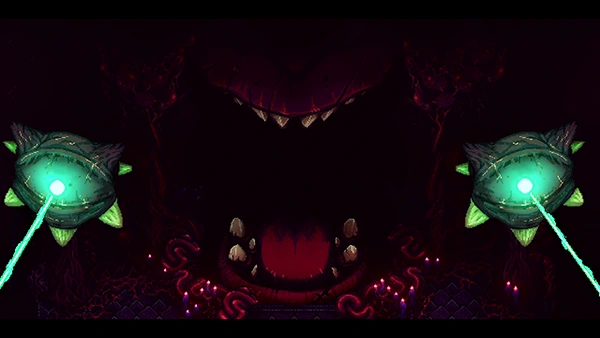
This will cause the other Eye to shoot out a laser and unlock the door at the top.
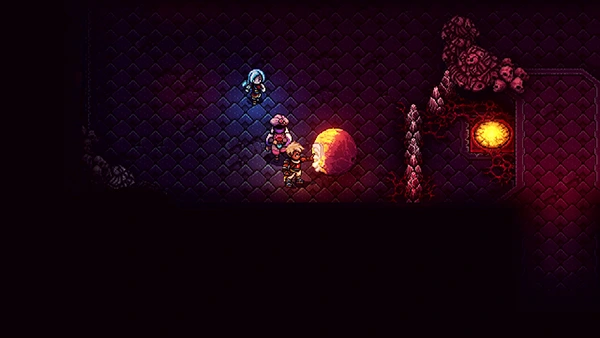
You'll come to a room with several spikes coming out the ground. In the top-left corner you can find an Eyeball you can push around. The Eyeball destroys the spikes when pushed into them.
Push the Eyeball onto the red circle on the left-bottom of the room. This will cause the metal spikes to come down and access the second eyeball in the middle of the room.
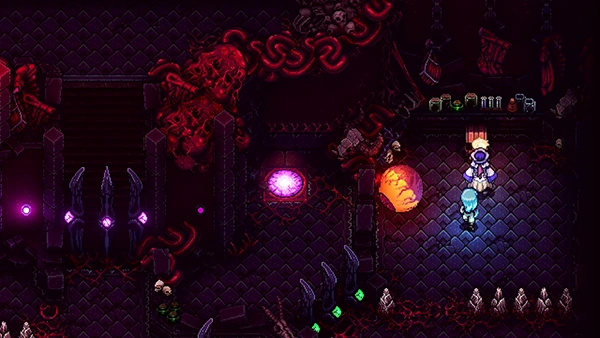
Push this second eyeball towards the green tile in the bottom-right of the room.
Now grab the first eyeball and push it over to the right side; first collect the Treasure Chest containing a Data Strip and then push it onto the Purple Tile.
Now return to the second Eyeball on the green tile and push it onto the purple tile on the left side of the room. This will unlock the main gate in the middle and allow you to access another Campfire and Save Point.
LeJugg - Boss Fight
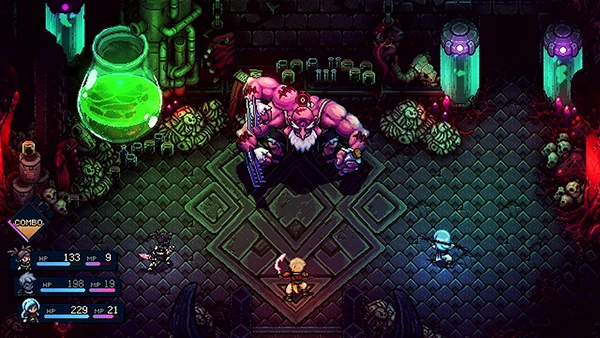
There are a few bosses to fight in this final part of the game, but LeJugg should be a cakewalk. He'll start the fight in a simple state and then drink a potion to turn into a new monstrosity.
His physical attack can hit all three party members, and he has Haste, allowing him to hit you quite often.
His main attack is Roulette Punch, where he can hit all three characters for 90+ HP. If you're lucky though, he'll only hit one (not sure if taking out the combo icons reduces the chance)
Overall you should be good at taking out bosses like these. Have Resh'an as healer, use your Ultimates to get you out of sticky spots and take this guy out!
Check out the video for more tips:
Reward: 13,680 EXP
Hall Of Illusion
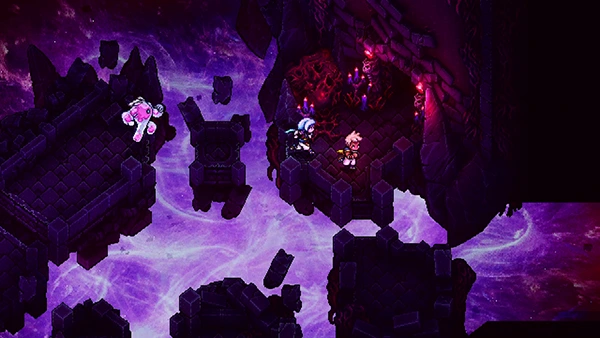
The final puzzle is here! The Hall Of Illusion isn't actually that bad! Head to the room in the top-right where you'll come to fight some mobs.
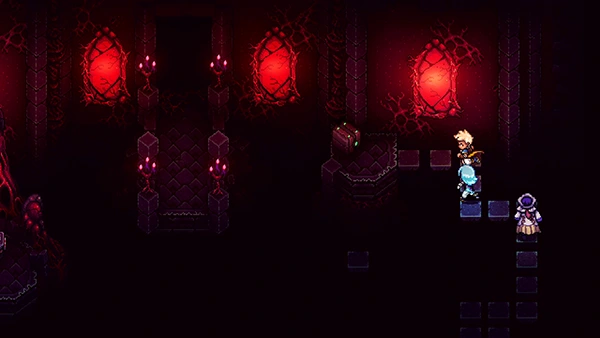
Keep heading right until you come to a room where the floor pieces only appear when you get near them. In the top-right corner is a Treasure Chest containing Salix Cork.
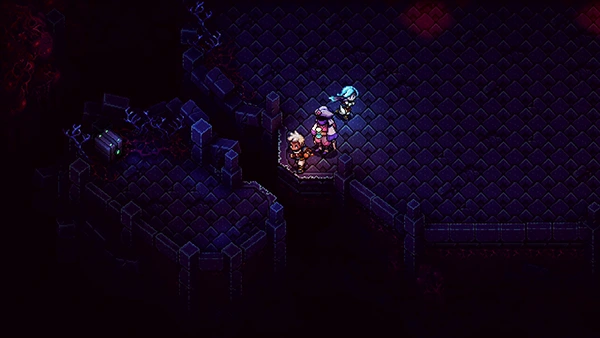
Exit at the bottom of the map and follow the path in the next room. You'll come to a large platform with mobs and at the bottom is a Treasure Chest containing Apogee Daggers.
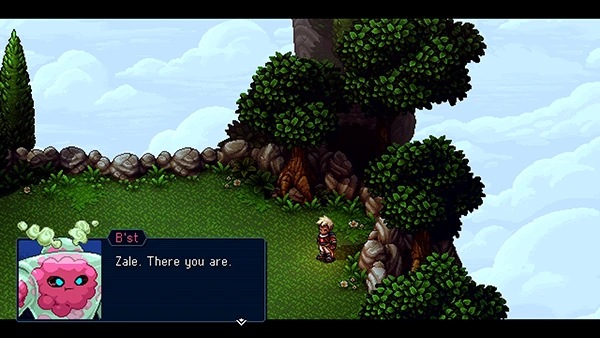
Enter the next room and grapple across, exiting on the left. You'll then come to a strange area. Interact with the Campfire to fall asleep.
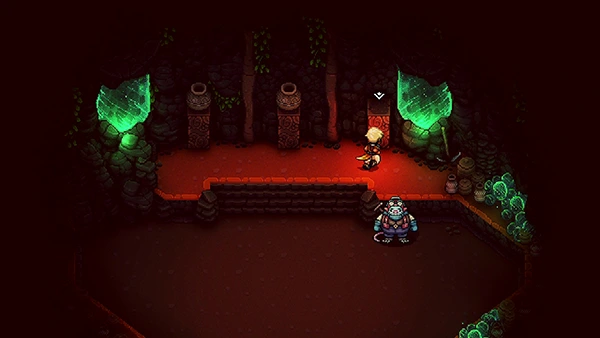
You'll be teleported to the mines; collect the jars and place them on the three pillars.
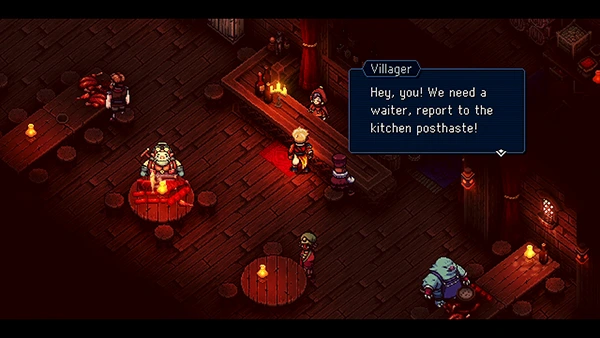
You'll then be teleported to The Humble Boast. Speak to the bartender and they will ask you to go to the kitchens. From there, take the food and put it in front of all the customers.
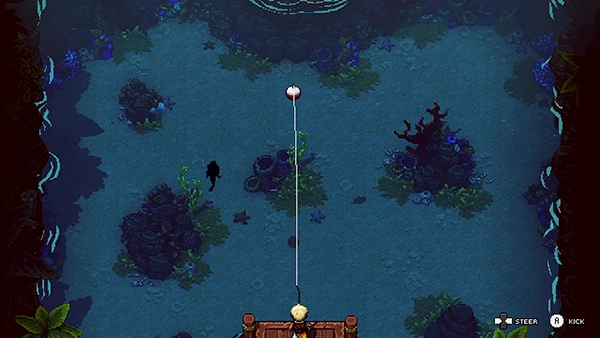
Next you'll teleport to the fishing area; catch the fish in the lake then give it to the Villager.
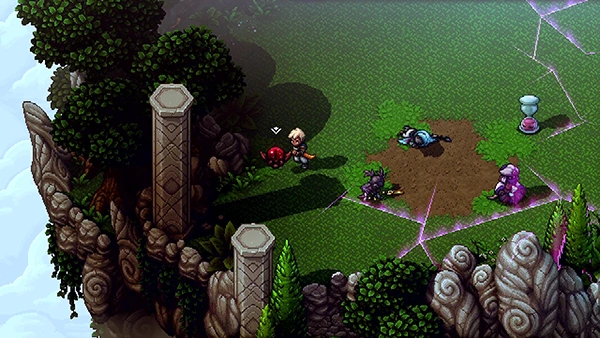
You'll then return back to the campfire; this time there will be red orbs surrounding the place. Interact with them to break them.
Breaking the red orbs will break the illusion and you'll come face to face with the Soul Curator!
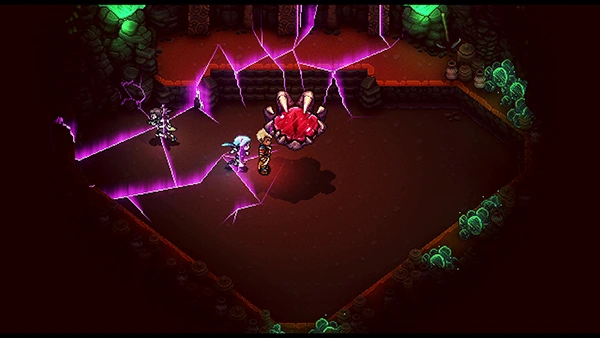
You'll have a quick mini-battle before the Soul Curator flees. Before you go after it, if you take the room on the bottom-right, you'll come to the area where the Mines were. Break the red orbs to dispell the illusion and you can pick up a Treasure Chest containing Earthshine Staff.
Now go chase after the Soul Curator!
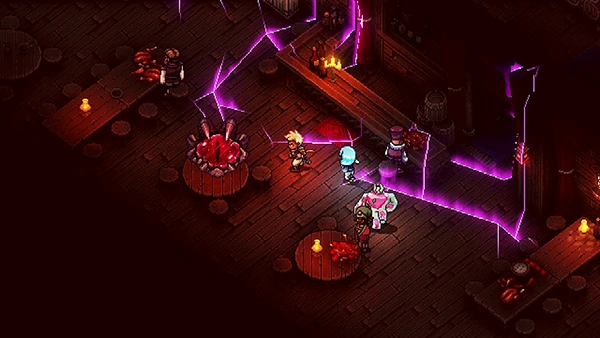
In the next room you'll be in the Humble Boast; smash all the red orbs to break the Illusion. You'll then have to battle the Soul Curator again, but this time with mobs. Again, the Soul Curator flees!
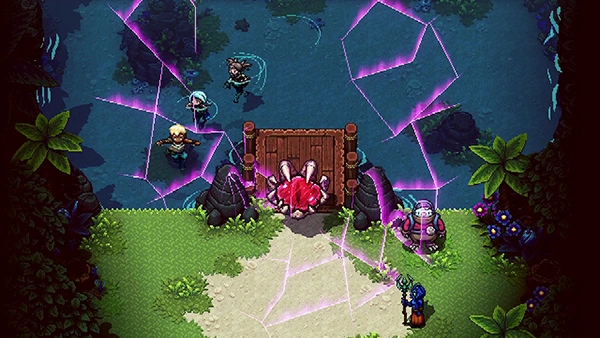
Follow the Soul Curator to the Fishing Lake and break the red orbs once again. Fight the Soul Curator once again and it flees.
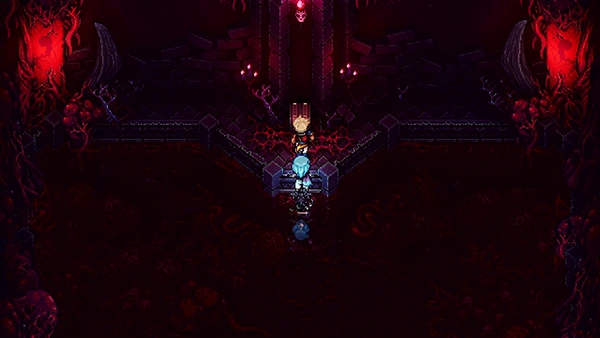
Before chasing it however, jump into the lake and swim across to find a Treasure Chest containing Firmament's Edge.
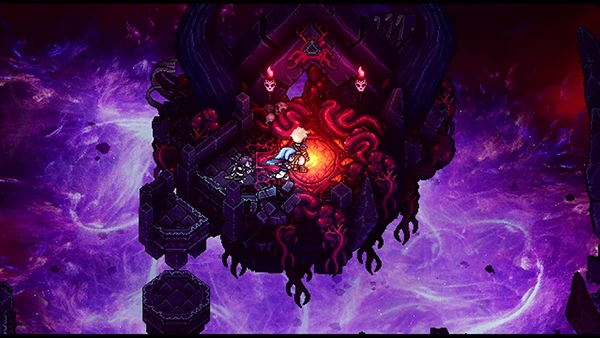
Go after the Soul Curator and you'll come to a red teleporter that takes you to an area with a Campfire and Save Point.
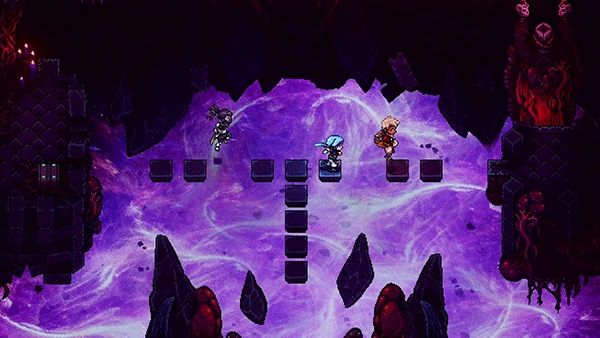
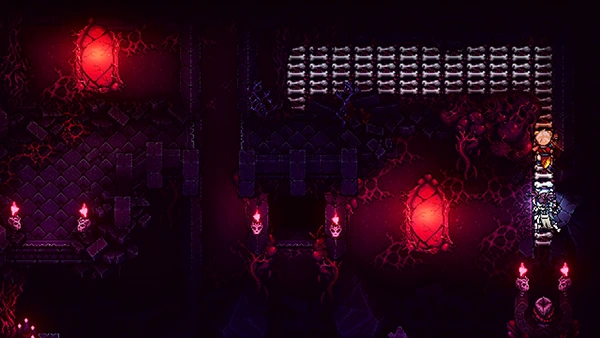
Head further up and you'll come to a room with floating tiles; take the path on your right. Grapple across to the wall ladders and make your way left to open the Treasure Chest containing Legendary Feast.
Now head up the middle of the room to exit it.
Phase Reaper - Boss Battle
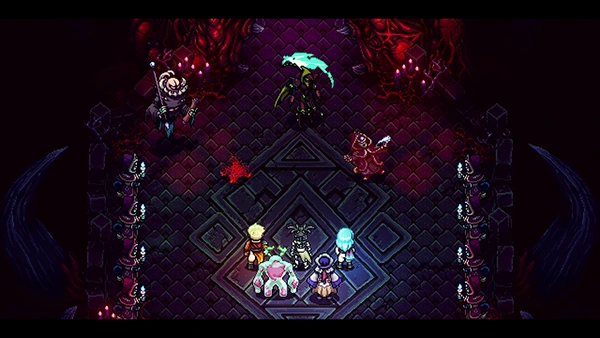
The Phase Reaper can generate clones of itself and each clone can hit a single party member for around 50 HP.
The Phase Reaper's main move is called Flourishing Death, which will deal high single-target damage. It can also cast Split Ball, that hits all three characters for 30 HP.
Focus of first wiping out the clones; that can regenerate but they don't very often.
You can block quite a few of the Phase Reaper's attacks with Serai and Valere's multi-hit attacks.
Overall the fight is pretty easy!
Check out the video for more tips:
Reward: 14,364 EXP
After the fight, Serai gets her revenge on the Soul Curator! Valtek also appears and destroys the portal for you.
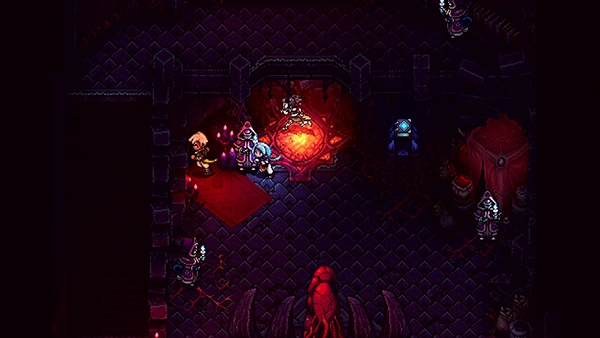
Head forward and you'll come to a room with several of The Fleshmancer's minions. They pose no thread to you. There is a passageway next to the red teleporter.
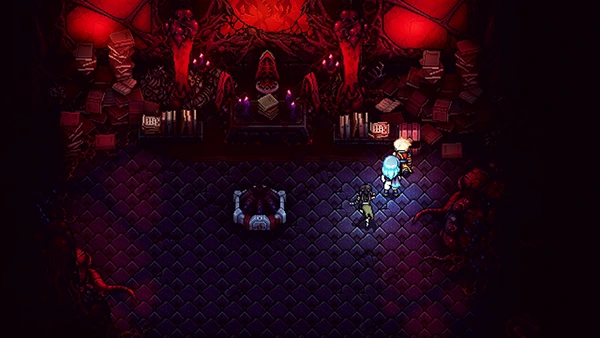
Inside you can find Question Pack #10 and a Campfire.
Head forward to fight the final fight...
Elysan'darelle - Boss Fight
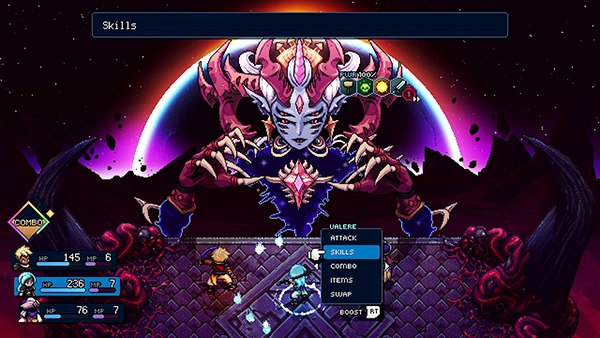
The final fight is Elysan'darelle, an abomination of Erlina.
Elysan's single target attack will deal high 70 HP damage.
Her special attacks are Telekinesis Crash, which hits two characters for 30 HP. The Pyramid, which deals high damage to all three characters.
Overall, this part of the fight is easy; after a couple of rounds Eylsan'darelle transforms.
Her new moves include her single target attack now hitting three times to random characters for 50 HP each. Crystal Touch, which encases one character that if you don't break will KO the character.
She can also use Life Leech, where she absorbs your health and heals.
Overall, we found ignoring the Crystal Touch skill to be the best strategy. Having a party setup of Valere, Zale and Resh'an allows for healing in between deaths, whilst also maintaining a decent amount of damage.
Check out the video below for more tips:
When you defeat the boss, you'll have a mini-battle with a World Eater. It's quite easy!
And that wraps up the walkthrough for Sea Of Stars! Hopefully this has been useful and helpful for you!
Completing the game unlocks New Game+ and a whole host of other areas of the game. You can now also attempt to unlock the Secret Ending in Sea Of Stars.
We'll be adding more guides to our Walkthrough page soon.
Let us know in the comments what you thought of Sea Of Stars and any suggestions for improving this guide!
Discussion