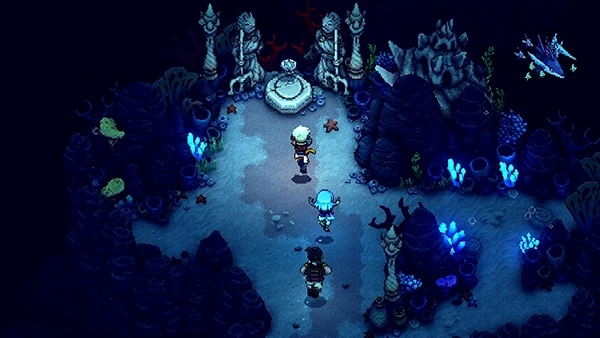
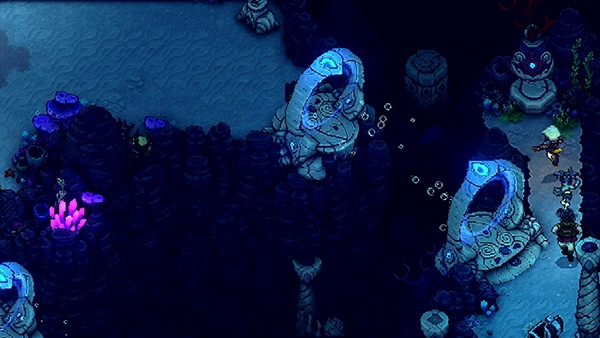
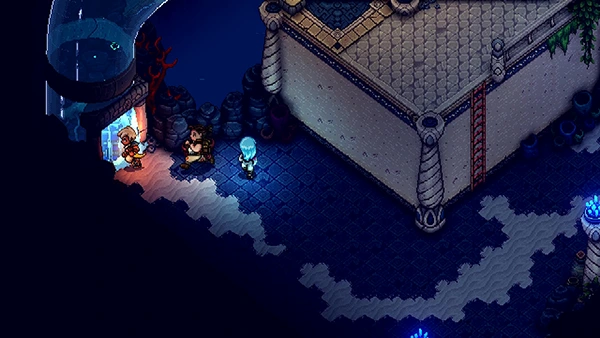
After leaving Jungle Path, we now can explore Lake Docarria, which is an underwater town- home to the Docarri Village! From there we will take on a new challenge at the Tower Of Antsudlo!
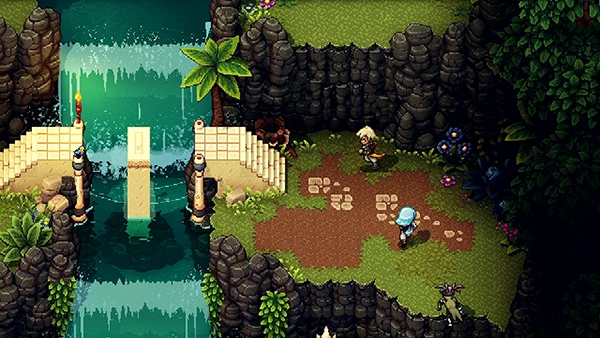
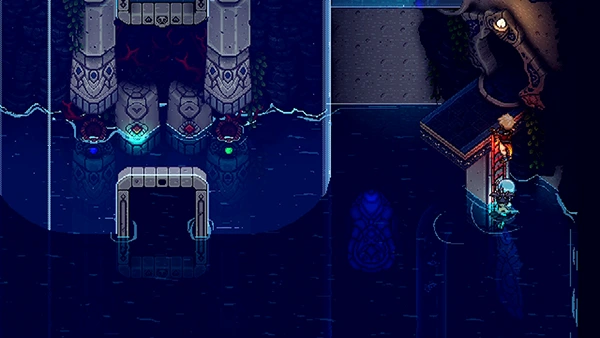
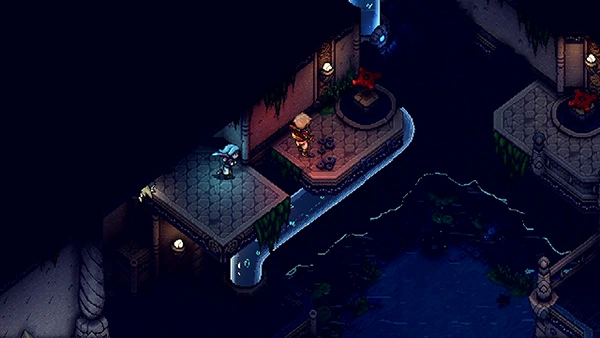
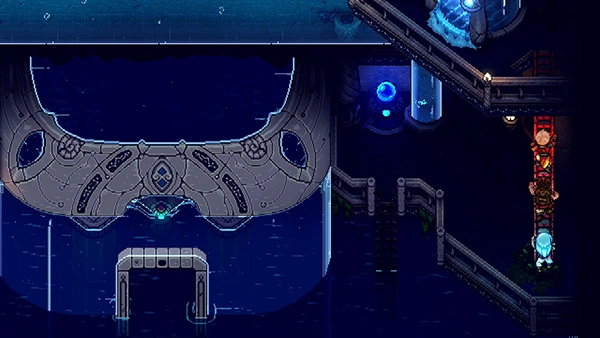
When arrive at Lake Docarria, you'll notice its just a giant lake. You can swim across it to seek out a bell in the top-left corner; using your Coral Hammer on it will reveal a bridge allowing you to access the house at the top.
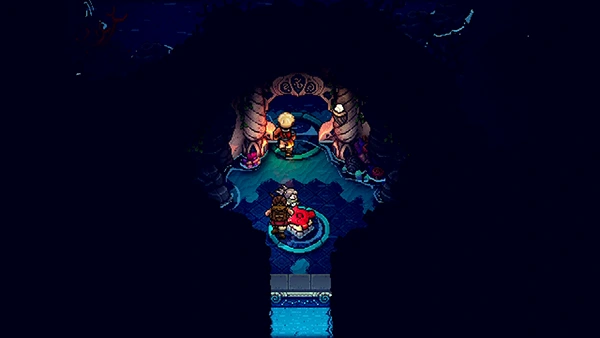
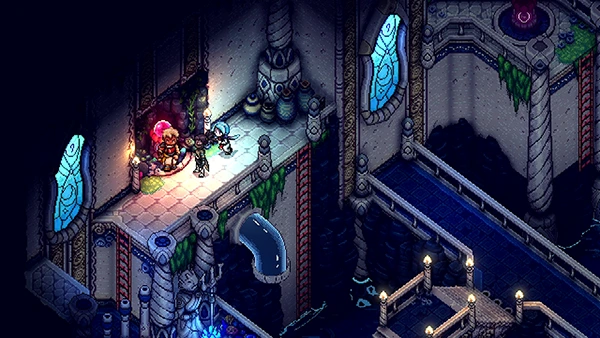
Inside, you'll speak to Temple Servant. In order to access Lake Docarria and speak to the Oracle Of Tides, you must learn to breath underwater.
The Temple Servant lets you choose a shell, and tells you to visit the Sacred Grove. The Temple Servant also unlocks the door on the right of Lake Docarria, allowing you to exit and head towards Sacred Grove.
In this part of the guide you can find:
- [Weapon] Coral Daggers
- [Combo] Moon Shiv
- Rainbow Conch x5
- Sapphire Ore x2
- Vendor: [Armor] Pearlescent Apron
- Vendor: [Armor] Docarri Armor
- Vendor: [Weapon] Coral Staff
- Vendor: [Weapon] Coral Sword
- Vendor: [Weapon] Coral Daggers
- Old Coral Vase
- [Armor] Thalassic Cloak
- [Weapon] Phosphorite Lid
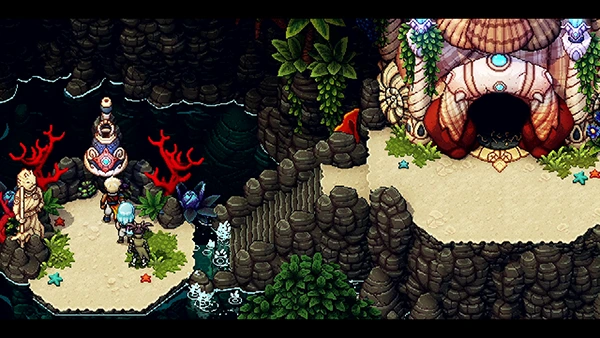
Sacred Grove

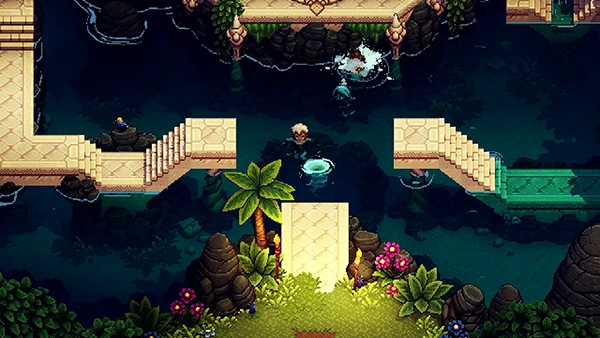
Sacred Grove is on the left side of the World Map. If you fancy a bit of fishing, you can also access Watcher's Pond.
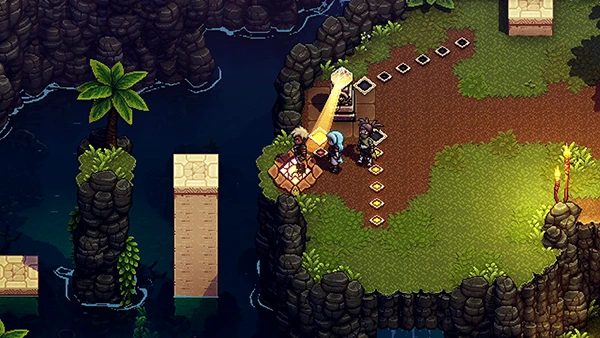
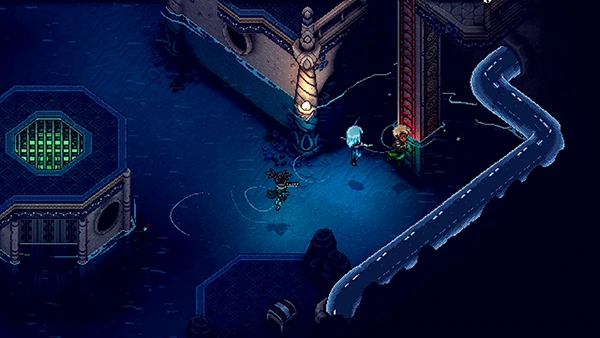
When you arrive at Sacred Grove, you'll notice a campfire and save point on your left. Take the right side and head across the bridge.
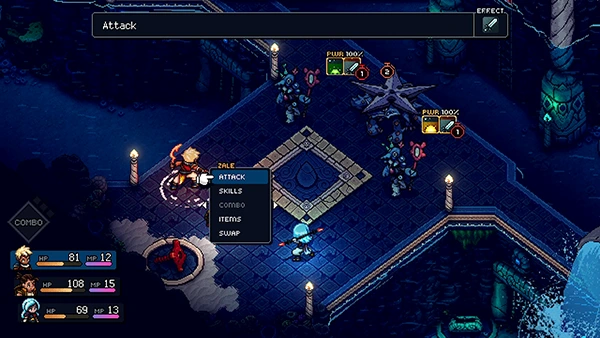
Use your grapple to pull out the stair and climb up. You'll then be ambushed by two Prapra.
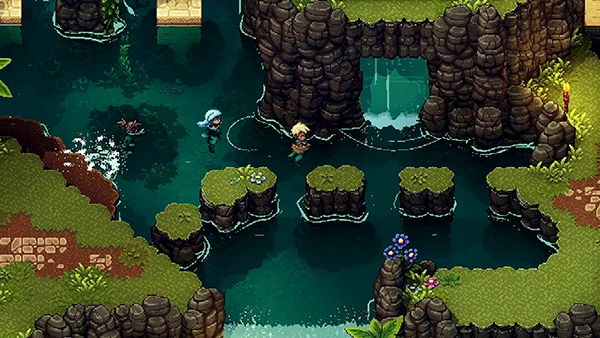
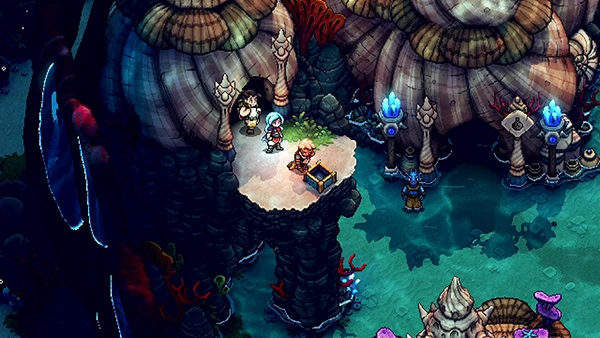
Jump into the water and swim towards the waterfall on the right; inside is a cave where you can find a Treasure Chest containing Coral Daggers.
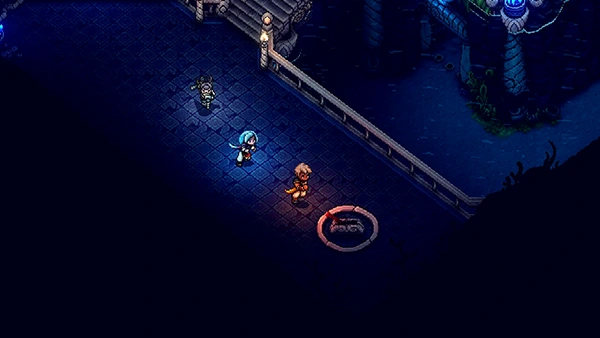
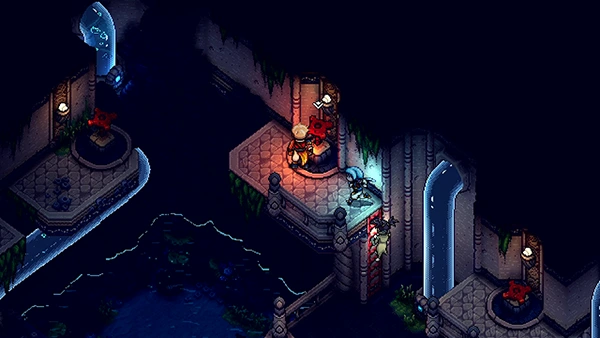
Exit the cave and climb back out of the water, making your way across to the right side; use your grapple to pull out the stairs and then fight the mobs next to the sundial.
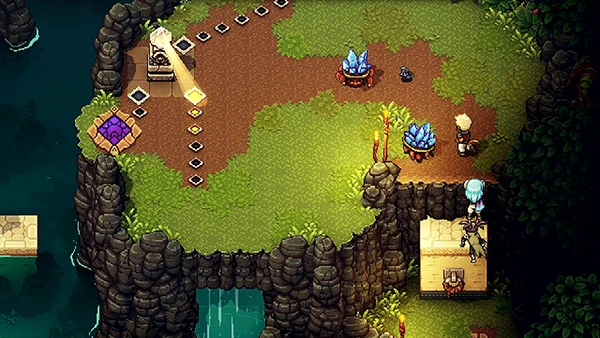
Use the Celestial Rune to point the Sundial towards the top-right tiles. You will need to make a dash for the top stone pillar before the full-tiles are lit up.
Climb up and defeat the mob. Now collect the Combo Skill Moon Shiv.
Now head back down to the Celestial Rune and this time light up the tiles on the right and then quickly switch to the left tiles. Make your way across the stone pillars on the left.
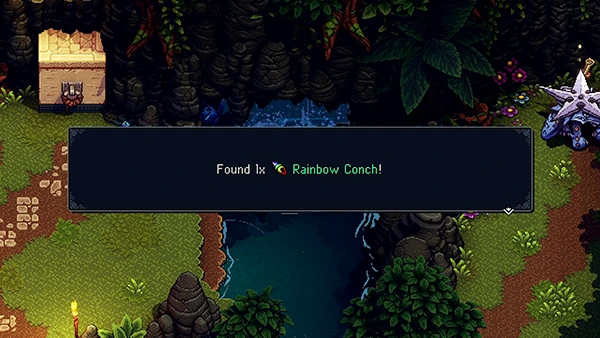
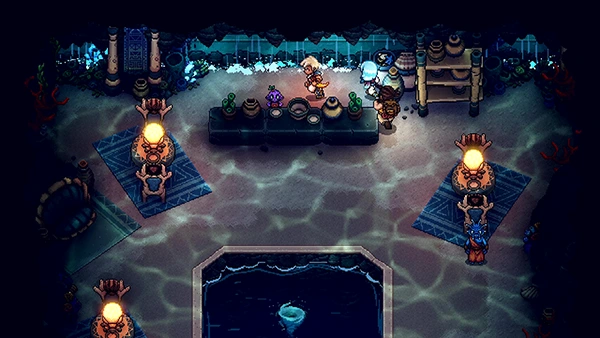
Climb up to the top where you'll fight some more mobs; then jump into the water and pick up the Rainbow Conch behind the Waterfall.
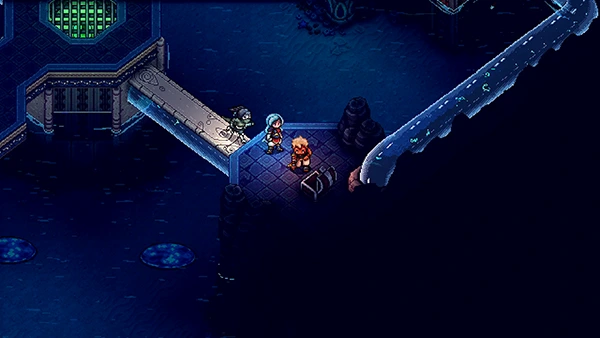
Climb out of the water onto the left and use your grapple to pull out a stair. You'll eventually come to a water area with a bridge; take the left side first to open a Treasure Chest containing a Sapphire Ore.
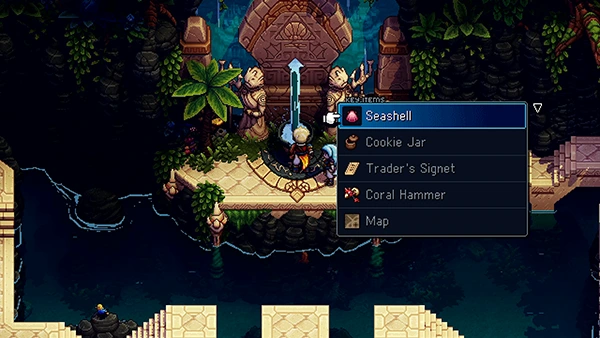
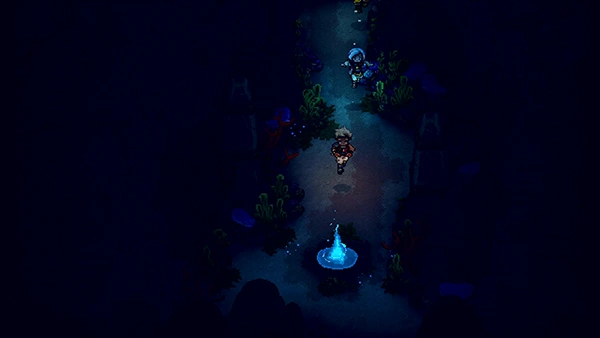
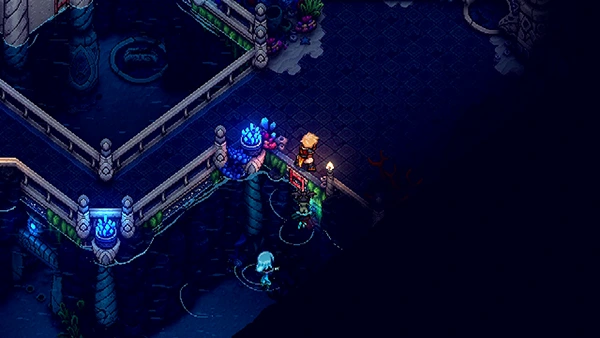
Now take the right hand side and head towards the fountain; use your Seashell to reveal a Whirlpool in the water and turn to Seashell into Magic Seashell.
You can now swim underwater! You can access the Whirlpool in the water.
Take the path down until you find another Whirlpool to exit the Sacred Grove.
Now it's time to head back to Lake Docarria.
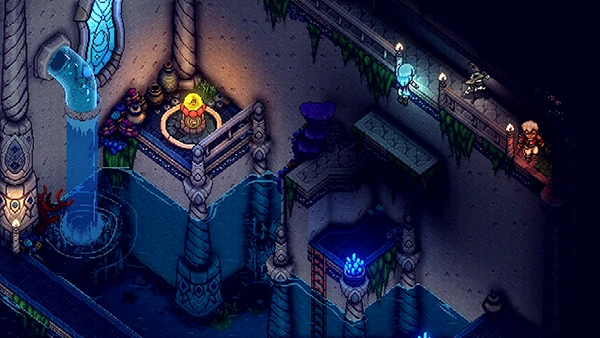
Docarri Village
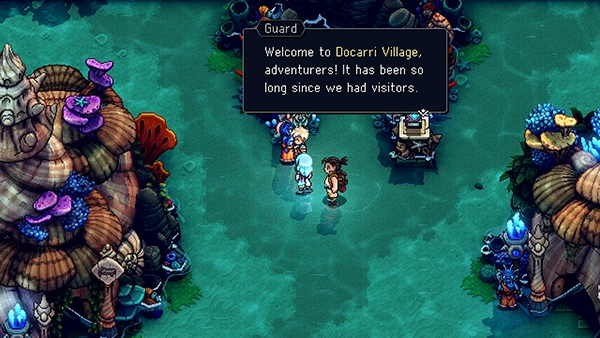
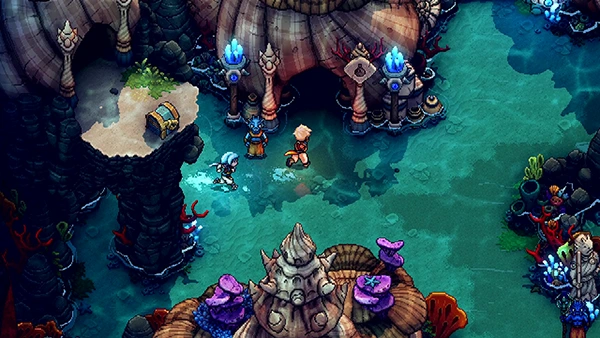
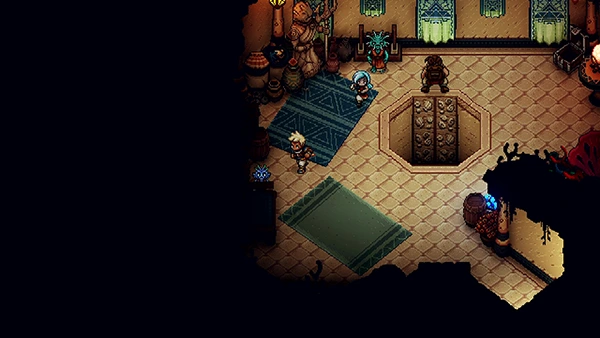
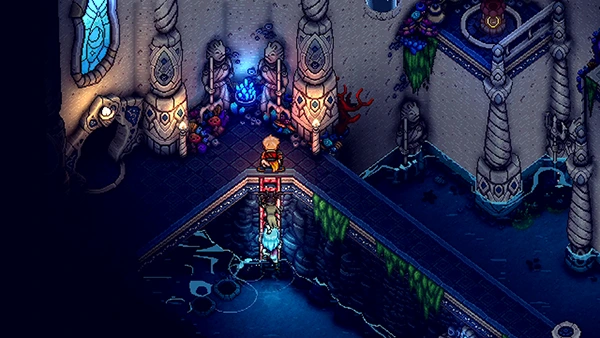
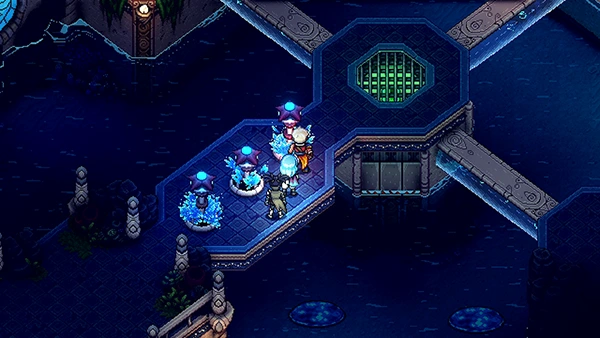
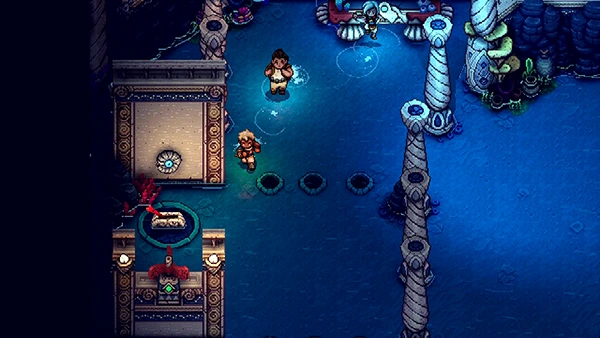
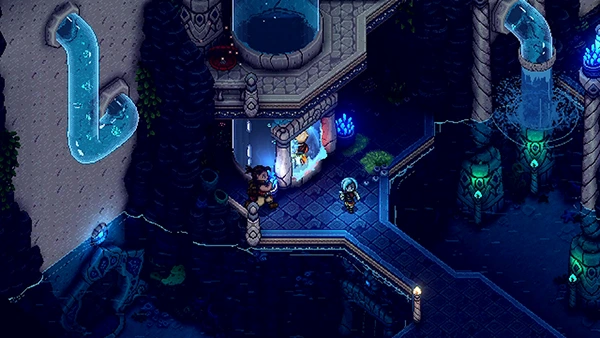
Upon arrival, you'll notice a new Whirlpool pops up in the middle of Lake Docarria. Swim towards it and enter Docarri Village.
Plenty of exploring to do in this town, so first head to the house at the bottom-right. In this house there is a Lever at the top-right; pull it and then jump into the Whirlpool.
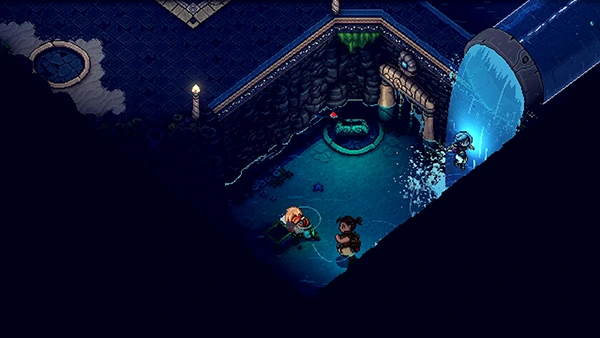
Follow the cave along and you'll come to a house; speak to the Villager and he will make way for the Town Of Mirth. In the corner of the room is a Rainbow Conch!
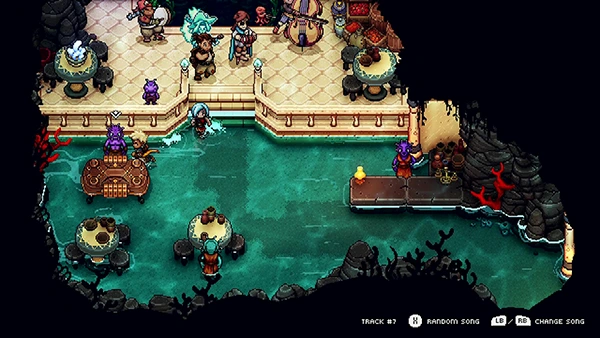
Now return to the village and head to the inn at the bottom-left of the map. Inside you'll find a new Wheels Game where you can win a Silver Wheel.
Now head to the house at the top-left.
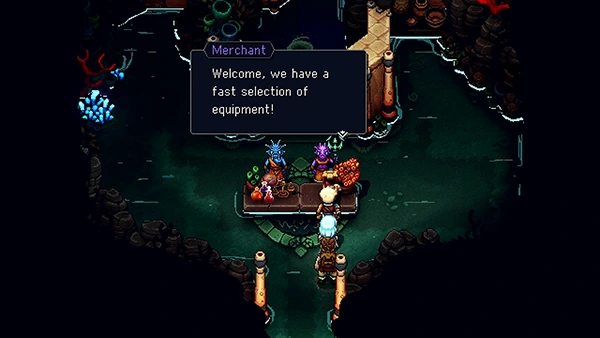
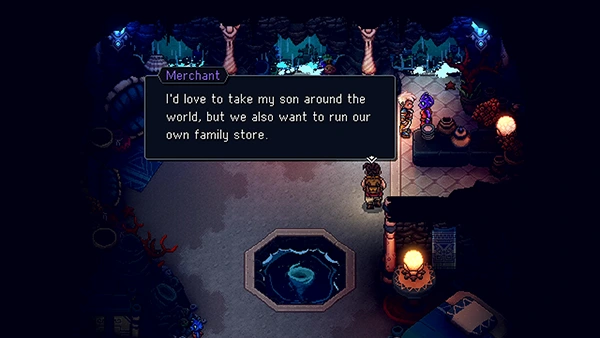
Inside you can find a Merchant who will sell you:
- Pearlescent Apron
- Docarri Armor
- Coral Staff
- Coral Sword
- Coral Daggers

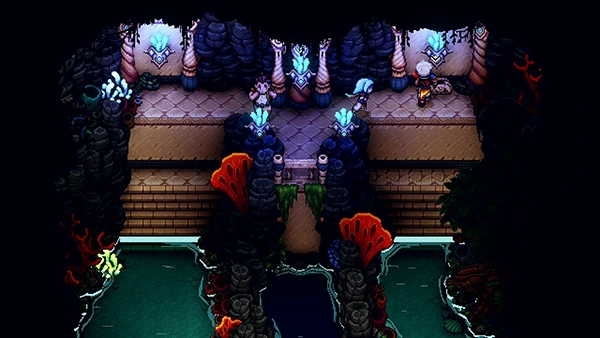
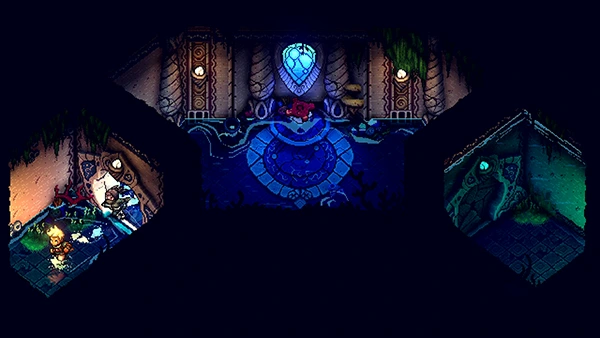
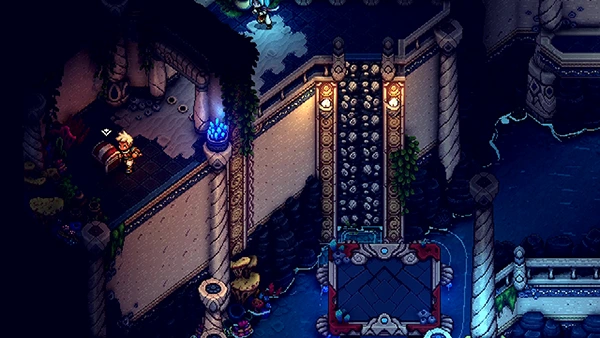
If you head behind the merchants, you can access another Whirlpool. In the cave, ignore the first Whirlpool you come across and instead head up to the second.
You'll come to a room with a Treasure Chest in the corner containing Old Coral Vase.
Exit the room from the south, where you can find a Treasure Chest containing a Rainbow Conch.
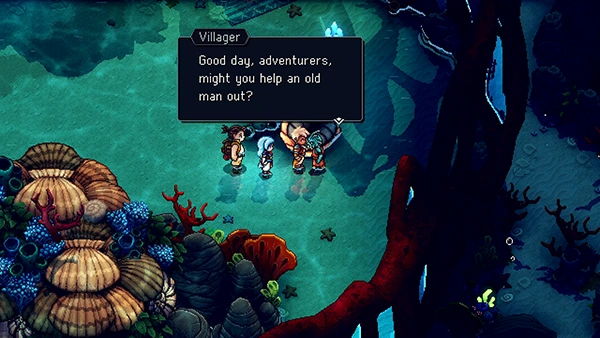
If you head to the right side of the village, you can find a Villager looking for his three grandkids. Their locations are:
The house at the top-right; enter the Whirlpool and you'll come to a room where you can save one of the grandkids. There is also a Treasure Chest in the corner containing Sapphire Ignot.
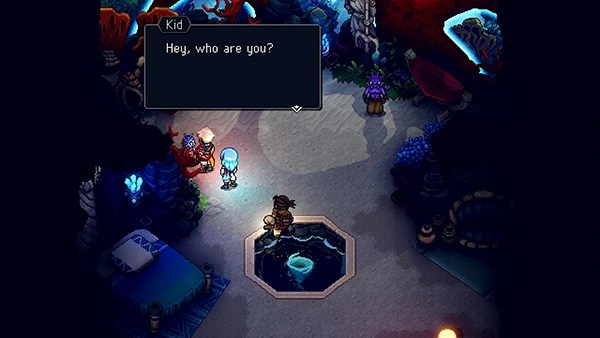
Head to the Merchant house (top-left) and enter the Whirlpool at the back of the shop. Take the first Whirlpool on the left and you'll find one of the Grandkids standing behind a table.
Then exit that room back to the cave and take the second Whirlpool at the top of the cave. Climb up the wall and you'll come to a house where you can find the third and final Grandkid.
Return to the Villager and he will give you a Rainbow Conch.
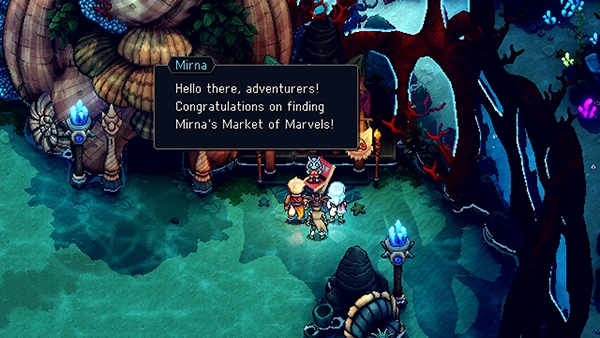
You can also access Mirna's Market Of Marvels and trade in your Rainbow Conch for rewards!
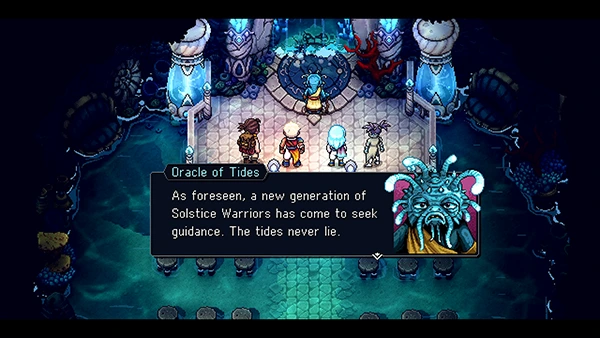
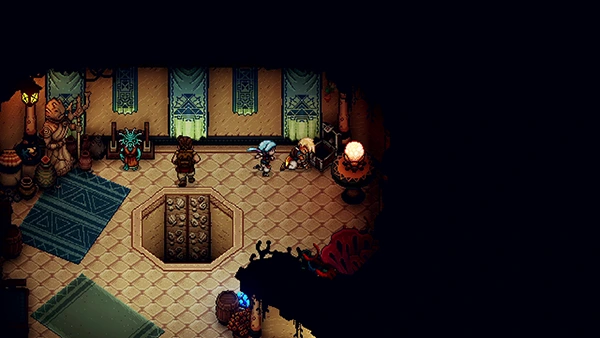
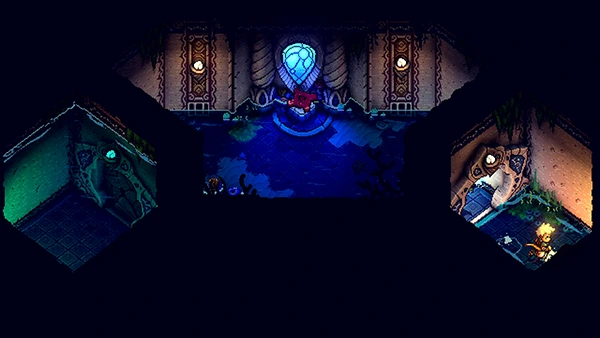
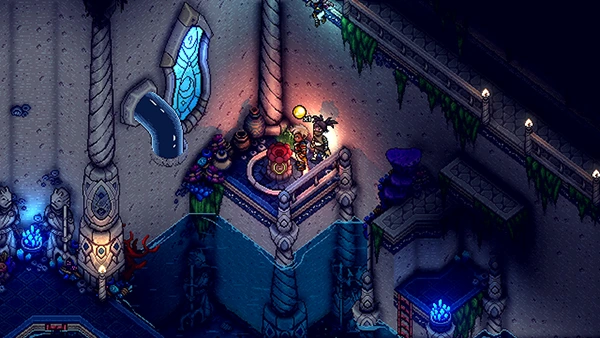
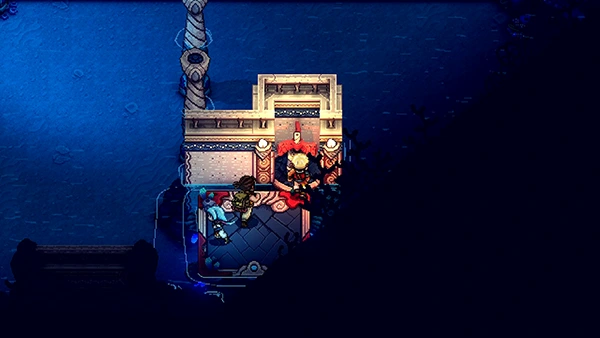
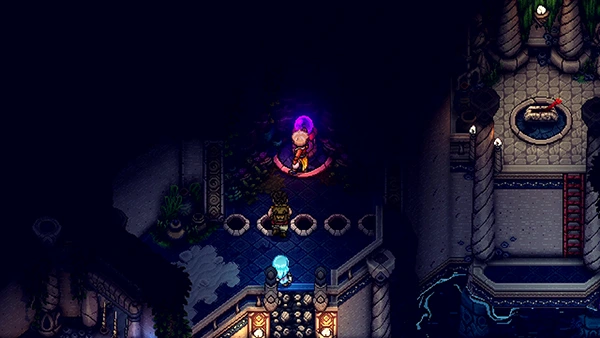
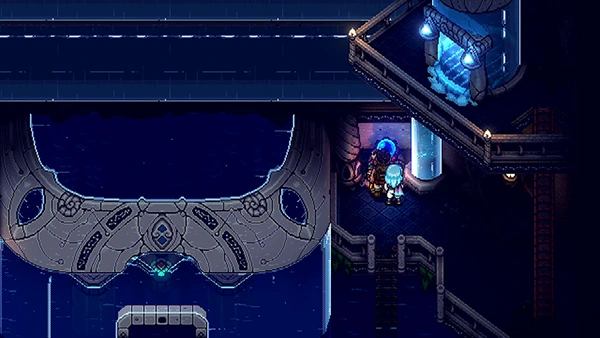
Now head to the house at the top of the village where you'll meet the Oracle Of Tides.
The Oracle tells you that you cannot defeat the Dweller Of Strife in battle. Zale and Valere still are determined to fight and the Oracle tells them to head to The Tower Of Antsudlo, which is through the waterfall.
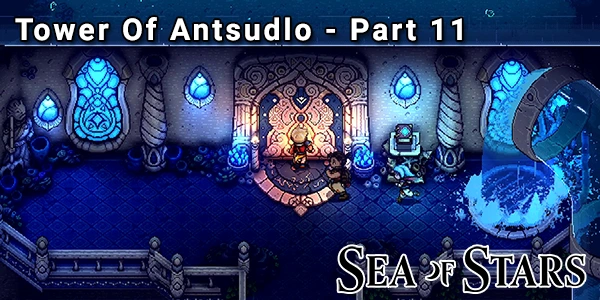
Tower Of Antsudlo
Ah, a giant big puzzle! We love them in Sea Of Stars and the Tower Of Antsudlo is no different to others. It starts off easy and gets more and more complicated.
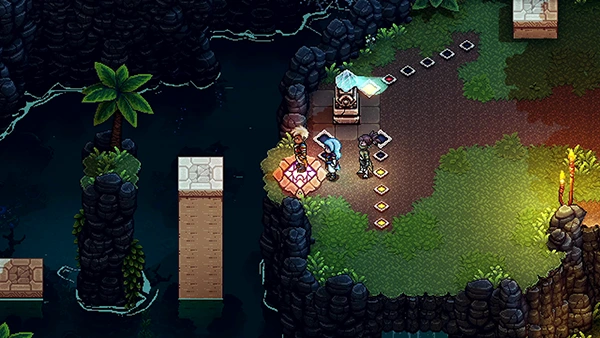
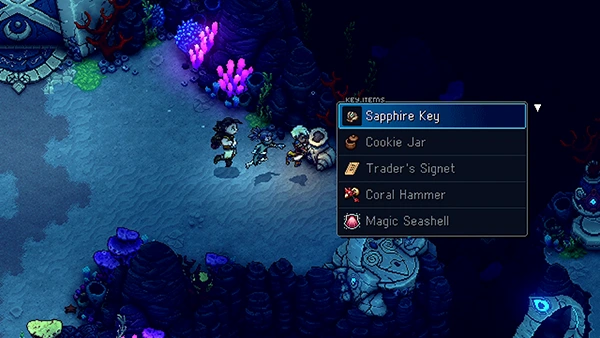
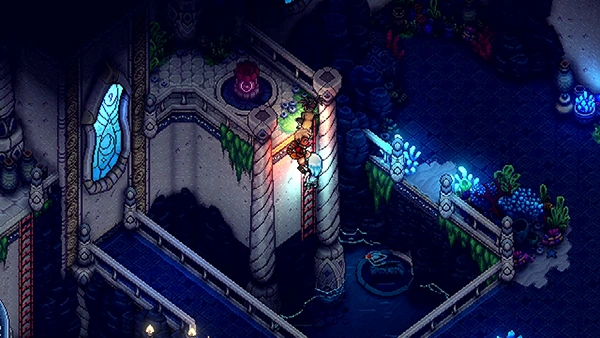
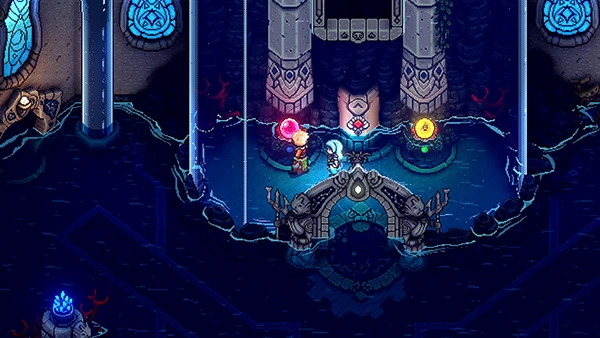
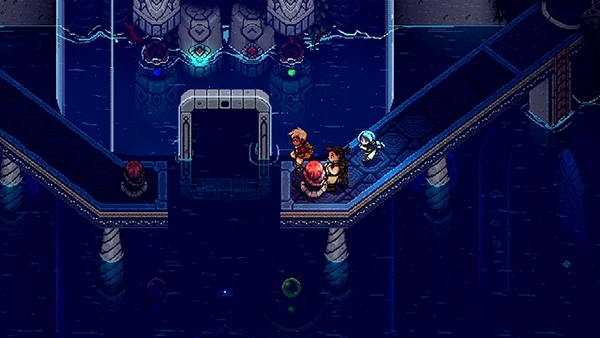
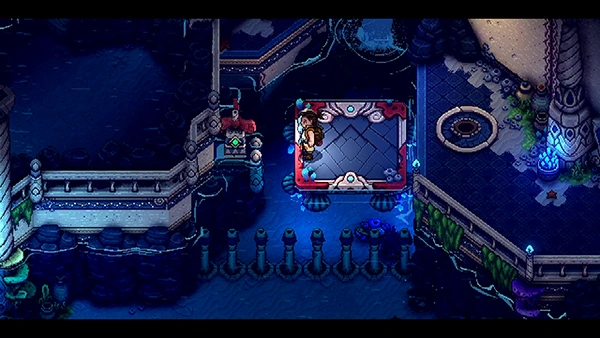
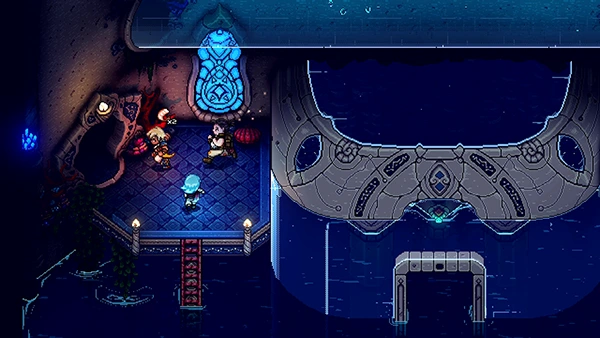
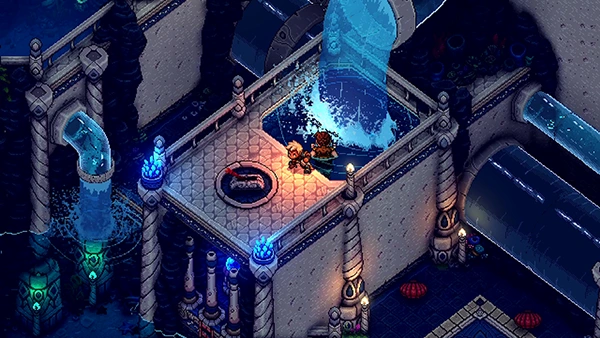
This underwater labyrinth begins in a simple cave; retrieve the shell fossil called a Sapphire Key at the top of the cave and then place it next to the Teleporter. This will activate it and teleport you to next area.
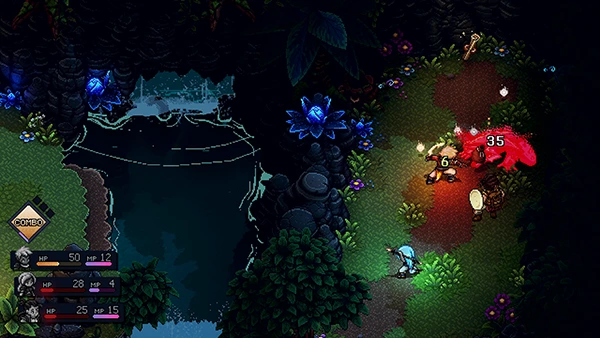
In the next area you'll come across two mobs; their attacks are kind of slow! Once you defeat them, take the teleporter north and keep following the path.
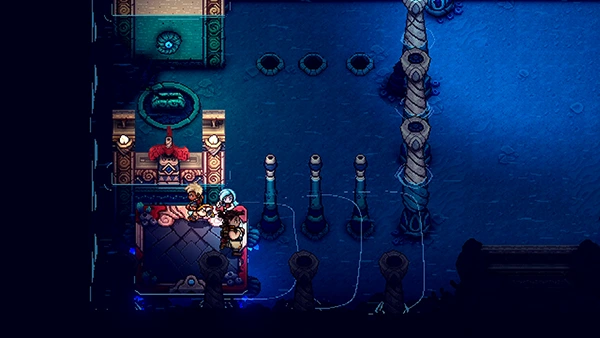
You'll eventually come to a door; take the path of the left and use your Coral hammer on the bell. You'll notice one of the symbols on the door light up.
Now take the Sapphire Key on the left and head to the right side of the door and use it to activate the teleporter.
Take the Sapphire Ore from the Treasure Chest and then ring the second ball with your Coral Hammer.
You can now access the main door!
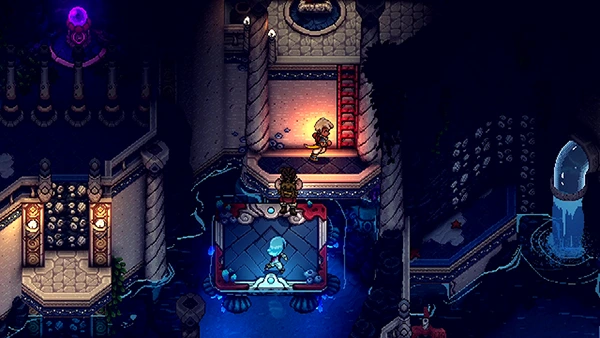
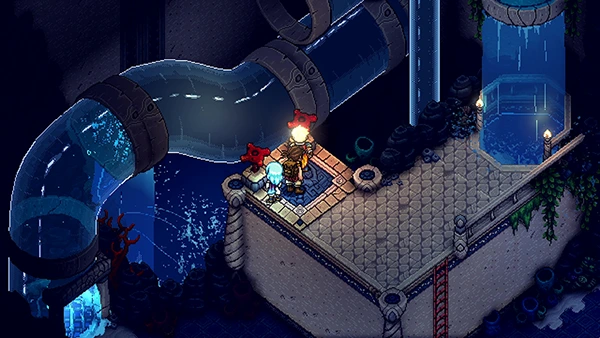
Inside you'll find a Turbine you can twist; this will reduce the water level. Enter the room further up to find a Campfire and save point.

Enter the next room to find three mobs. Take them out. In this room are two exits; one on your left and one on your right. Take the right exit first.
You'll come to a corridor; spin the Turbine to open the door at the end of it.
You'll come to room that is full of water; jump into the water and climb up the ladder in the center of the room. Make your way further up and jump off the right side so that you land onto the platform with the Lever. Pull it.
Now jump back into the water again and climb up the ladder again; this time take the exit on the left and pick the Yellow Pearl. This will cause the water level to drop.
Jump down and access the area with the two mobs; defeat them and take the red ladder to exit the room.
Return back to the main room and this time take the exit on your left.
You'll come to another corridor with the same mechanic; turn the Turbine to reduce the water level.
In the next room, head to your left and jump into the water, taking the ladder on the left. Pick the Pink Pearl and the water level will drop; jump back into the water and pull the lever.
This will allow you to pass through one of the gates below you; pass through it and make a left turn under the bridge and climb the red ladder. Here you can put the Pink Pearl to cause the water level to rise again.
Jump down the ladder again into the water and swim to your right to exit the water. Now head across the bridge and take out the mobs.
Pull the Lever in the bottom corner of the room and then go retrieve the Pink Pearl. Now head back across the bridge and exit the room.
Once back in the main room, place both pearls at the Elevator and use it to go up.
On this level, take the room on your right. Follow the corridor round until you come to a big room.
Jump into the water and climb up the red ladder on your right. At the top is a Turbine to twist.
Now jump off onto the platform below and climb up to find another Turbine to twist.
Two bridges should now have appeared; jump into the water and climb up onto the center platform.
Take the bridge leading to the Treasure Chest that contains a Thalassic Cloak.
Now take the bridge on the left, climb up the walls until you come to another Turbine to pull.
This will activate three water turbines on the main platform. Turning them aligns up three panels; if you get them all in a row it will reveal a podium in the middle containing the Green Pearl.
Take it and exit to the main room. Use your Grapple to now access the room on the left.
Follow the corridor until you come to a room with a floating platform. Next to it is a Propeller; use your Air Push ability to activate it and bring down the barrier.
Now move the platform with your Air Push ability. Take it south and you'll find another Propeller that you can activate.
Now head to the left to find another Propeller. Activate it to bring down the walls.
Use the platform to take you to the center of the room where you can find a platform with a red ladder on it; climb up and push the Lever on top.
Now cross over to the wall on your left, climb up and pick the Purple Pearl. This will cause the water level to go down.
Jump back down and find the Lever on your left. Pull it and climb back up to where the Purple Pearl was.
Now you can access the Treasure Chest containing a Phosphorite Lid.

Take return to the main room and place both Pearls either side of the Elevator and ride up to the next level.
This time take the passage on your left.
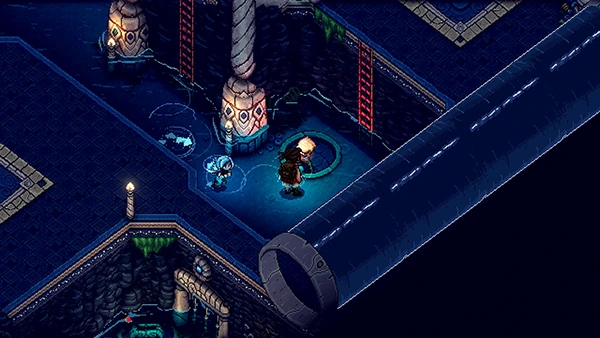
Follow the corridor round and you'll come to a room with a giant tube; enter it and you'll be teleported to another room.
Climb out of the water and take out the three mobs. Once defeated, pick up the Valve on the floor.
Now exit the room by taking the giant water tube on the left.

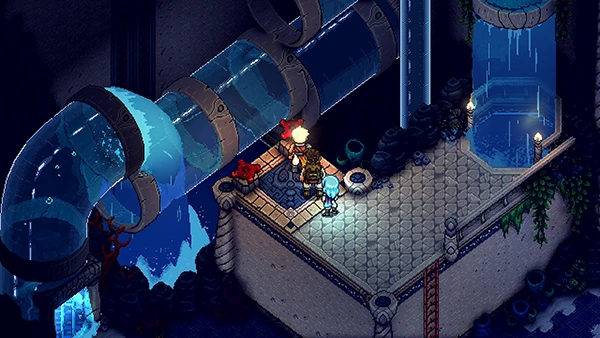
You'll be back in the previous room; place the Valve on the square platform. Push the Turbine and it will replace one of the giant water tubes with another.
Now access the giant tube and you'll be teleported back to the other room, but this time in front of a Lever. Pull it.
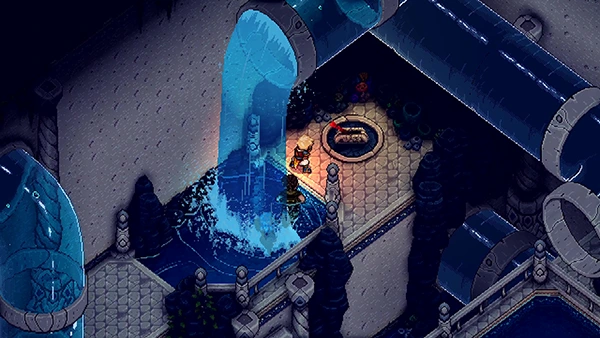
Climb down and pick up the Blue Pearl. This will reduce the water level; jump down and pick up the other Valve on your right.
Climb up the ladder and place the Blue Pearl to raise the water level again. Now exit the room through the giant tube (same as before).
Place the Valve on the square platform and push it. This will again change the giant tube.
Enter the giant tube and you'll be teleported to the same room again with a Lever nearby. Pull it. This opens up the gates.
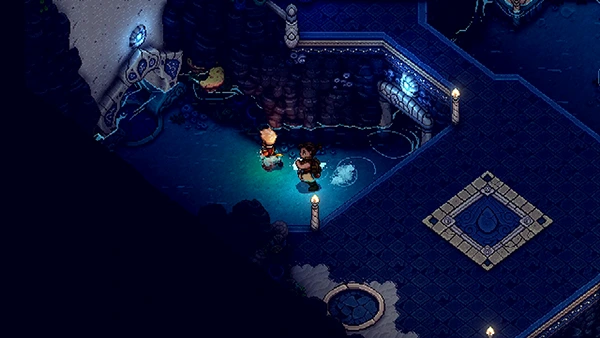
Jump into the water and pick the Blue Pearl to reduce the water level and enter the room where the gates just retracted.
Follow the corridor round and you'll come to the main room with the Elevator. Place the Blue Pearl on the podium.
Jump back into the water and head back to the room on your left. Find the Turbines and twist both of them so that the giant tube returns to it's first state.
Enter the giant tube and you'll end up back in the room but this time able to get the Treasure Chest containing a Rainbow Conch! Pull the lever and exit the room.
Now climb up the ladder near the Blue Pearl Podium. Enter the giant tube.

You'll come to a door; interact with it.
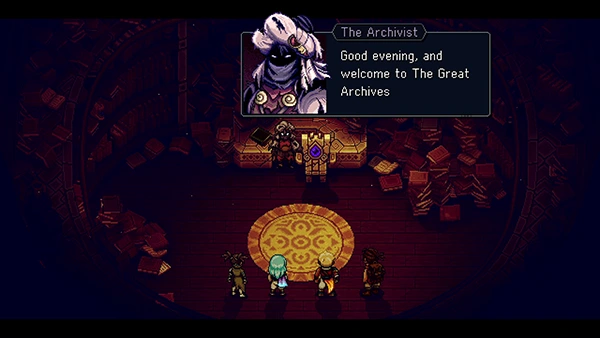
Turns out the door leads you to The Great Archives!
And that wraps up part 11 of the Sea Of Stars Walkthrough! Let us know if we missed anything in the comments!

Discussion