
As we journey to Watcher Island in search of stopping the Dweller Of Strife, we first need to head through Jungle Path to get to our destination.
In the last part of the walkthrough, we acquired The Vespertine ship, which now allows us to travel freely around the world map.
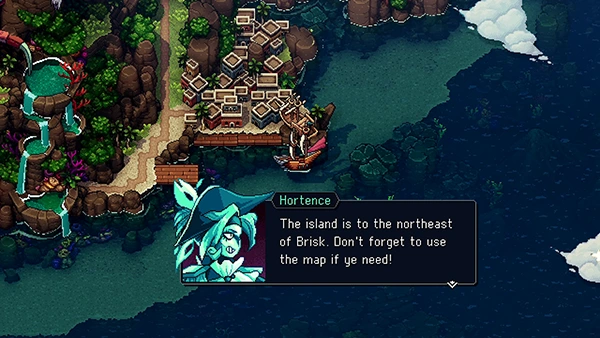
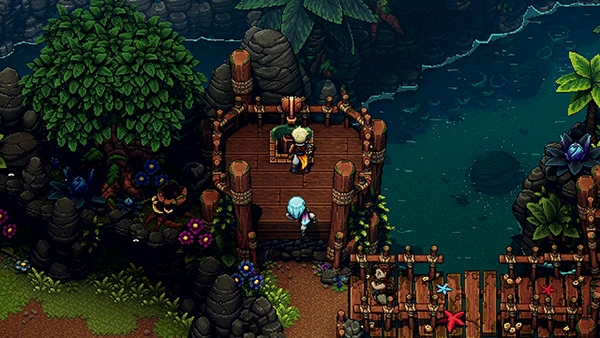
When you return to Port Town Of Brisk, Hortence decides to lend you a hand and be the captain of The Vespertine. When you're ready to take the villagers to their new island, speak to him at the docks of Brisk.
In this part of the guide you can find:
- Rainbow Conch x2
- Sapphire Ore x2
- Question Pack #4
- [Armor] Docarri Armor
- Stone Tablet Piece
Town Of Mirth
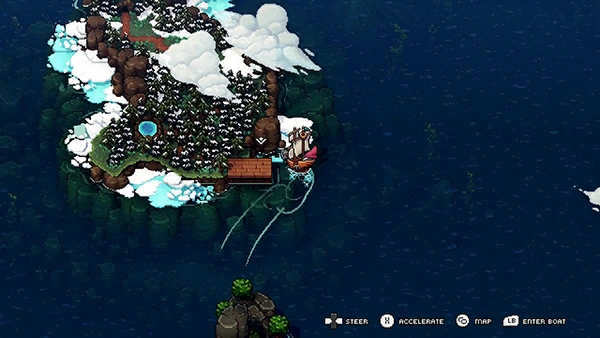
You want to seek out the Settler's Island to the North-East of the world map.
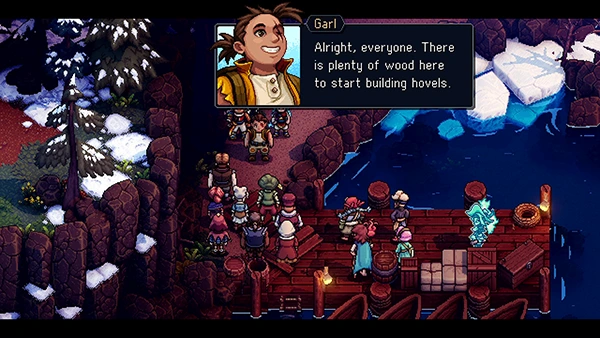
Garl takes charge and organizes the Villagers to help build their new settlement.
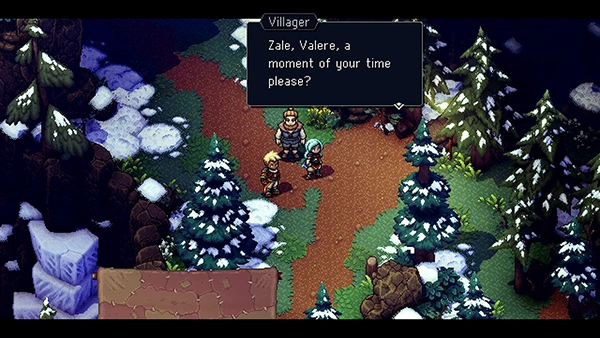
Meanwhile, a Villager tells Zale and Valere about a strange entrance to the north of the Island. You are required to leave the village for now.
You can now access a new fishing spot called Settler's Rest.
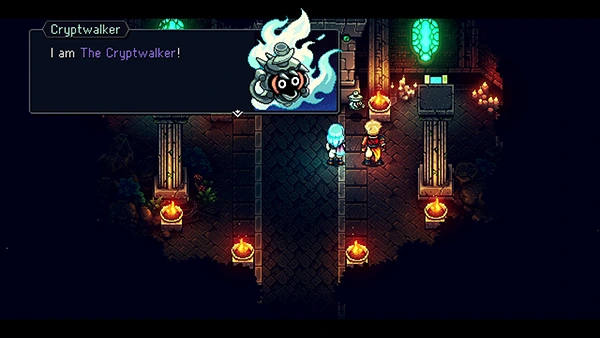
Head north on the world map until you come to the Ancient Crypt. Inside you'll find something called The Cryptwalker.
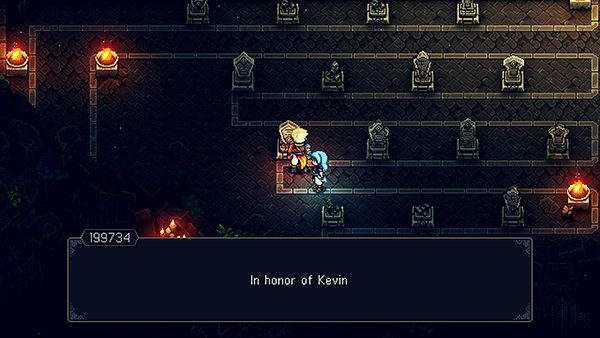
This area was made in honor of those who backed the Kickstarter for Sea Of Stars! It's a giant labyrinth of tombstones and statues that have a small dedication written on them.
The room is massive; don't do what we did and walk all the way to the end as there are no teleporters to take you back to the start (unless of course, you're interested in finding your name!)
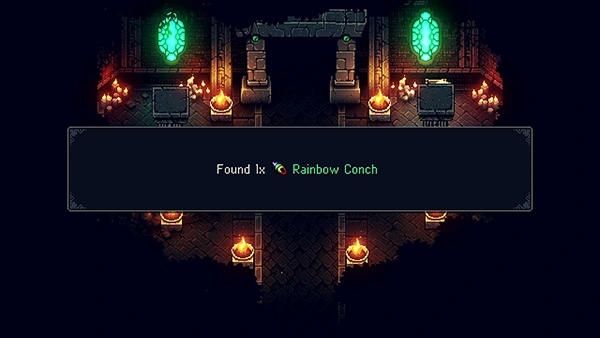
Before leaving, you can find a Rainbow Conch in the entrance room. Now head back to the new settlement.
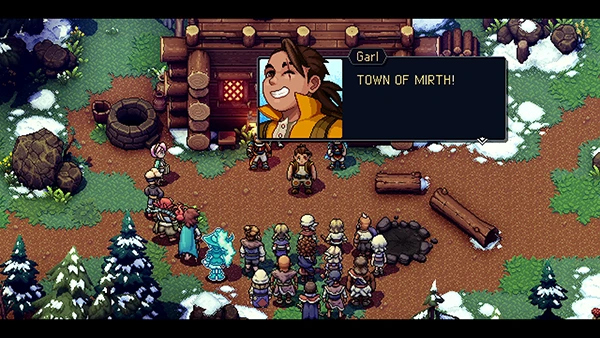
When you arrive back, Garl gathers the settlers and decides on a new name for it: Town Of Mirth!

You also get a visit from Headmaster Moraine, who seems to have had enough! He also gives you the Evermist Shrine Key, which allows you to enter the Solstice Shrine on Evermist Island (it's quite a way away!).
Check out our Solstice Shrine guide for complete it.
You are given a choice: you can either go do the Solstice Shrine or head to Watcher Island and seek out the Oracle Of Tides. It's up to you!
We'll be continuing the main journey and heading to Watcher Island.
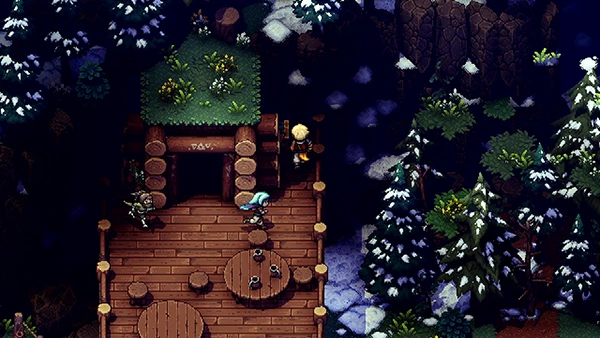
Before you leave, pick up the Rainbow Conch on the roof of the main building!
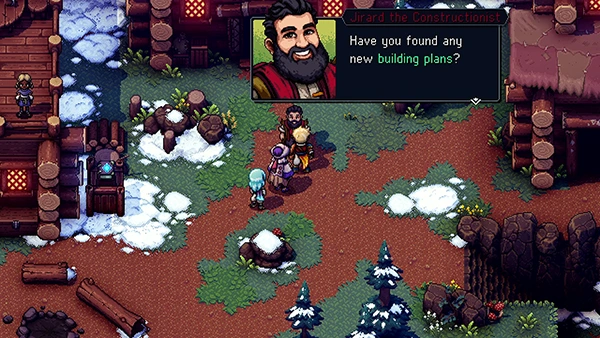
If you speak to Jirard the Constructionist, he will let you build new areas in Mirth when you come across Building Plans. You'll be able to earn all of these from Mirna's Market Of Marvels by collecting Rainbow Conches.
You will also have to recruit people to the village to manage these new buildings. Here is where you can find them:
- Weapon Shop - Docarri Village
- Inn - Town Of Lucent
- Spa - Stonemason's Outpost
- Fishing Shop - Mooncradle Inn
When you go to leave, Hortence gives you a new Ultimate Ability for Serai called Vespertine Cannons!
Jungle Path
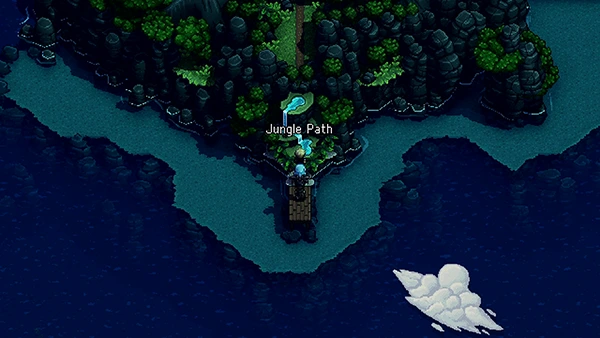
The first destination on Watcher Island is Jungle Path. We are looking to find the hidden city of Docarri, which is apparently just beyond the Jungle Path.

If you head to the right of the island, you can find a Picnic Basket on the sandy shore.
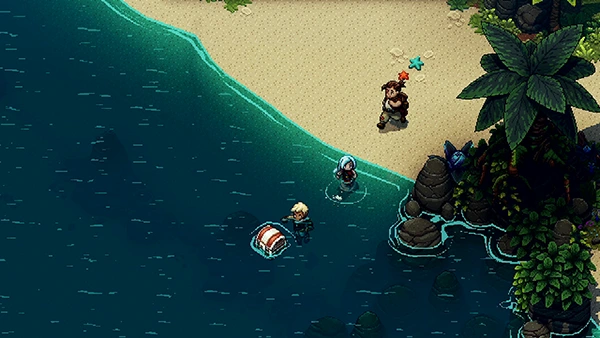
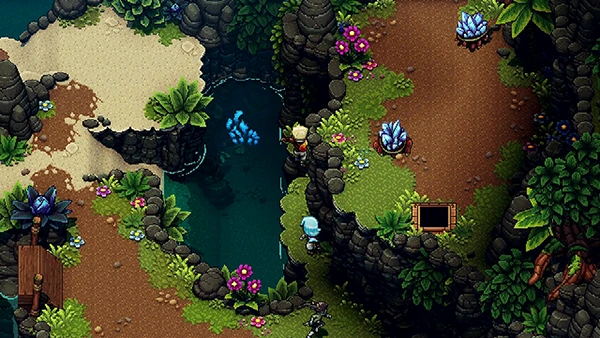
Near the entrance on the left, you can find a Treasure Chest in the water that contains Sapphire Ore.
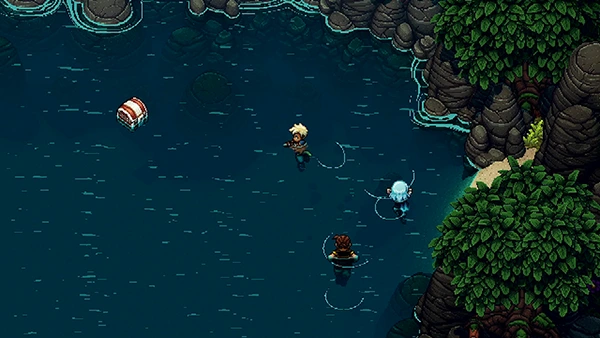
Head a little bit further up on, and in the sea on the left is another Treasure Chest containing Question Pack #4!
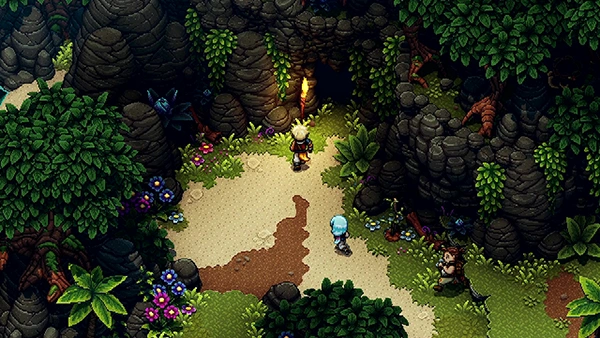
If you go further up on the left, you can find a cave.
Inside is a Garnooy that is guarding a Treasure Chest; defeat it and open the chest to find a Docarri Armor!
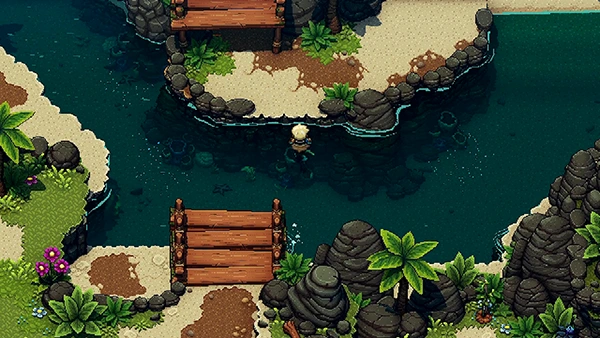
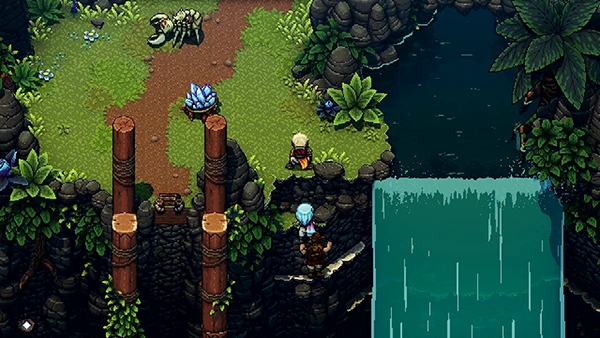
Now head up the middle of Jungle Path, past two broken bridges and into the water. Climb out and follow the path up until you come to three mobs.
Defeat them and head further up. There is a slightly hidden cave near the small pool of water.
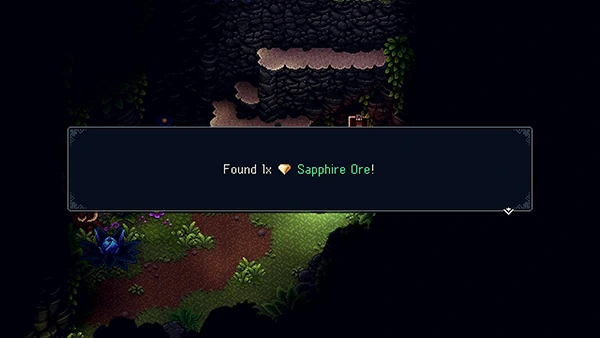
Inside you can find a Treasure Chest containing Sapphire Ore.
Exit the cave and jump into the water on your left and you'll notice the water pulls you down.
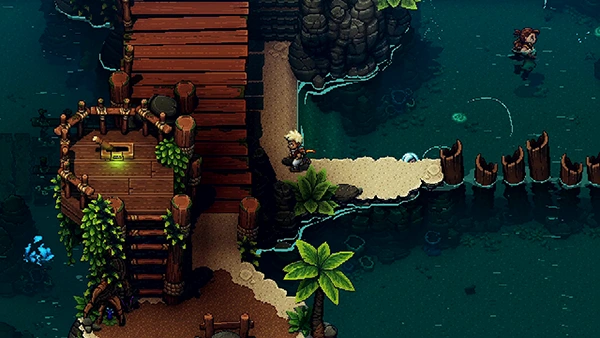
Climb out of the water on the left hand side and you can find a Lever. Pull it and it will raise a bridge.
Cross the bridge; you'll notice a fan that you can spin using your Air Push ability. I have no idea what these are for (will edit when I figure it out!)
Keep heading left and you'll get ambushed by two mobs. Take them out and head further up.
Go past the two fans and the sun dial, and walk across a branch that allows you to jump into the water.

Once in the water, climb out when you reach the middle island. Head across the branch.
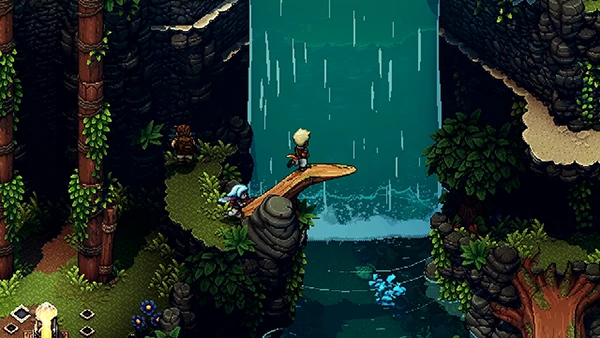
You'll then climb up a wall of vines; get off at the middle exit and head behind the waterfall.
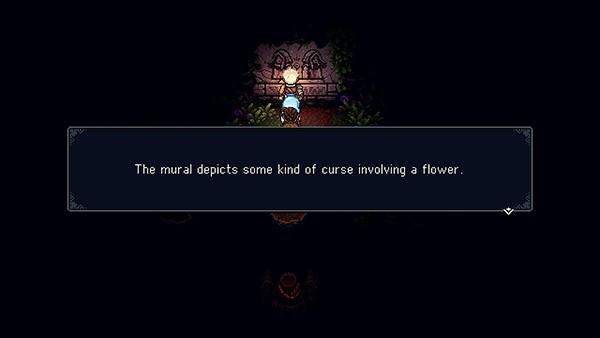
Inside is a cave that you can cross using your grapple; you'll find some ancient text on the wall and receive a Stone Tablet Piece!
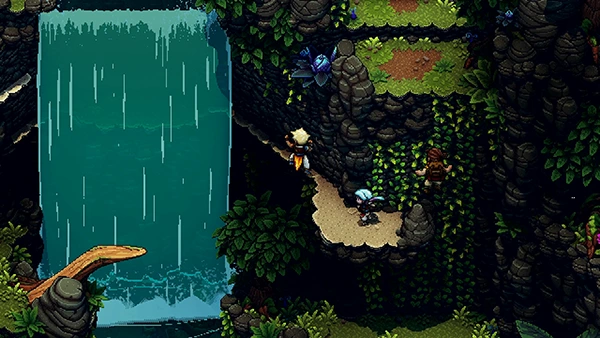
Exit the cave and climb up the side of the waterfall; head up the middle path and you'll come to a campfire and save point.
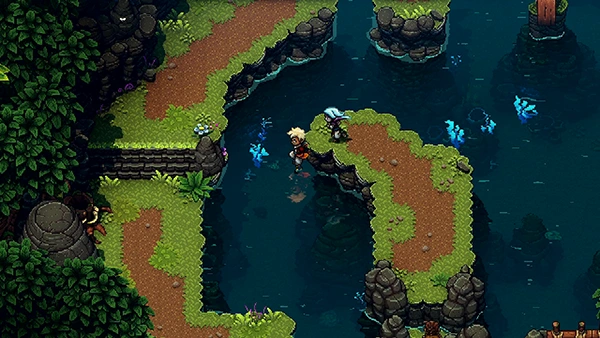
Jump across the small islands in the middle of the water, making your way left. Jump into the water and allow it to carry you down so you can get out on the left side. Now head up and cross to the right side...
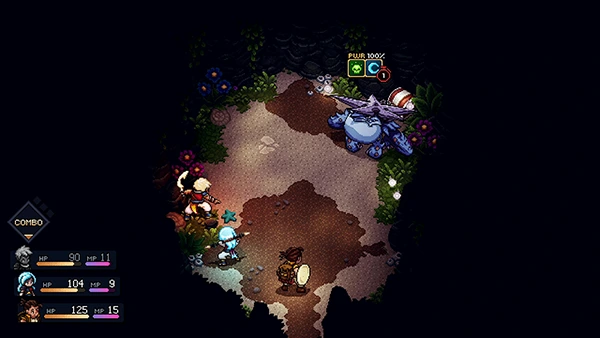
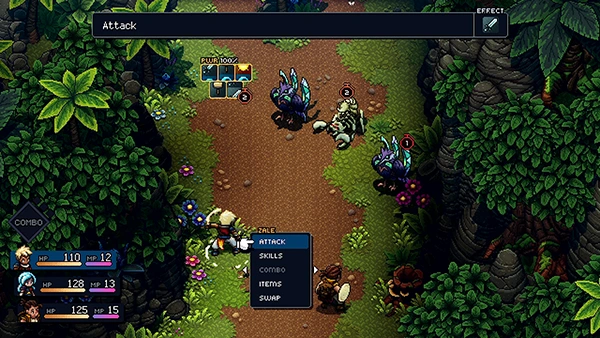
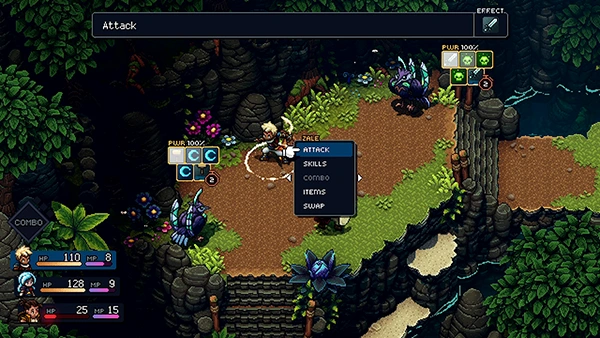
One and Three - Boss Fight

This fight can be tricky, so have your wits about you! You're facing two opponents: One and Three.
You should aim to focus on one of the enemies at once; once you get this fight down to just one opponent it becomes a lot easier.
One has a simple standard attack that deals around 30 HP to one opponent.
However, Three has a standard attack that hits up to two characters for around 50 HP!
One's special attack is called V-Attack, which deals around 30-40 HP to two characters.
Three doesn't seem to have a special attack (either that or we killed it too fast!).
Don't forget you now have an Ultimate Ability for Serai, which becomes available the more Combo moves you use.
Check out the video below:
Reward: 3,600 EXP
After the fight, One and Three take their leave. Looks like they were trying to steal the hammer off you.
If you head further up, you'll come to Lake Docarria!
That wraps up part 10 of the Sea Of Stars Walkthrough! Anyone know what you need to do with those fans?

Discussion