To stop the Dweller Of Dread, we must first access the Sky Base and deactivate the system that is causing no light to get through the clouds.
You can access the Sky Base through the newly activated Speedball Network, which is now online after we awoke the Es'tristae.
In this part of the walkthrough, you'll find the following items:
- [Armor] Sparkmesh Cape
- [Weapon] Rosewood Cork
- Music Sheet #7
- Question Pack #8
- [Weapon] Plasma Daggers
- Vendor: [Armor] Sparkmesh Armor
- Data Strip
- Moraine's Office Key
- Rainbow Conch
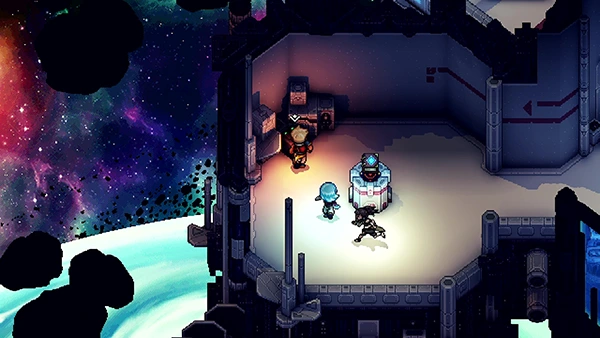
Sky Base
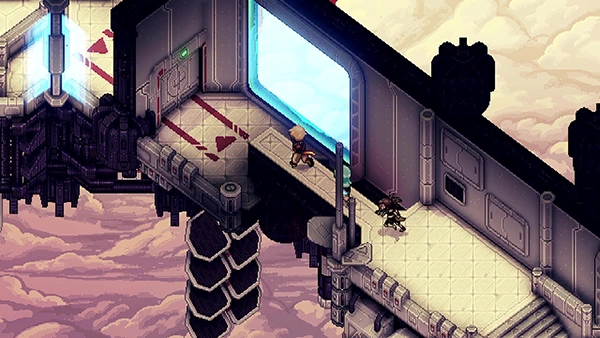
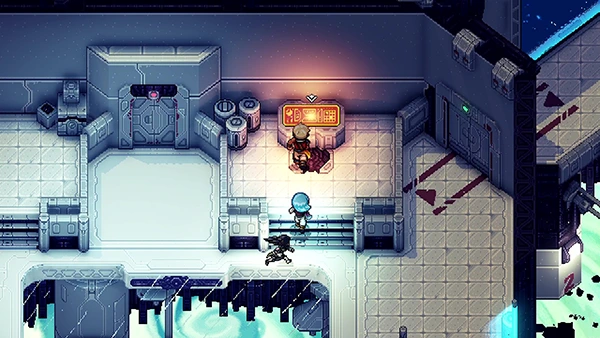
When you arrive at the Sky Base, take the corridor on your right. You'll come to another room with several mobs inside.
Keep heading right and you'll come to three consoles. These will move the platforms ahead of you; use the middle one to switch between the different platforms.
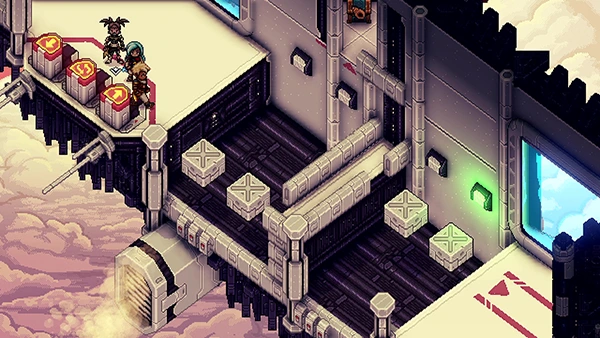
Don't forget to pick up the Rainbow Conch by pulling yourself up on the wall.
Jump across them and in the next room take out the mobs. Then interact with the console.
This will change the room on your left to a new room. Head through the corridor, interacting with the console in the wall to bring up a bridge and cross.
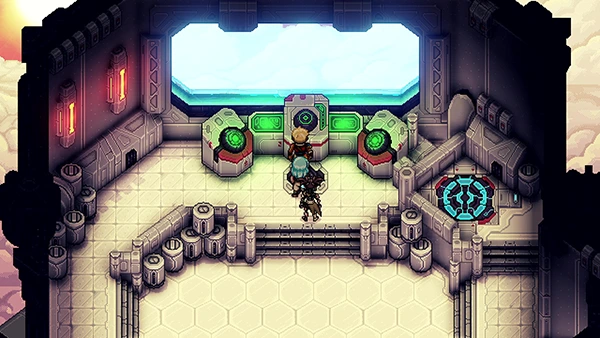
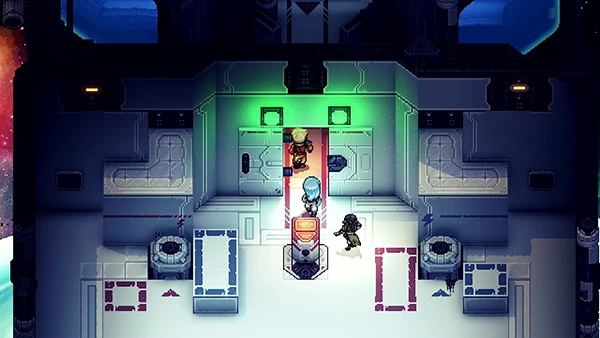
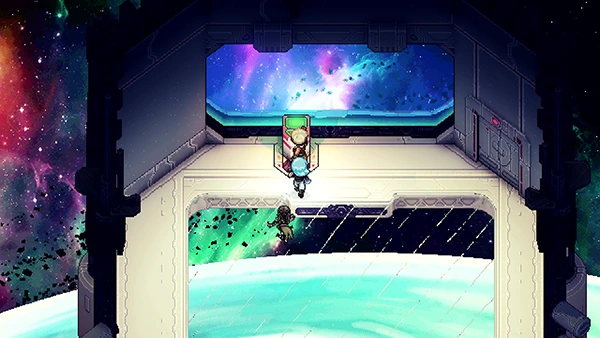
In the next room you'll see several spotlights; interact with the main console in the room and the blue teleporter next to you will activate. Use it.
This will take you to Floor 1. In the center of the room an elevator you can use to take you to Floor 2.
On Floor 2, if you head down the corridor on your left you'll come to a room with a console. It tells you the area has been locked down due to damage; but Serai overrides the console and allows you to pass through.
Keep heading left, climbing across the rope bridge and entering a new room with several mobs in.
Enter the next room on your left; stand on the orange tile and use your Grappler to hit the podium across from you. This will create a bridge in the middle of the room you can cross.
In the center of the room, you'll find two more podiums; hit the one of the left and in the bottom-right corner is another Podium you can hit. This will cause the bridge to move further up the room allowing you to cross.

Grapple across the next room and you'll find a console to activate. This will create a Teleporter in the room.
Before heading to the Teleporter, cross the room using the bottom walkway and then grapple across to two Treasure Chests containing Sparkmesh Cape and Rosewood Cork.
Now use the Teleporter and you'll return to the room where Serai broke the console. Interact with the bigger console that has now activated on the right of the room. This will allow you to access the North Wing, which is just up ahead.
In the room up ahead you'll find two pushable blocks by interacting with the orange wall consoles. The middle console will activate wall blocks.
You need to push both blocks into the slots to open up the door in the middle of the room.
Head through the door and you'll come to a Save Point where you can find a Music Sheet #7 from a Treasure Chest.
Follow the room round and you'll find some mobs near another orange console. Interact with the console and the room will move, eventually allowing you to exit through the top-right door.

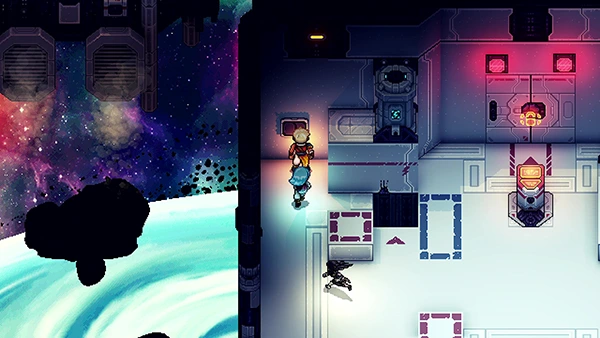
Follow the corridor and you'll come to an Elevator. In the corner is a Treasure Chest containing Question Pack #8.

Use the Elevator to get to Floor 3. Use the main terminal on Floor 3 to activate the Teleporter on your right. Use it.
This will take you back to Floor 2. Access the Elevator here and it will take you back up to Floor 3.
Head down and you'll come to a room with some mobs. In the corners of this room are two orange consoles that will move the room either left or right depending on which one you use. Interact with the right one first.

Once the room stops moving, head up through the main entrance and you'll come to a room with mobs and another main console. In the corner you can find a Treasure Chest containing Plasma Daggers. Next interact with the main console.
This will activate the orange console in the previous room below you and allow you to move the room left. Move the room left twice.
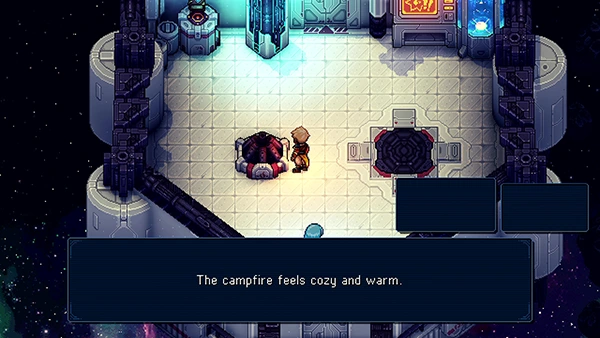
Here you'll come to a room with a Campfire and Save Point. There is also a Vending Machine in the corner that will sell you items:
- Sparkmesh Armor
Head further up...
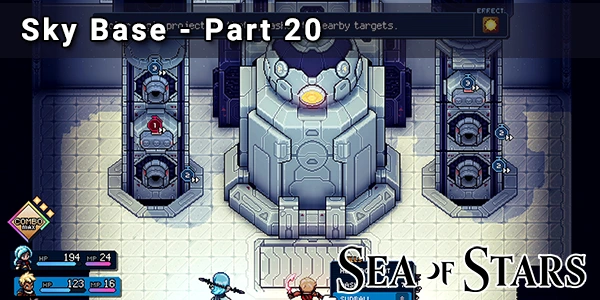
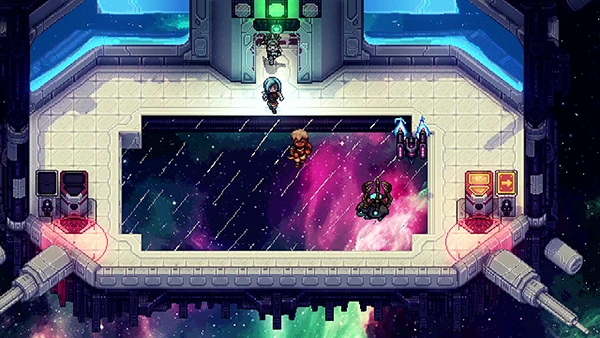
Catalyst - Boss Fight
The Catalyst fight starts off with you needing to take out two walls that have Repeater mobs installed on them. Destroying them will reveal other machine mobs that you'll need to take out.
Once both walls are taken out, the real fight begins.
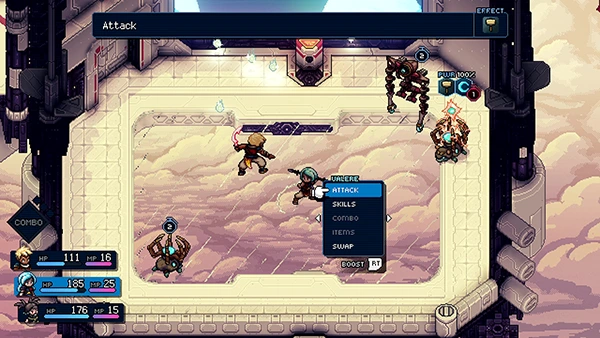
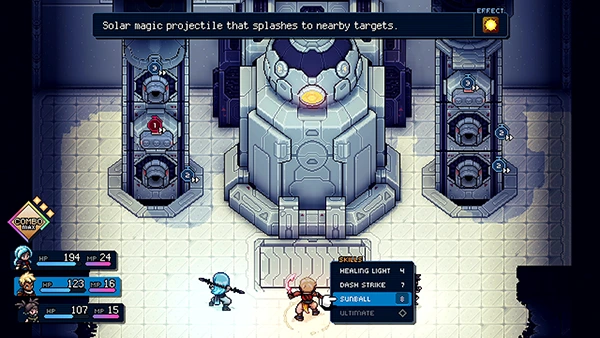
The main boss has 6 active mobs surrounding it. They have little HP, but they can do a lot of damage when chained together. When you defeat all 6 of them, The Catalyst will pause for 3 moves and allow you to deal damage to it.
The Blaster mob (the fires a single beam at a character) resist physical damage (sword and shield icons) so use magic on them when you can.
The Salvoer mobs will hit everyone, so if you have to choose on which ones to take out first, these should be your main priority.
Resh'an's Ultimate is a life-saver here. It can destroy all 6 in one go and give your party a full heal.
You'll need to go around 3 rounds attacking the Catalyst in order to defeat it.
Check out the video below for more tips:
Reward: 12,240 EXP
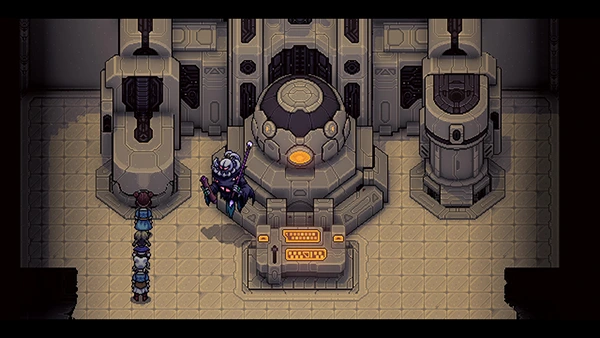
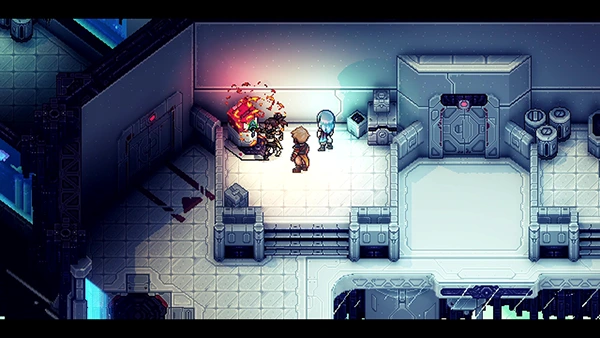
After the fight Serai has a flashback to when she was turned into a Cyborg. And then it turns out the Sky Base cannot be decrypted!
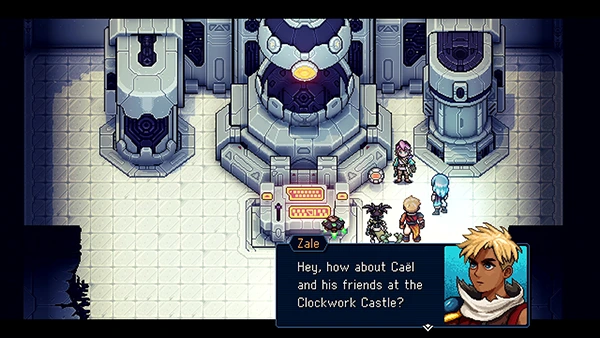
The AI Core of The Catalyst pops out; Zale recommends taking the AI Core back to the Clockwork Tower and having Cael take a look at it.
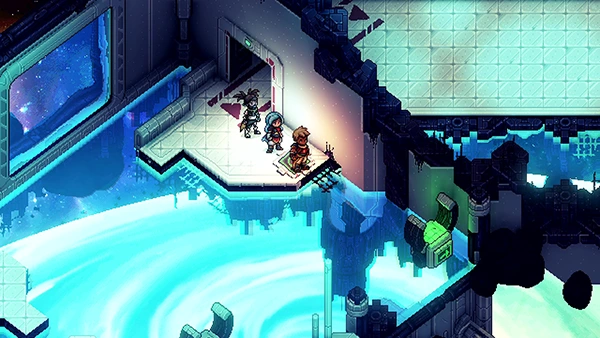
You can use the Teleporter in the room below to Teleport to the first floor and use the Speedball Network to take you back to the Sea Of Stars. Don't forget to pick up the Data Strip from the Treasure Chest nearby.
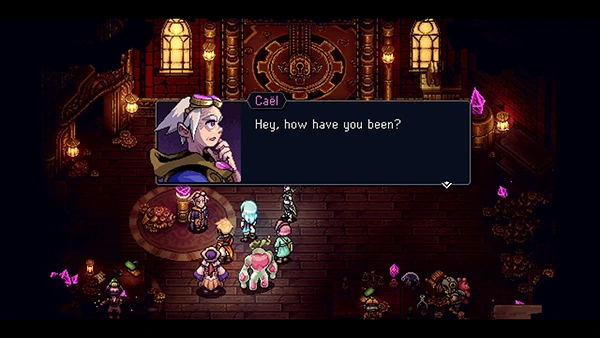
Head back to Clockwork castle. Speak to Cael; he and his workers will spend a few days accessing the AI Core to get the Blueprints for the Sky Base.
You'll return to Mirth for a bit; if you head to Moraine's house near the bottom of Mirth you can pick up his Moraine's Office Key from a Treasure Chest.
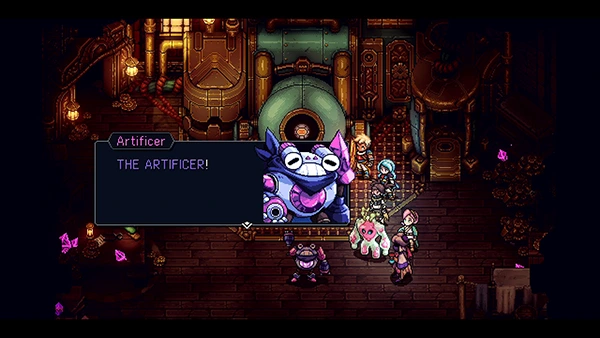
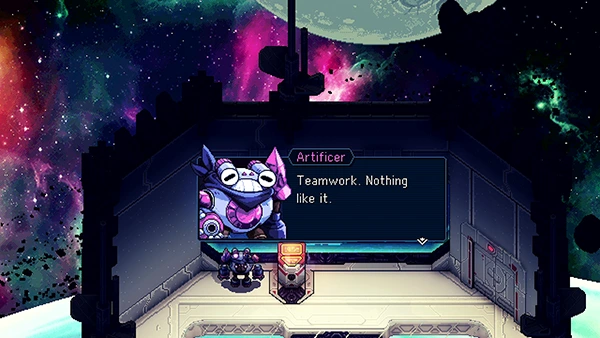
When you're ready, return back to Clockwork Castle and visit Cael. He has transformed himself into a robot called The Artificer.
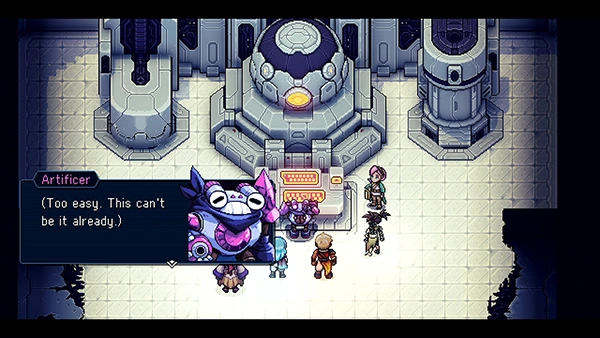
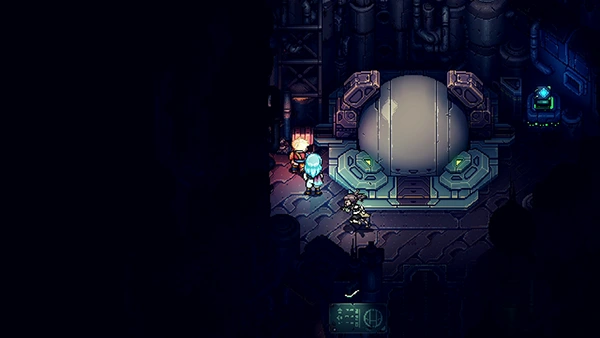
Now with The Artificer in your cargo, head back to the Sky Base and interact with the main terminal. The Artificer successfully hacks into the Sky Base and clears away the clouds!
You can now go and face the Dweller Of Dread.
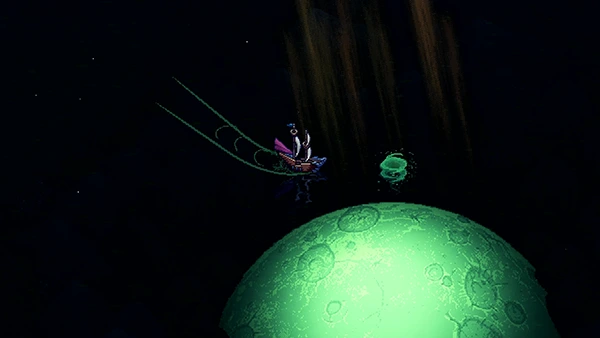
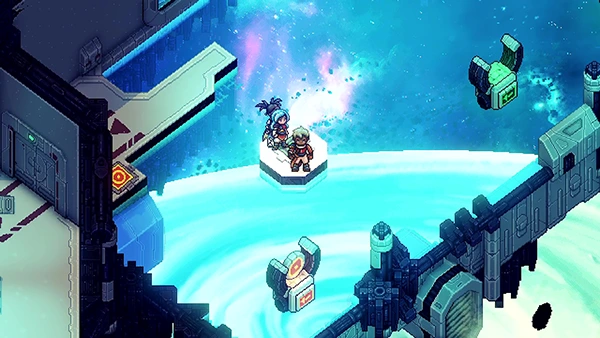
The Dweller Of Dread is located on the west side of Serai's world. You can find a small Whirlpool above the sunken moon using The Vespertine.
Interact with it and you'll head to the Infinite Abyss. Follow the linear path and you'll eventually come across it...
Dweller Of Dread - Boss Fight
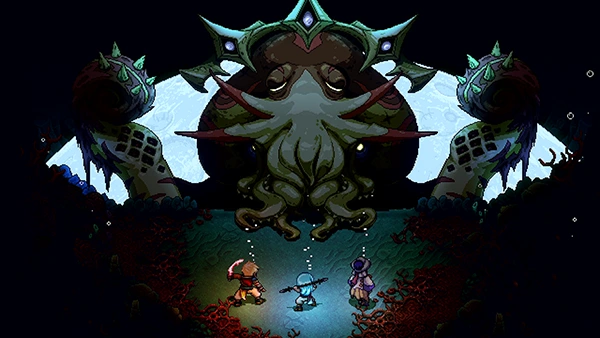
The start of the fight begins with two tentacles. Both are vulnerable to Solstice magic. You'll need to take them out a couple of times before the Dweller Of Dread awakens.
When you finally face the Dweller, the tentacles can capture a party member and the Dweller can then eat it using Chomp, causing instant KO.
The Dweller's main move is called Dread Stare; you'll be taken to a separate one v one battle against a party member. Usually this is quite easy.
The Dweller itself can also deal 30-40 HP damage to every party member.
Take out the Tentacles first; they do respawn quite often but they respawn with only 50% of their HP. Use Zale and Valere's Dash Light and Moonerang to take them out.
You should be using your Combo skill Mending Light for healing; save the Ultimates for Zale and Valere so that you can wipe out the Tentacles in one fell swoop.
Check out the video below for more tips:
Reward: N/A
After the fight, Zale and Valere raise the moon out of the sea!
Our final destination is The Fleshmancer's Lair!
And that wraps up part 21 of the Sea Of Stars Walkthrough! I CAN SMELL THE FINISH LINE!

Discussion