Solstice Shrines are special dungeons you can undertake during your journey in Sea Of Stars. This guide aims to list all of the Solstice Shrines and how to complete them, including what rewards they give!
- Evermist Solstice Shrine #1
- Solstice Shrine (Wraith Island) #2
- Solstice Shrine #3
- Solstice Shrine #4
- Solstice Shrine (Serai's World) #5
- The Elder Mist Challenge
- Elder Mist Boss Battle - Solstice Challenge
Your first Solstice Shrine becomes available after you head to the Town Of Mirth. You won't be able to enter any of the Solstice Shrines up until that point.
There are a total of 5 shrines you can complete.
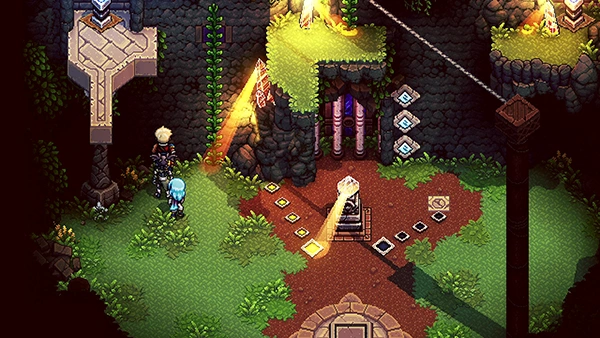
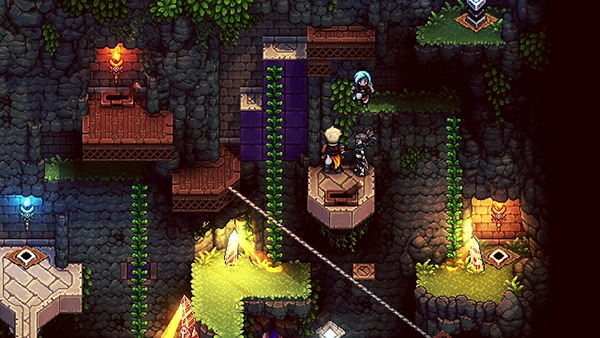
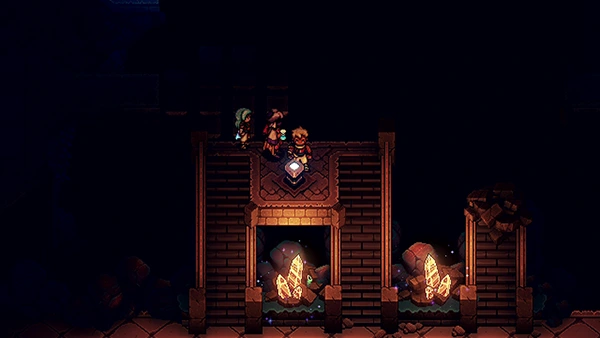
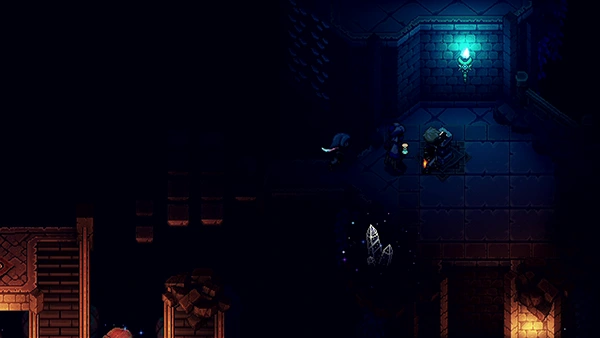
Evermist Solstice Shrine #1
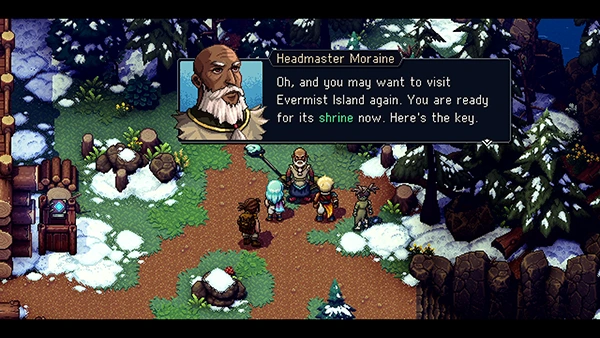
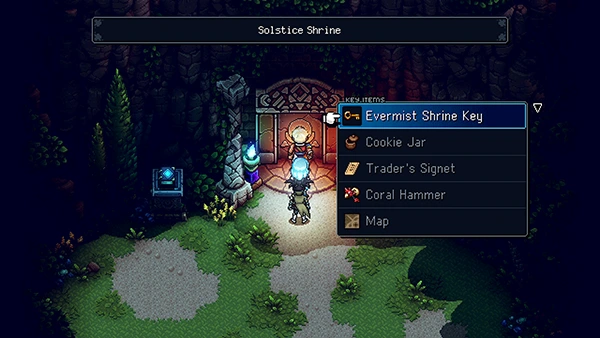
In order to access the Evermist Solstice Shrine, you need to obtain the Evermist Solstice Shrine Key.
This is given to you by Headmaster Moraine after you build the Town Of Mirth.
In order to get back to Evermist Island, you need to take the path from the Port Town Of Brisk (since it's the only place that has a dock) and head all the way back through the Stonemason's Outpost, The Moorlands and use the Stone Giant to throw you back to Evermist Island.
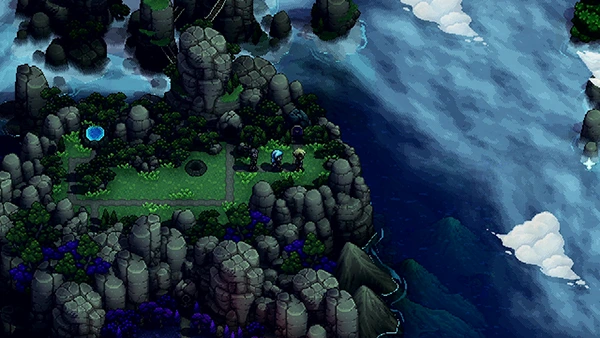
You can find Evermist Solstice Shrine between The Forbidden Cavern and Mountain Trail.
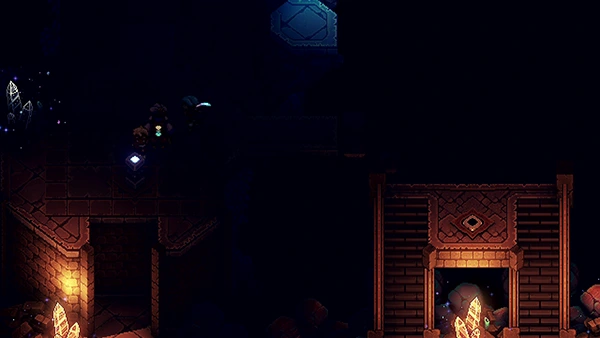
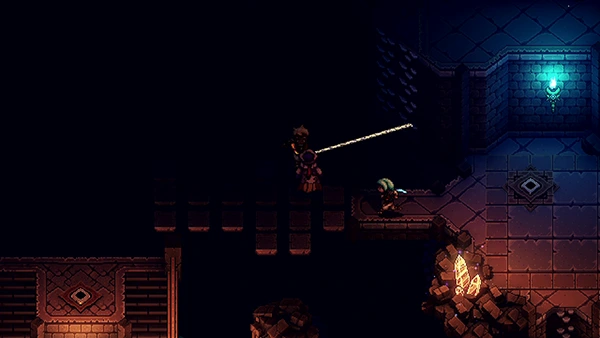
Inside the Solstice Shrine you'll find a puzzle awaits you!
At the top of the shrine is an outline of the tiles that you need to correctly light up. You will need to light up all of them, and then push the purple block towards the north purple tile to complete the puzzle.
You have two stone blocks, which do not go off the edge. The purple block will reset if it goes to any of the edges, so you need to use the stone blocks to stop this.
You can follow this setup:
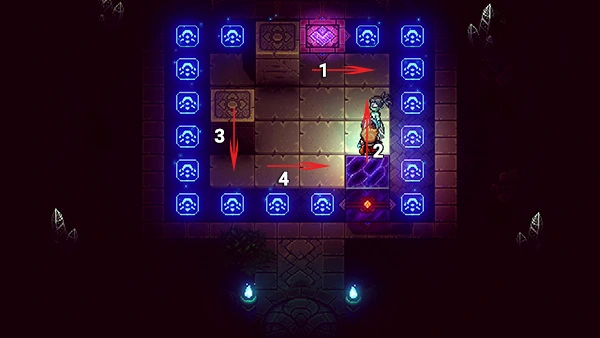
First follow steps 1-4 from this phase.
Then steps 1-5.
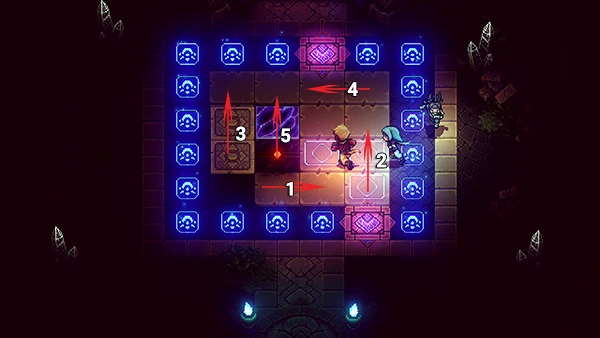
Then steps 1-5
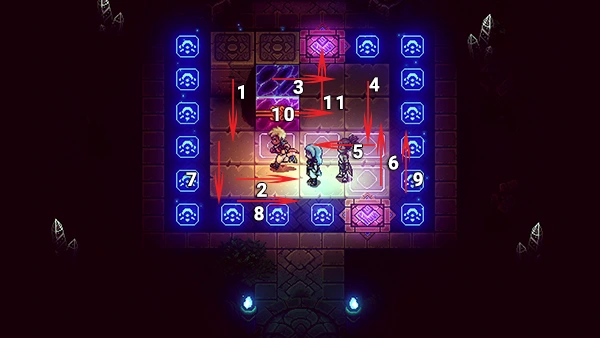
Finally, steps 1-11.
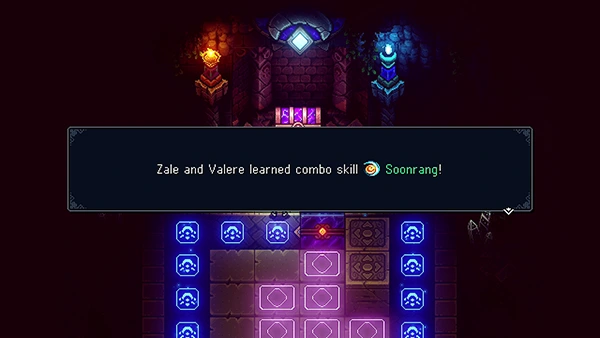
Once you complete it, you can access the Treasure Chest, which contains: Combo Skill Soonrang!
You can also check out this video on how to complete it:
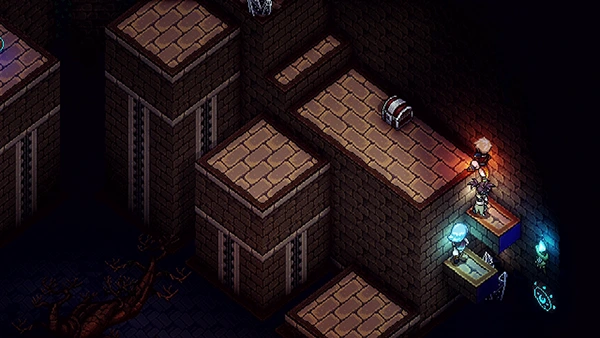
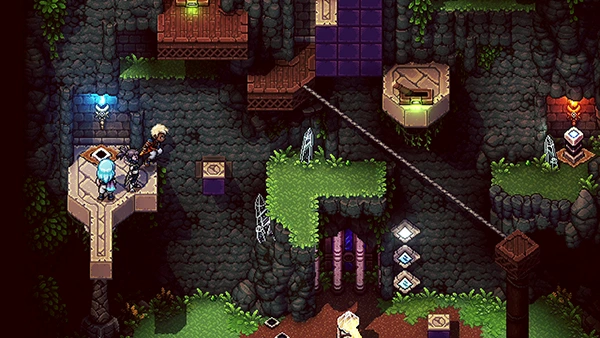
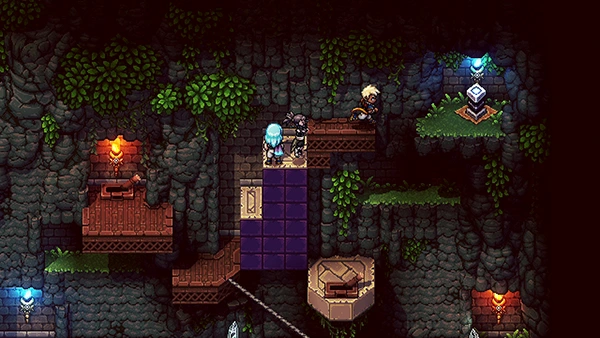
Solstice Shrine (Wraith Island) #2
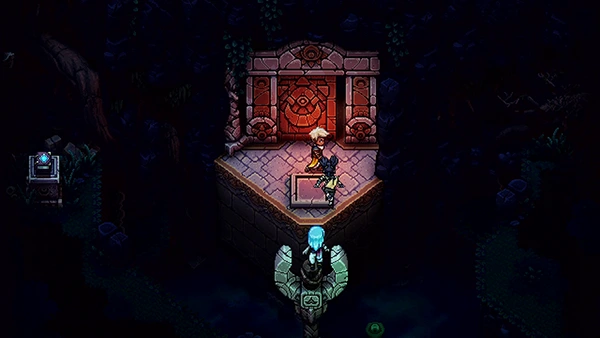
This Solstice Shrine can be found on Wraith Island, just after leaving Town Of Lucent.
To enter, just Grapple across and stand on the Blue tile.
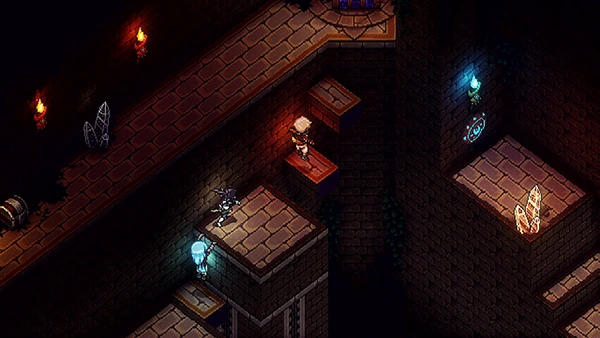
Inside, you'll find a room with several large blocks. First thing you should do is stand on the block on your right just before the Lever. This will cause a block on your left to raise up.
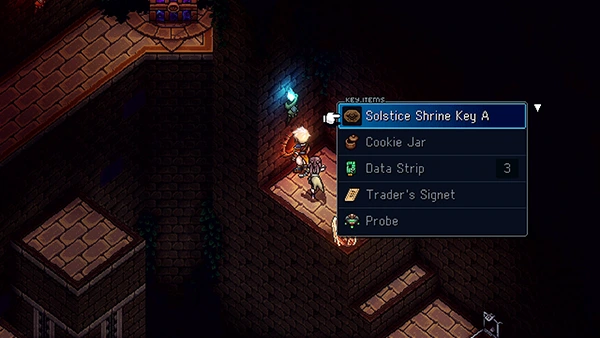
Climb up the newly raised block on the left and pick up the Solstice Shrine Key A.
Head over to your right and place the Solstice Shrine Key A into the key hole on the wall. This will cause two blocks near you to appear. Climb up them.
Open the Treasure Chest to find the Shimmering Staff.
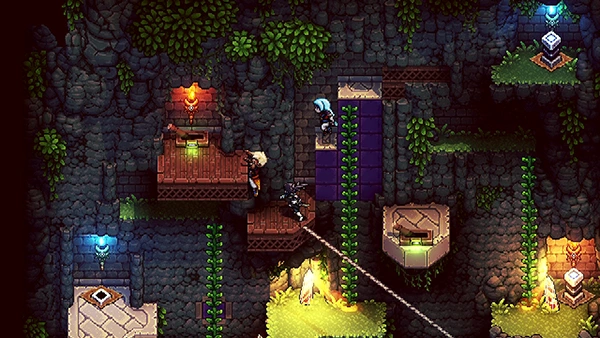
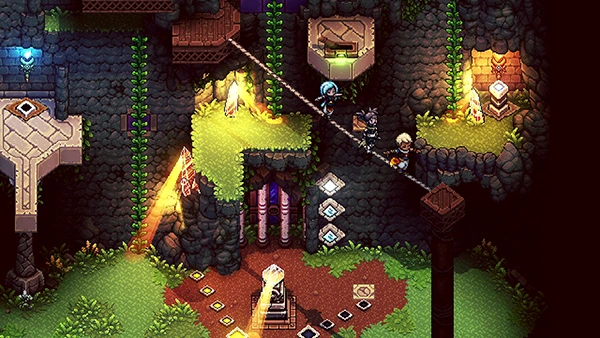
Now climb onto the two big blocks so that they raise the platforms on the left. Next, take the Solstice Shrine Key A out of the key hole, and then pull the Lever on the ground floor so that the platform on the left comes down.
Place the Solstice Shrine Key A into the wall on the left. This will create a new platform on the left.
Now climb onto the raised platform on the right to raise the platform on the left again. Climb up the left side platforms and collect the Solstice Shrine Key B.
Now pull the Lever on the ground floor and take the Solstice Shrine Key A. Place it in the wall on the right.
Now climb up the right side blocks and place the Solstice Shrine Key B into the key hole at the top.
Now take Solstice Shrine Key A out of the hole on the bottom right. Place it on the left side key hole. Jump onto the block on the right to raise the platform on the left.
Climb all the way up and open the Treasure Chest on the left to find a Shimmering Sword.
Now open the Solstice Shrine Treasure Chest to find a Solstice Sash.
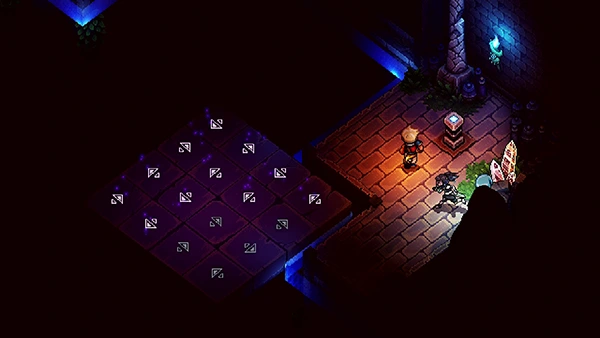
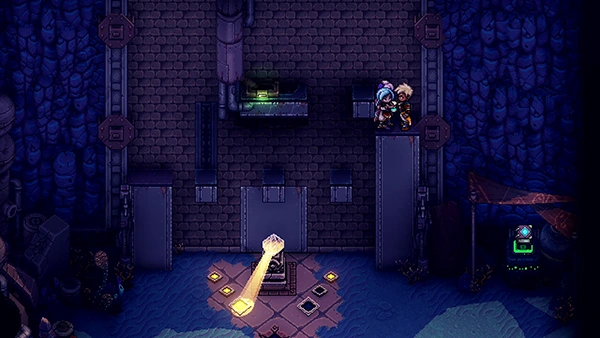
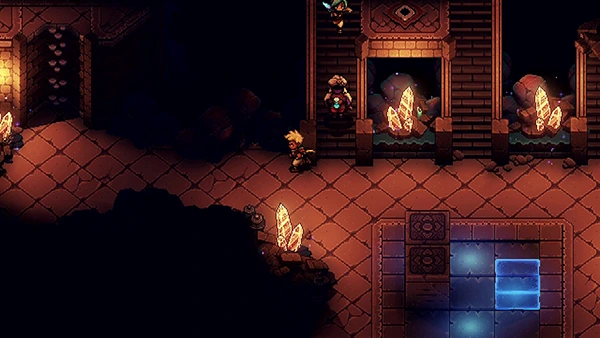
Solstice Shrine #3
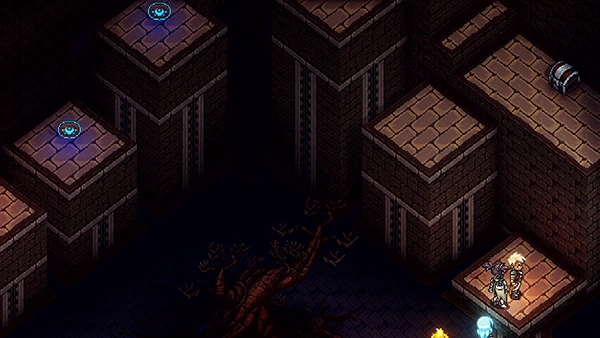
You can access this shrine when you gain the ability to fly. The Solstice Shrine Island is located to the south of Sleeper Island.
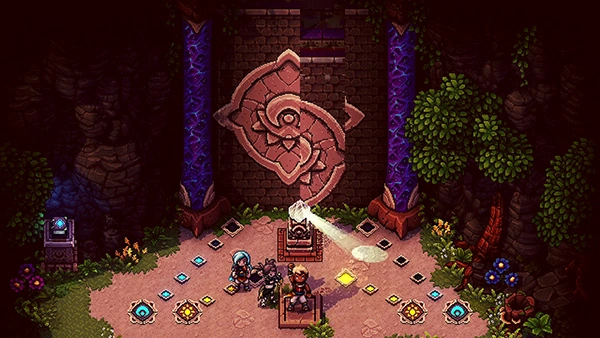
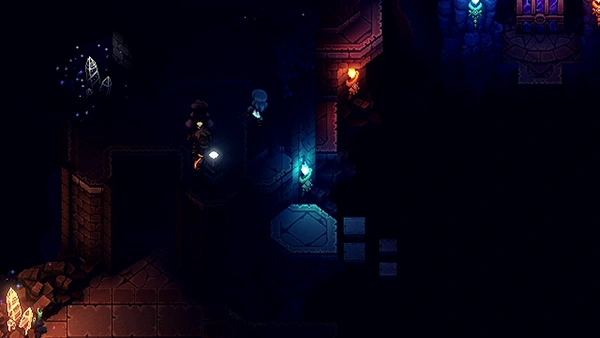
When you arrive at the shrine, you'll find a blue tile ahead of you. Step on it to reveal a Sundial.
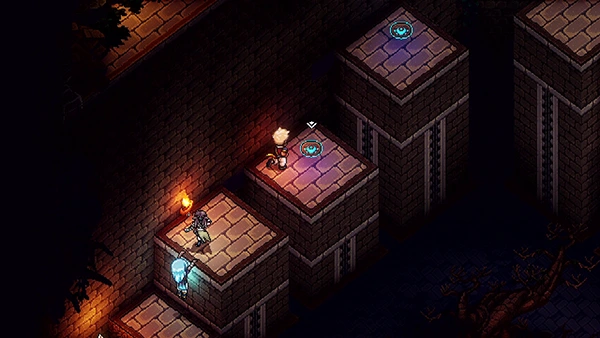
To open the Shrine you need to light up all Celestial Runes to create a full wall ahead of you.
You should light up the left and right most runes first and then the two inner runes.
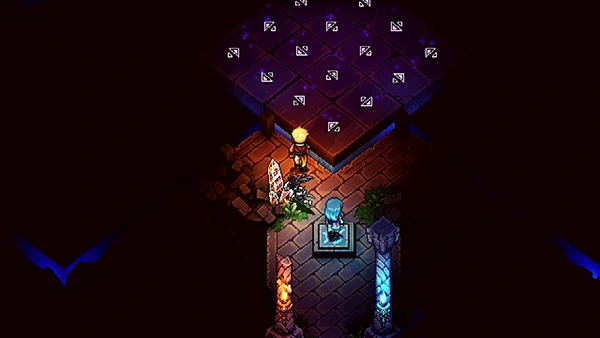
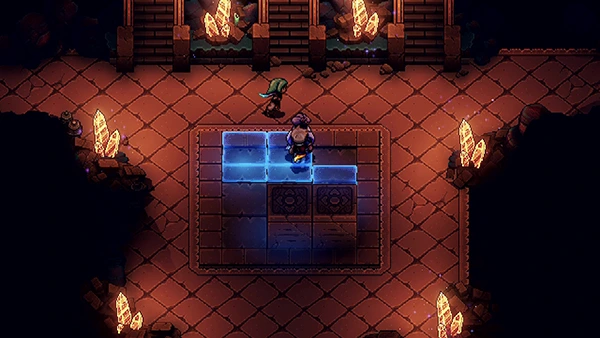
Inside you'll find a Blue tile. When you press this tile, it will teleport the diamond-square to the beginning of the map. Whenever you want to reset this game, just jump off into the blackness.
Step on the diamond-square, you'll notice there are several different tiles on it. These move the diamond-square across the map. You will need to move the diamond-square to several locations, with each one containing a Podium that will help unlock the Treasure Chest at the top.
First combination: Up, Right, Right, Down, Right.
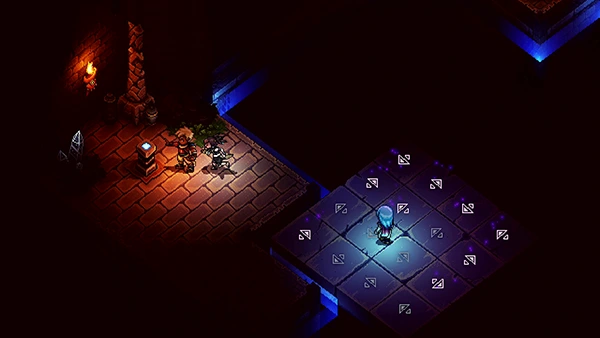
Second combination: Up, Right, Right, Left, Left, Up, Up
Third combination: Up, Right, Right, Left, Left, Up, Up, Right, Right, Right
Open the Treasure Chest to find a Eclipse Armor.
Solstice Shrine #4
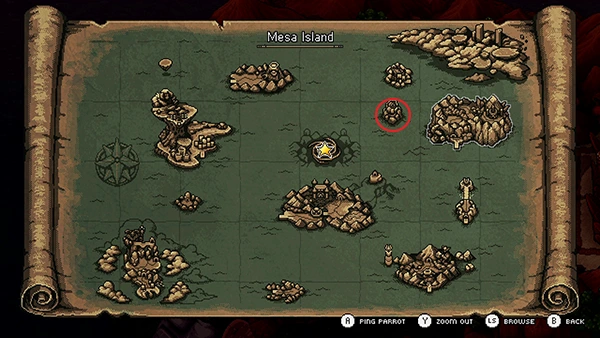
You can access this shrine when you gain the ability to fly. The Solstice Shrine Island is located to the west of Mesa Island.
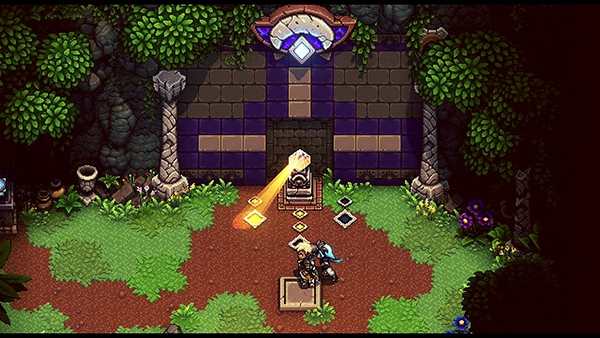
When you arrive, stand on the Blue tile and use the Sundial to highlight all three areas to unlock the door to the shrine.
Inside you'll find another Sundial with two options. Using it on the left runes causes a flower ladders to appear; using it on the right side causes small blocks to appear.
First, use the Sundial to create the flower ladder. Climb up it on the left, onto the wooden platform and then jump down to interact with the Podium.
Next use the Sundial to create blocks and jump across from the Podium' platform to the center.
Now create the flower ladders and climb up, making your way to the top-left Lever. Pull it.
Jump down to the rope bridge and cross it. Use your Grappler on the Flower Ladder and then interact with the second Podium on the right.
Now climb up the Flower Ladder on the right and jump down onto the second Lever. Pull it.
Now head to the middle platform, climb up the Flower Ladder and wait before the wooden platform. You now need to use the Sundial to create blocks, but you won't be able to see the Sundial so you'll have listen out for the sounds. Once you create the blocks, you can climb up onto the wooden platform and interact with the third Podium.
Now you can access the Treasure Chest and obtain Heliacal Earring.
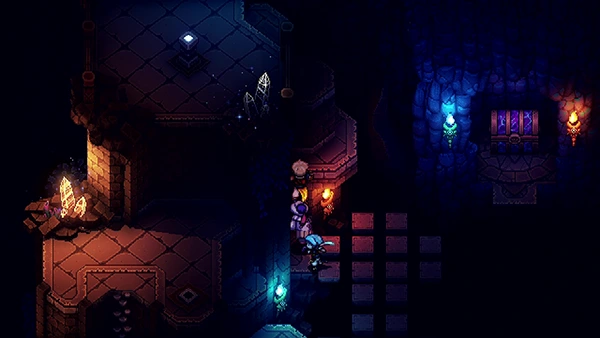
Solstice Shrine (Serai's World) #5

You can access this shrine when you gain the ability to fly. The Solstice Shrine Island is located in the bottom-left corner of Serai's World.
When you enter, you'll notice a Sundial and a wall ahead of you full of blocks.
First you need to climb onto the left-most block, then change the time of day so that the Sundial raises the block, allowing you to climb across. Then switch the time of day to raise the block on the right, climb across to the Lever and pull it to open the gate.
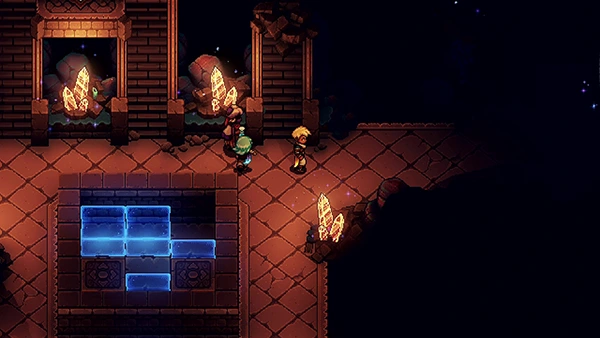
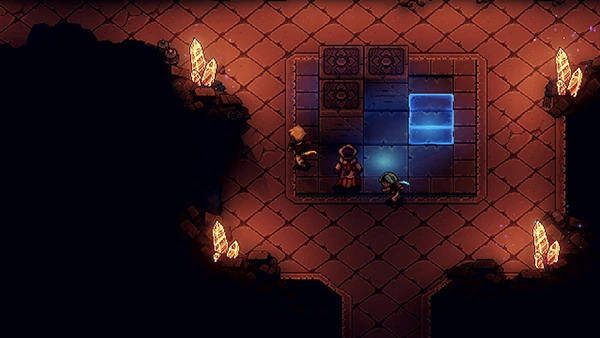
You'll come to quite a dark room; at the center you'll notice a square with several blue blocks inside it. There are also two pushable blocks inside this square; these are used to represent the floating path up ahead.
You can touch the Crystals around you to give you more light.
The first action you should take it head up the stairs to find a Podium. Interact with it and it will cause the barrier around the Square to go down, allowing you to push the blocks around.
Before heading to the square, you should notice the floating tiles to the north of you. They only appear when you get near them. Head to your left and you should find another Podium; this will cause one of the blue blocks in the square to disappear.

Now head back to the square and push the two blocks to the left side of it. This will create the floating tiles path up ahead, allowing you to access the back-most area.
Here you can find another Podium; this will create a climbing wall on the right side of the room.
Next rearrange the blocks in the square so that the two moveable ones are positioned at the bottom right.
Head back up to the floating tiles and head to your right from the middle stairs. You can find another Podium on the right that will remove another Blue block.
Before heading back to the square, use your Grappler to climb up the stone wall. Activate the other Podium to remove another Blue block.
Now head back to the square push both blocks to the top-left of the square.
Take left side of the room, climbing up the walls and then using the floating tiles to access the very far left area to find the final Podium. This will generate a third moveable block in the square.
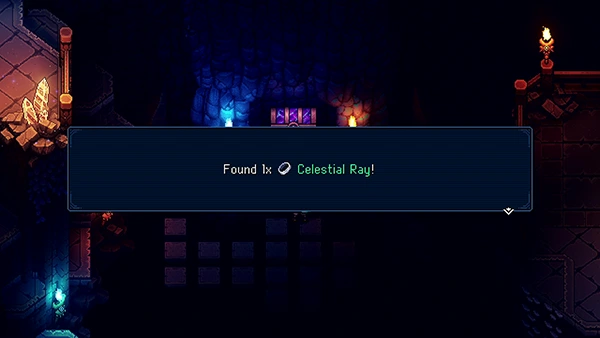
All you need to do now is push the new moveable block to the top-middle square and you can then access the Treasure Chest, which contains a Celestial Ray.
Check out the video for more help:
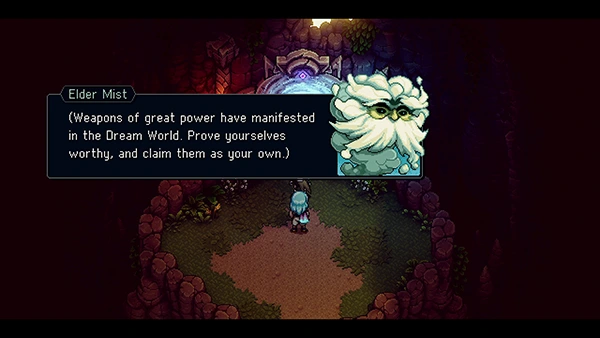
The Elder Mist Challenge
When you have completed all 5 Solstice Shrines, you can challenge The Elder Mist to one final battle to earn the most powerful weapons for Zale and Valere in the game!
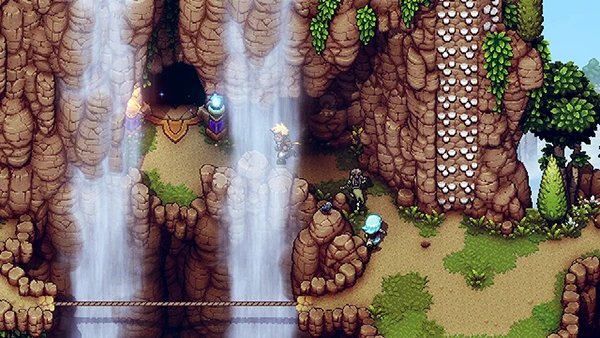
Head to Mountain Trail on Evermist Island.
You can find a Cave entrance, just before you reach The Elder Mist's water pool. Inside you should find a swirly mist, interact with it to start the battle.
Elder Mist Boss Battle - Solstice Challenge
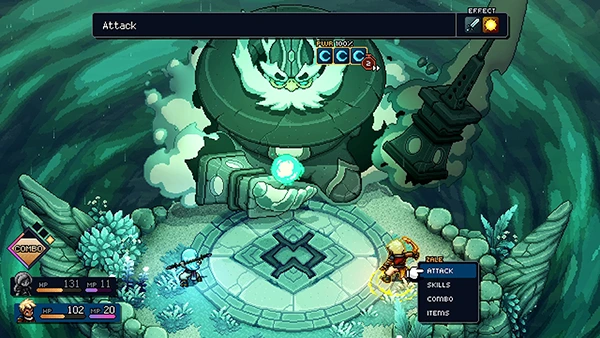
Only Zale and Valere can do this fight! Ideally you want around 200 HP each to outlast this boss.
The fight is similar to the first time you fought The Elder Mist; you have to take out The Elder Mist's Sword first, otherwise, everytime you attack you'll get counterattacked and wipe pretty quickly.
This fight can actually last quite a while due to The Elder Mist's Healing Mist skill and the constant KO'ing you'll get from it's main move Torblado.
You'll need to use your healing skills as often as possible. Zale has Healing Light, you have the Combo skill Mending Light and Valere can use Lunar Shield to heal and block one attack.
If you equip Leeching Thorn to Zale, you can also heal 15% of the damage you deal from Normal attacks.
The Elder Mist will also use Thunder and a single target normal attack.
Focus on taking out the sword first, then pummel as much damage into The Elder Mist. It is vulnerable to magic attacks, but don't waste your MP if you're low on health and don't have a combo skill ready to use.
Check out the video below for more tips:
Reward: 15,200 EXP
After the fight, The Elder Mist will give you two new weapons: Sun Blade, Moon Bo.

Discussion