
Lucid is an end-game boss in MapleStory that drops valuable rare items including Arcane Umbra Equipment, which is some of the final pieces of gear MapleStory players need. Lucid has three modes: Easy, Normal and Hard. This guide aims to go over all of Lucid's mechanics so you can prepare in advance for when you finally take on the boss of the Nightmare Clocktower.
Lucid Prequest
In order to fight Lucid, you must have completed the Lachelein story in Arcane River, which involves defeating Story Lucid mode. Once you have completed the story, you will have Lucid unlocked in all three modes.
Lucid Boss Stats
| Lucid | ||
|---|---|---|
 |
||
| Easy | Normal | Hard |
| 6,000,000,000,000 HP 6,000,000,000,000 HP |
12,000,000,000,000 HP 12,000,000,000,000 HP |
41,040,000,000,000 HP 41,040,000,000,000 HP 12,000,000,000,000 HP |
| Level: 220+ | Level: 220+ | Level: 220+ |
| 2 Phases | 2 Phases | 3 Phases |
| 10 Lives | 10 Lives | 10 Lives |
| Weekly Clear | Weekly Clear | Weekly Clear |
Notable Drops  |
Notable Drops |
Notable Drops  |
Lucid has three modes that players can attempt. Only Normal and Hard mode will drop the required items to craft Arcane Umbra Equipment. Easy Mode should be used for your party to warm and get used to the boss mechanics before taking on Normal and then Hard.
Lucid Boss Fight Preparation
Lucid is considered an end-game boss. You will likely need to form a party with other players in order to take down this boss, especially if this is your first time and you don't possess super-high end-game range. This preparation guide should give you some tips getting started:
- Heaven's Door - If you have a Bishop, cast Heaven's Door for an extra life.
- Noblesse Skills - If you are part of a guild, you can use any Noblesse Skills that are available, which can increase your damage by quite a lot
- Buff Freezers - Very important to help keep all your buffs active after you die
- Link Skills - Check out the Link Skill guide for the best link skills for bossing.
- Familiars - If you have any Familiars with lines for Boss Damage or Ignore Defense, equip them.
- You can go with a party of 6 other players. This can be chaotic, so turn down character transparency in your Graphics Setting so you can see the fight easier.
- Practice mode can help you get used to the Boss Fight mechanics. Even if you can't solo him it'll allow you to get a good idea of what to look out for when you go with a group.
- Lucid requires at least 360 Arcane Force in order to hit full damage. She is also level 230, so make sure you are at least 230 to avoid damage penalties.
- Most players recommend 25k main stat in order to contribute to this boss.
Lucid Phase One Mechanics
For the most part, phase one mechanics of Lucid is the same for all three modes with a few changes.
Flower Patterns
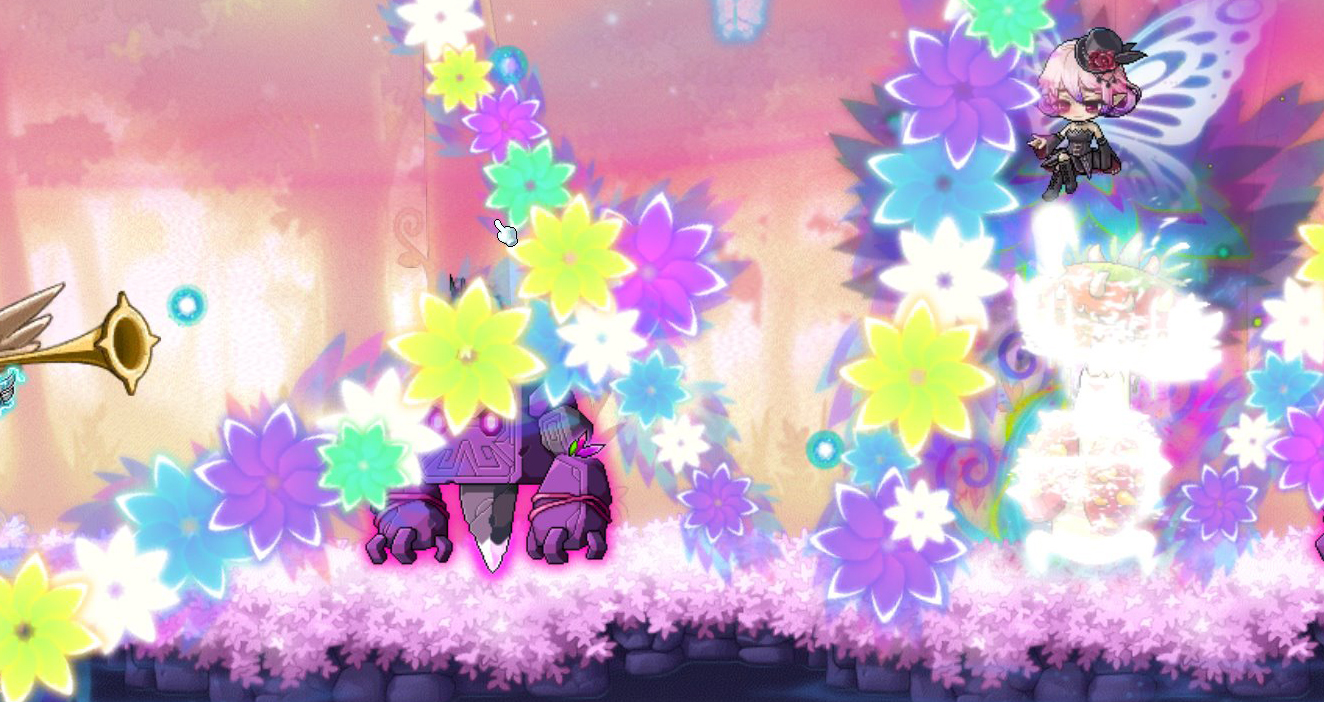
During Phase One, Lucid will spawn lines of flowers throughout the fight. You can dodge them by standing in the gaps. The lines will only deal damage when they explode, so you have time to position your self properly.
Easy: 20% damage.
Normal & Hard: 30% damage.
Green Dragon
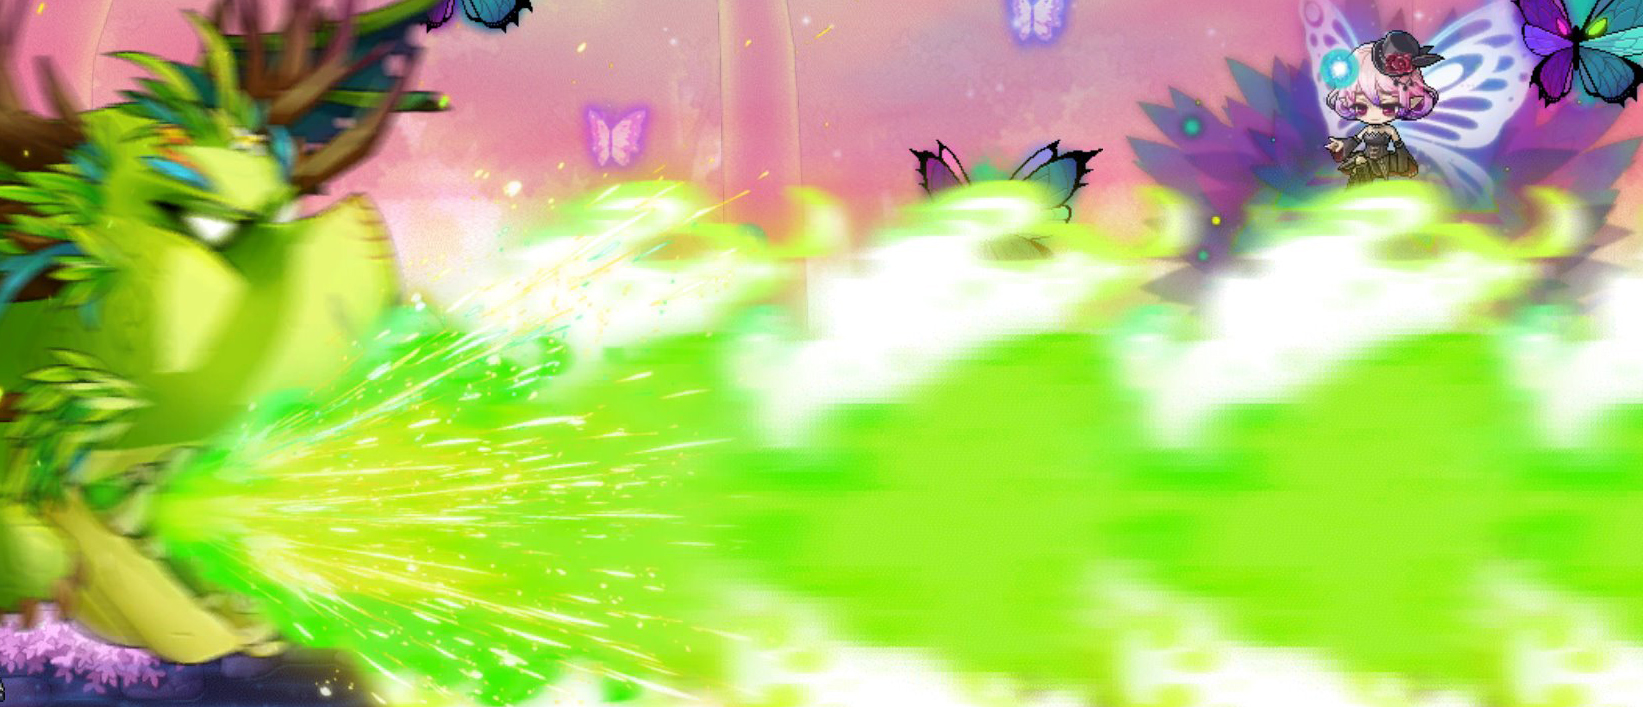
Randomly, Lucid will call forth a powerful monster (a giant green dragon!). The green dragon will come randomly with either the left or right; players will need to jump to to the side the dragon comes down from in order to dodge the blast. Getting hit by the blast = instant death.
Golems and Mushrooms
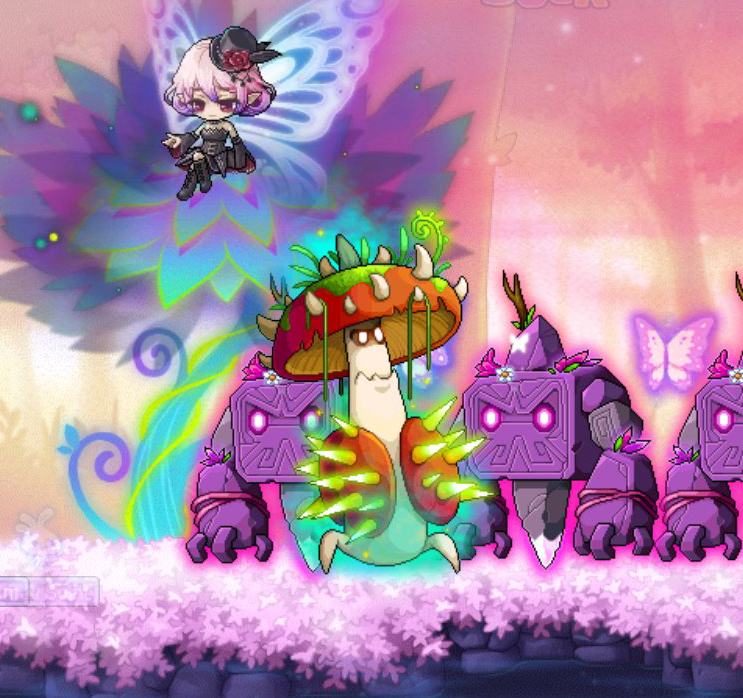
Lucid will occasionally summon Golems and Mushroom mobs. The Golems will block your path and if you try to use teleport skills to get past you'll be dealt 70% HP damage. Players should aim to take these down as fast as possible, as they will prevent players from getting to safety during the Green Dragon attack.
Lucid will also summon Mushrooms that move slowly in either direction. They deal touch damage of 50%.
In Easy and Normal mode, you can only do a fixed amount of 500K damage to each Golem, so it's best to use attacks with high hit count here rather than damage-dealing attacks. In Hard Mode there is no damage limit, but they have significantly more HP than the other modes.
Lucid Sickles

Lucid will fire four Lucid Sickles in random directions of varying sizes that move slowly throughout the map. They deal 30% HP on touch. You can use teleport skills to dodge these, but be careful of Golems.
Butterfly Bullets
During the fight there will be Butterfly mobs flying around that shoot bullets at players. Getting hit back these bullets deals 20% HP. The Butterflies cannot be killed, so just try to keep an eye out for them.
Lucid Bomb
Lucid will place a bomb on a random player in the map. The bomb will detonate within 10 seconds, dealing 199% damage to the player with the bomb. Players can spread the damage of the bomb by grouping up.
Butterflies


As the fight goes on, Butterflies will slowly collect on your screen that cannot be attacked. At a certain point, the Butterflies will suddenly zoom towards players and deal damage when exploding. Players can prevent this attack by using the Golden Trumpets in the map; each time you wipe out a Health Bar of Lucid, you can use the Trumpet one time. You can store up to three Trumpet uses, so it's best to keep clearing the Butterflies if you are flying through Lucid's health.
Teleportation
Lucid can also randomly teleport a player around the map at any time.
Strategy
As soon as you enter the fight, you want to bind Lucid and burst damage her. Hopefully this will wipe out a few health bars and give you some Trumpet clears for when the background gets filled with Butterflies.
In Easy and Normal mode, make sure players in the party are focusing on the Golems. Most players will have multi-target hits and to prevent early deaths, wiping out these mobs will make the fight a lot smoother.
You'll need players to keep an eye out for the Green Dragon. Lucid will announce when she is summoning it; but players can't see which direction the dragon is coming from until it starts to descend so communication is key. Iframes can dodge the blast- but the blast lasts a good 5 seconds so make sure your Iframe can last long enough. You can also use skills to fly in the air above the blast to dodge it. Everyone else should run towards the green dragon and stand just behind its head.
You will also need to communicate for when Lucid puts a bomb on a player's head. The player with bomb should stay still and alert other party members so they can jump onto that player to help spread the damage.
If you find you are entering phase two with very few lives, you're probably not doing enough damage in order to prevent the mechanics. There is plenty of randomness to this fight and high damage will help prevent the fight from going on too long to wipe you out.
Lucid Phase Two Mechanics
Phase two moves you to a new map where Lucid flies around, making it harder to deal damage consistently. There are several platforms that players can jump onto; in Hard Mode, falling off the bottom will deal damage and put a debuff on you.
Green Dragon

The Green Dragon is back and this time you need to jump onto the safe spots in the Lucid map. There are two at the top and one at the bottom, so get to whichever is closest.
Lasers
Lucid will disappear and summon lasers that will chase you around the map. You need to avoid them by jumping from platform to platform. Getting hit by a laser does 30% HP damage.
Lucid Rage

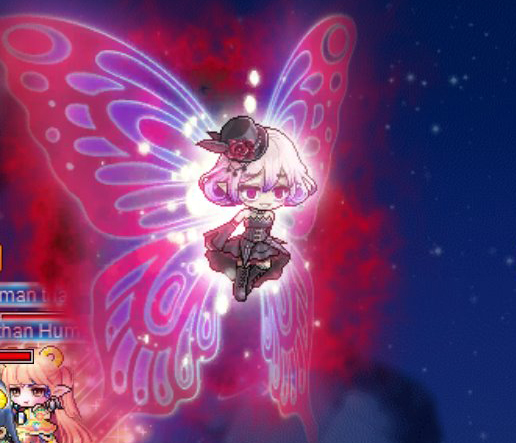
Lucid will also turn into rage mode, where she goes slightly red and then traverses the map in a flurry. Getting hit by Lucid in this mode will deal %HP depending on the mode. There are various safe spots you can stand on in the map where she cannot hurt you.
Easy: 50%
Normal: 70%
Hard: 100%
Lucid Bomb
Exactly the same as the first phase, Lucid will randomly place a bomb on a player that deals 199% damage. You can spread the damage by having multiple players standing on the player with the bomb icon.
Butterflies

As in Phase One, butterflies will slowly spawn in the background of the map. When it gets too many, Lucid will remove all the platforms in the map and summon Butterfly mobs that shoot out bullets. All players will be floating in the map and can dodge the bullets. There are some better spots in the map that can dodge the bullets.
For each HP bar you remove from Lucid, you can use the Trumpet to cleanse the background like in Phase One.
Lucid Sickles
Exactly the same as Phase One, Lucid will fire out four sickles in random directions that deal damage to players.
Golems

Golems return and have the same HP mechanics as Phase One. They can destroy platforms they smash onto, so destroying them fast will help prevent this. The platforms respawn after a time.
Strategy
Many players will tell you Phase Two of Lucid is actually a lot easier than Phase One once you get the mechanics nailed. There's a lot less RNG that can kill you but it takes a lot longer due to Lucid moving around all the time (and disappearing from the map entirely).
Learn the safe spots for both Green Dragon and Lucid's Rage. You'll know when these are about to happen because Lucid will put a message up on the screen.
Binding in Phase Two isn't reliable; Lucid can still move around even when Binded so be careful.
Most deaths will come from Bombs- set up a point on the map where players should go to when they have been tagged by a bomb to help disperse the damage. Most players like to use the middle platform.
Stance is very useful in this fight- the flying Butterflies that shoot bullets can knock you off platforms if you're not careful.
Lucid Phase Three Mechanics
This phase only occurs in hard mode. Lucid will spawn in the middle of the same map and be in a binded state. Players must then deal 12 Trillion HP in 40 seconds otherwise the fight is a fail. Golems will still spawn in this phase.
Lucid and Arcane Umbra Equipment
If you manage to defeat Lucid in Normal or Hard Mode, she will drop Butterfly Droplet Stone. You can exchange 1 Butterfly Droplet Stone and 9 Arcane River Droplet Stone for 1 Phantasma Coin. An Arcane Umbra Weapon currently costs 24 Phantasma Coins so you're going to need to defeat Lucid a bunch of times to be able to get a piece of the Arcane Umbra set.
Hard Mode Lucid has a very rare chance of dropping a random piece of Arcane Umbra Equipment. If you are lucky enough to find players to carry you, this can be a quick way to obtain the equipment set.
There are 7 pieces to the set and you can buy four pieces from Lucid's shop (the other three must come from Will's shop).
Lucid will also drop a piece of her Soul Shard on all modes. She provides one of the best Souls in the game so it's well worth having.

Discussion