Root Abyss is an area in MapleStory where four bosses await MapleStory players, offering them some early-game gear that will help push them into mid-game. These four bosses also have a Chaos difficulty, allowing players to farm them for Boss Crystals and items.
- Root Abyss
- Root Abyss Bosses
- CRA Equipment
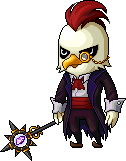
- Chaos Von Bon
- Chaos Pierre
- Chaos Crimson Queen
- Chaos Vellum
Root Abyss used to be one of the mid-game areas in MapleStory that many players aimed to clear, but as MapleStory has evolved, this area is now seen as a very early-game. Still, it offers some decent equipment and challenging boss fights for new Maplers.
This guide will outline all the Boss mechanics and take a look at the CRA equipment set you can obtain.
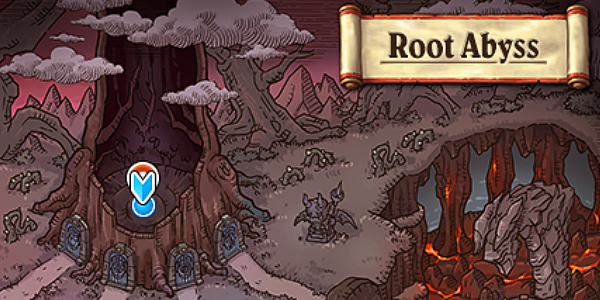
Root Abyss
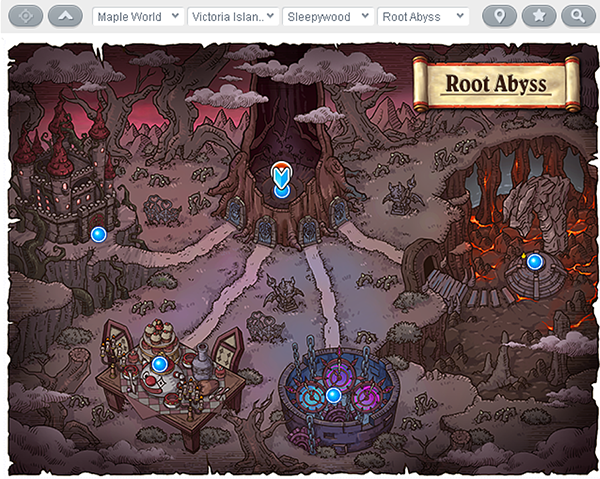
Root Abyss is located in Sleepywood on Victoria Island. You can access it by accepting the quest [Root Abyss] World Tree in Danger and complete a short questline that unlocks all four bosses.
Each boss has it's own portal in Root Abyss, with two boss difficulties each: Normal and Chaos.
Previously, you needed to purchase Keys from the Shop Vendor to access these bosses, but this requirement has since been removed.
Root Abyss Bosses
There are four bosses you can fight in Root Abyss.
In normal mode, you can defeat the Root Abyss bosses once per day. They have the following stats:
| Boss | HP | Level Requirement | Crystal Worth |
|---|---|---|---|
 Crimson Queen |
315M | 125 | 968,000 Mesos |
 Pierre |
315M | 125 | 968,000 Mesos |
 Von Bon |
315M | 125 | 968,000 Mesos |
 Vellum |
550M | 125 | 968,000 Mesos |
Their normal versions are relatively easy and don't offer much in way of rewards other than giving you some Daily Boss Crystals and Maple Reward Points.
Chaos Root Abyss, or otherwise known as CRA Bosses, can be defeated once per week. All Chaos bosses have a practice mode that allows you to enter as many times as you like.
For each Boss fight, you have 5 lives.
They have the following stats:
| Boss | HP | Level Requirement | Crystal Worth |
|---|---|---|---|
Chaos Crimson Queen |
140B | 180 | 16,200,000 Mesos |
Chaos Pierre |
80B | 180 | 16,200,000 Mesos |
Chaos Von Bon |
100B | 180 | 16,200,000 Mesos |
Chaos Vellum |
200B | 180 | 21,012,500 Mesos |
CRA Equipment


CRA Equipment comes from defeating the Chaos version of the Root Abyss bosses.
Each CRA Boss will drop a specific fragment that you can exchange for a piece of equipment.
| Fragment | Boss | Equipment | Quantity |
|---|---|---|---|
| Piece of Anguish | Chaos Crimson Queen | Hat | 5 |
| Piece of Mockery | Chaos Pierre | Bottom | 5 |
| Piece of Time | Chaos Von Bon | Top | 5 |
| Piece of Destruction | Chaos Vellum | Weapon | 15 |
Equipping all each piece of the Root Abyss Set gives the following Set Bonuses:
- [2 Set] Main Stat: +20, Secondary Stat: +20, Max HP & MP: +1000
- [3 Set] Max HP & MP: +10%, Attack Power: +50
- [4 Set] Boss Damage: +30%
In Regular Servers, you can purchase CRA equipment from the Auction House for relatively cheap.
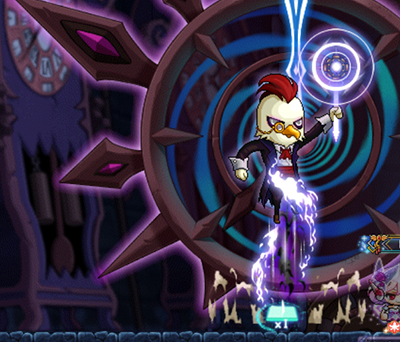
Chaos Von Bon
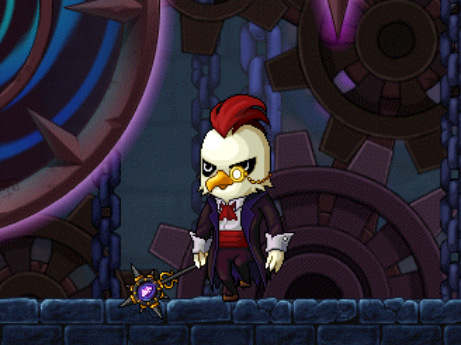
Chaos Von Bon is probably the easiest of the CRA Bosses, as it has very straight forward mechanics and the second-lowest HP of the CRA bosses.
To begin the fight, you need to click the portal in the boss map and it will summon Von Bon.
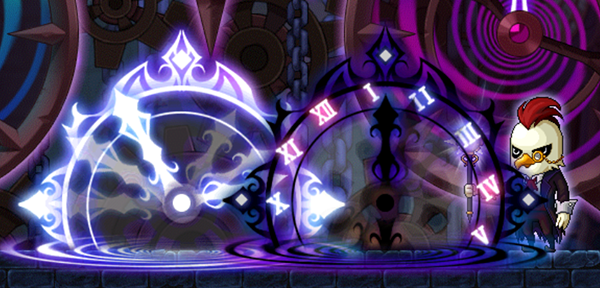
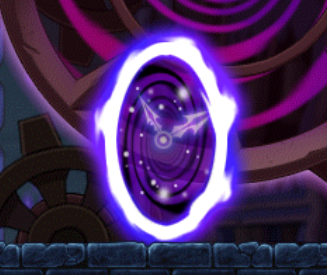
Chaos Von Bon has a timer mechanic; if Von Bon is standing in the dark purple time-portal, the boss timer will decrease leaving you with less time to defeat him. If he stands in the white time-portal, you'll increase the boss timer giving you more time.
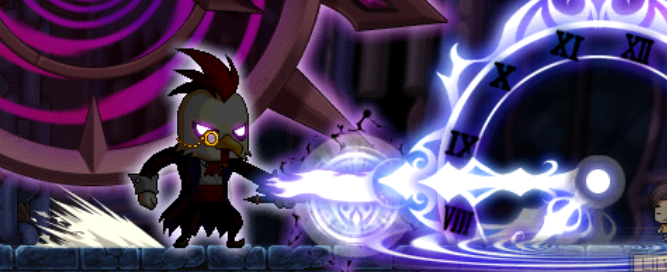
Von Bon starts off with two simple attacks: he can shoot out a projectile that if you tough will 1-hit KO you and if you get too close, he will whack you and deal around 50% damage.
Von Bon can also teleport around the map.
When you get to around <80%, he will introduce a new Jump Attack where he slams the floor. If you are touching the floor when he slams down, you'll be 1-hit KO'd. You will need to time your jump to avoid this.
At around <75%, he will cast an attack that will create a pink outline of where your character was at the time of casting. Then, 5 seconds later you'll teleport directly to that spot. This can be tricky if you're trying to dodge the projectile or jump attacks.
At around <60%, he will introduce the Space-Time Collapse. Here, Von Bon will disappear and you'll need to enter the new purple portal to defeat a shadow copy of Von Bon. Inside the portal, you'll constantly lose HP, so make sure to spam your potions here.
Once the shadow-copy is defeated, you'll be teleported back to the main boss fight where Von Bon is stunned for a few seconds.
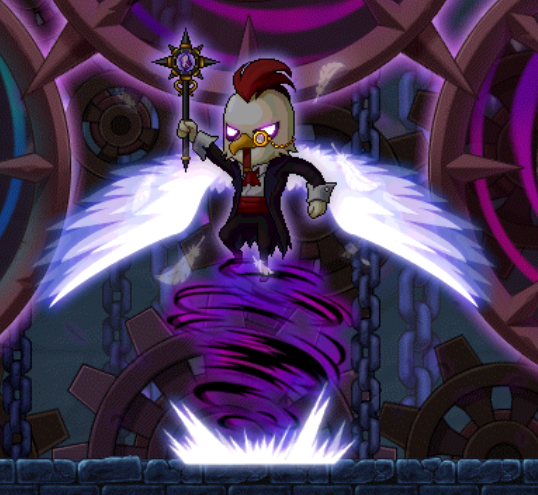
The final phase involves Von Bon summoning a whirlwind that will knock you back if you're standing too close. Time Cogs will also fall from the sky, dealing damage if you get hit by them.
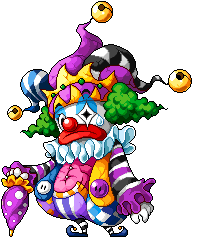
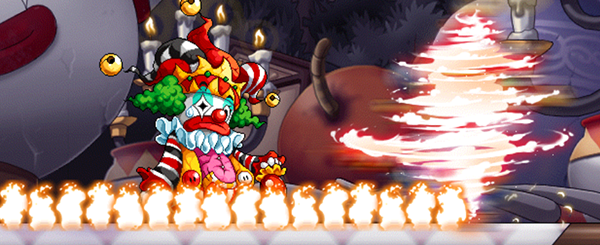
Chaos Pierre
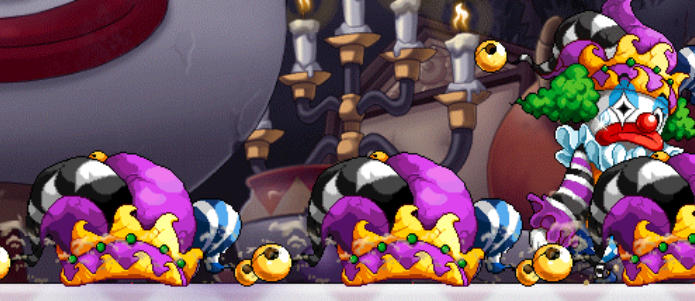
Chaos Pierre is a tricky boss to fight due to it's splitting mechanic.
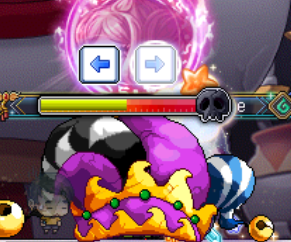
During the fight, Hats will fall from the sky. If you get hit by one, you'll get stuck and have the press left/right to release yourself or you'll die.
At the start of the fight, Pierre will attack you with his Umbrella if you get too close. He can deal around 70% HP and knock you back.
When you get Pierre down to around 80% health, Pierre will transform either into the Blue Clown or the Red Clown.
You can deal double-damage to Pierre if the hat you're wearing is the opposite color to the form that Pierre transforms into. If your hat is the same color, you'll heal Pierre.
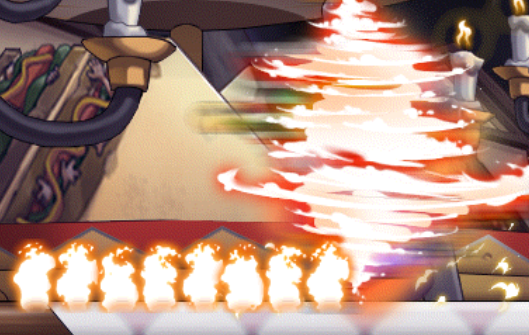
In Blue Clown mode, Pierre will turn into a Fire tornado and spin across the map leaving a fire trail. The damage isn't deadly, you just need to jump around the map, avoiding the falling hats at the same time. If you do touch the fire, you'll get skill-locked for a couple of seconds.
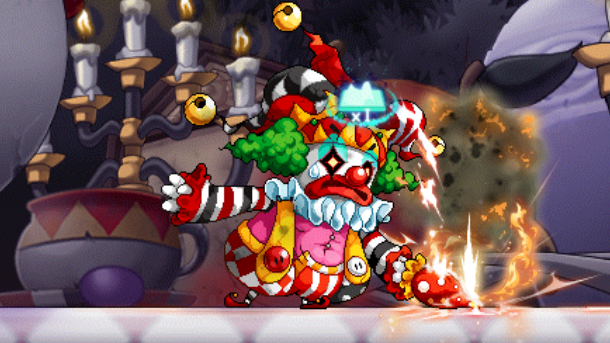
In Red Clown mode, Pierre will mark your location and disappear for a couple of seconds. He will then appear at your marked location and attack; if you're in range, you'll be 1-hit KO'd.
Each time Pierre changes mode, your hat will also change. If you die, your hat is removed completely until Pierre changes mode again. If you get hit by the falling hats, you hat will change to that color.
Each clown mode only lasts around 20-30 seconds, before Pierre turns back into it's normal self and you can deal damage regardless of hat color.
The real pain comes when Pierre gets to around 35% HP. If Pierre isn't binded, he will summon both clown versions. This means that you'll end up healing one of the Pierre versions due to the hat effect.
Pierre will continue to summon two versions of himself until his overall health goes back above 35%. The way to get around this mechanic is to use a Bind skill and then use your Burst Damage skills to kill him before he can summon.
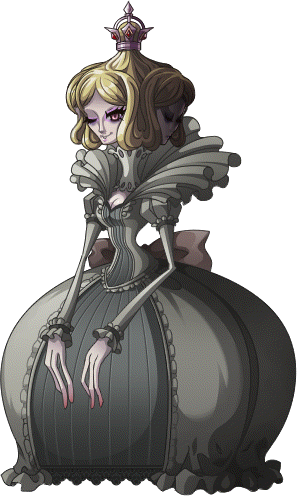
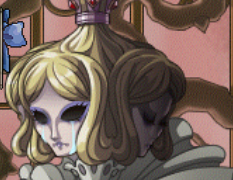
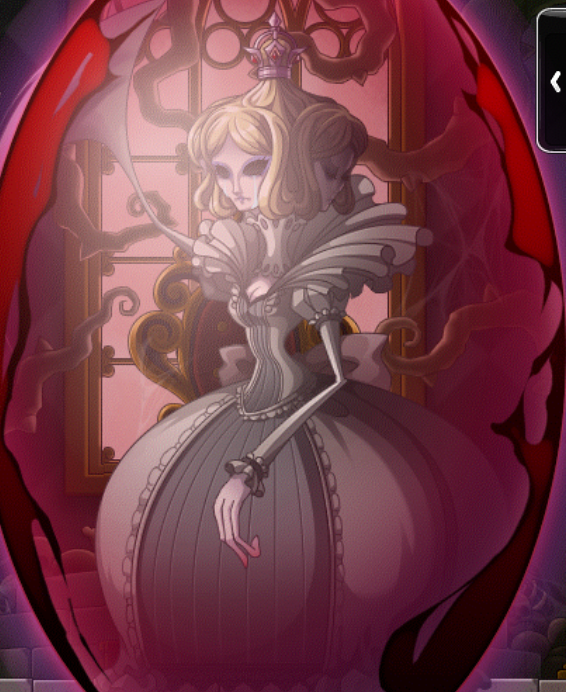
Chaos Crimson Queen
Chaos Crimson Queen will switch mechanics based on the face it currently is wearing, regardless of how much HP she has. For this guide, we've named them:
- No-Eyes Face
- Adorable Face
- Scary Face
- Normal Face
Normal Face
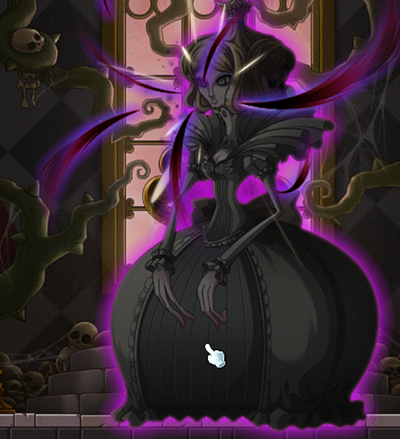
At the beginning of the fight, Crimson Queen will be using her normal face will shoot-out deadly 1-hit KO purple blasts. You can dodge this by running behind the Crimson Queen.
If you get hit by it's arm attacks, the screen will go partially black making it hard to dodge this attack.
She will also cast a damage-over-time attack that will deal a small amount of damage to you every second.
No-Eyes Face
In the no-eyes face, it will summon a giant red shield that will make your attacks deal 1 HP and also damage reflect your attacks.
The Queen can also cast zombify on you, making your potions kill yourself.
Scary Face
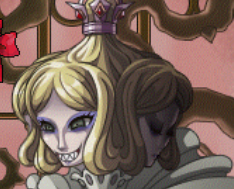
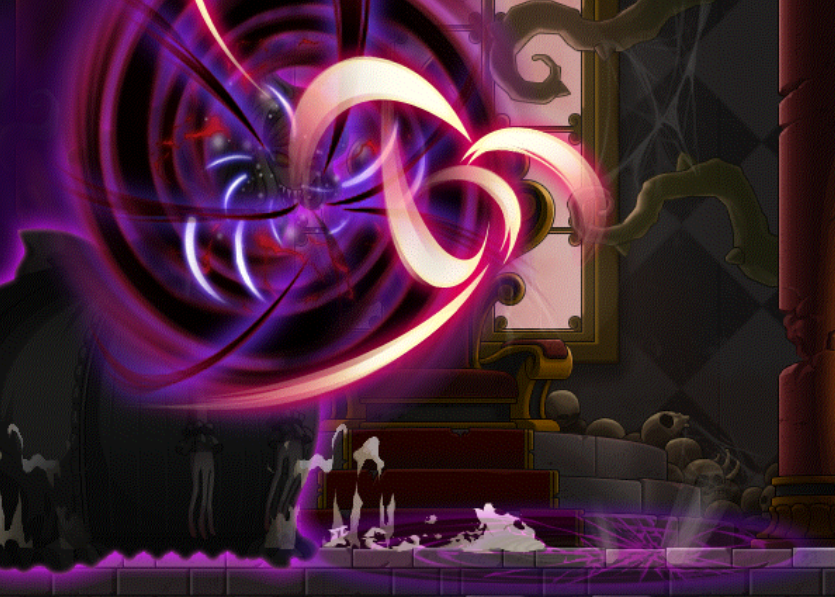
In the Scary Face, Crimson Queen can summon a portal on the floor that will cast slow on you if you touch it.
She will also suck you into her, and if you touch her during this attack you'll 1-hit KO.
Her arm attack will hit 3 times.
Adorable Face
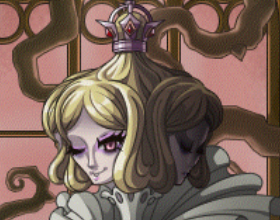
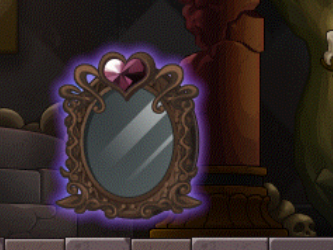
During the Adorable Face, Crimson Queen will summon a mirror. The Mirror will seduce you and move you into it, causing 1-hit KO, so destroy it asap.
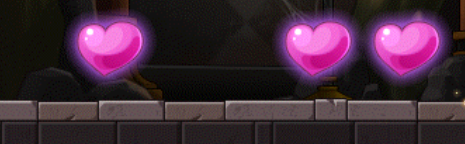
She will also summon love hearts that explode on touch. You can destroy these with your attacks.
Her arm attack will hit twice.
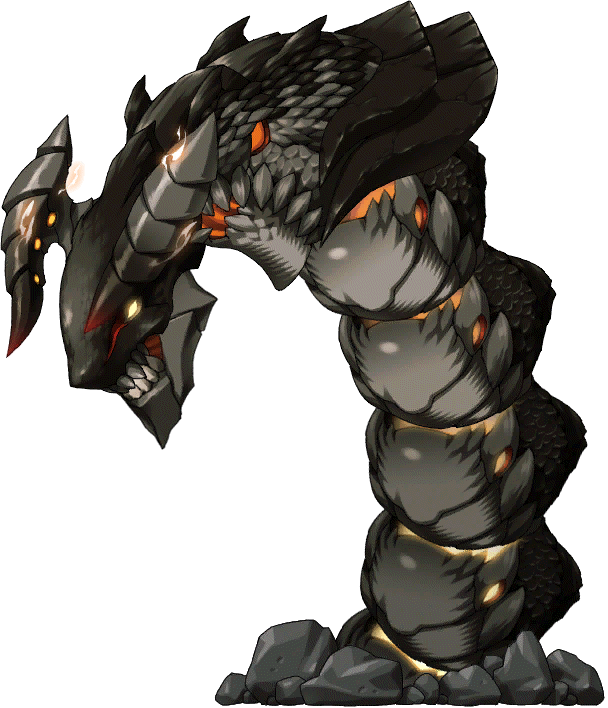
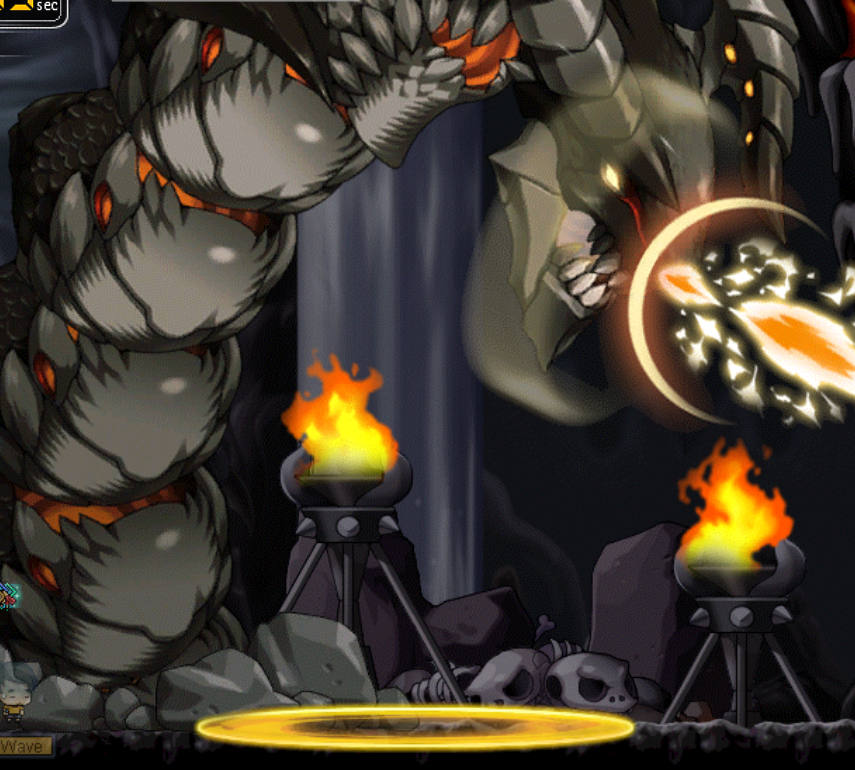
Chaos Vellum
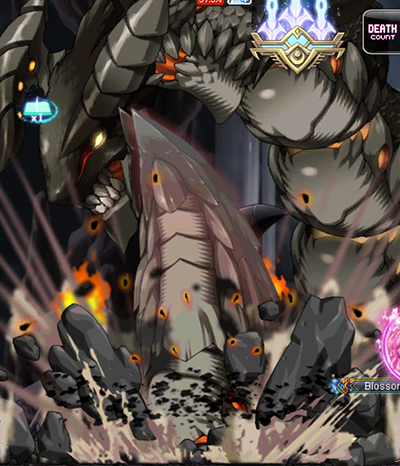
The hardest of the four CRA bosses, Chaos Vellum has the most HP and the most difficult mechanics to deal with.
To summon Vellum, click on his altar in the middle of the map.
For much of the fight, Chaos Vellum stays underground and launches itself on you when you stand still. You'll be able to anticipate his attacks by the yellow markings showing you where he's going to launch up from.
You'll need to be constantly watching the floor for Vellum, as well as dodging the stun rocks that drop constantly from the ceiling.
Chaos Vellum can also strike you with it's tail, which also launches from the bottom of the map. The tail only appears for a very short time, allowing you to get one or two hits on it.
The best times to strike Vellum is when it sticks out it's long-neck; during this phase he will shoot out fireballs in front of him but stay above ground giving you plenty of time to deal damage.
Sometimes he will only stick out his head, which will only appear for a few seconds.
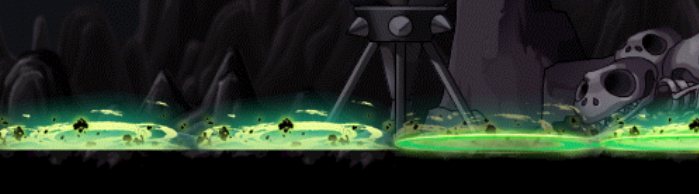
When Vellum's HP gets to around 60%, the short head can summon poison pools around the map that deal hefy damage.

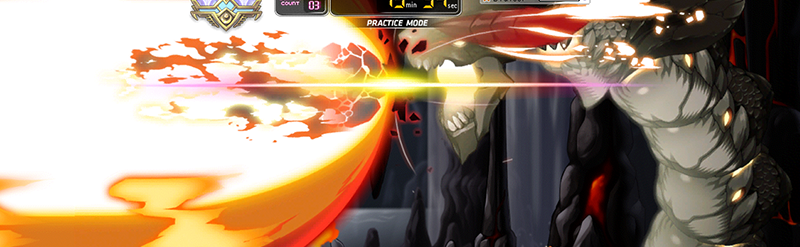
At around <50% HP, Vellum will choose one side of the map and prepare to take a breath, notified by a yellow warning message on the screen. You then have about 5 seconds to reach his side to dodge his massive fire attack otherwise it's 1-hit KO.
This fight gets easier as you practice dodging the floor and taking sporadic shots. The best times to deal lots of damage is when he sticks his neck out and when he deals his cross-map fire attack.

Discussion